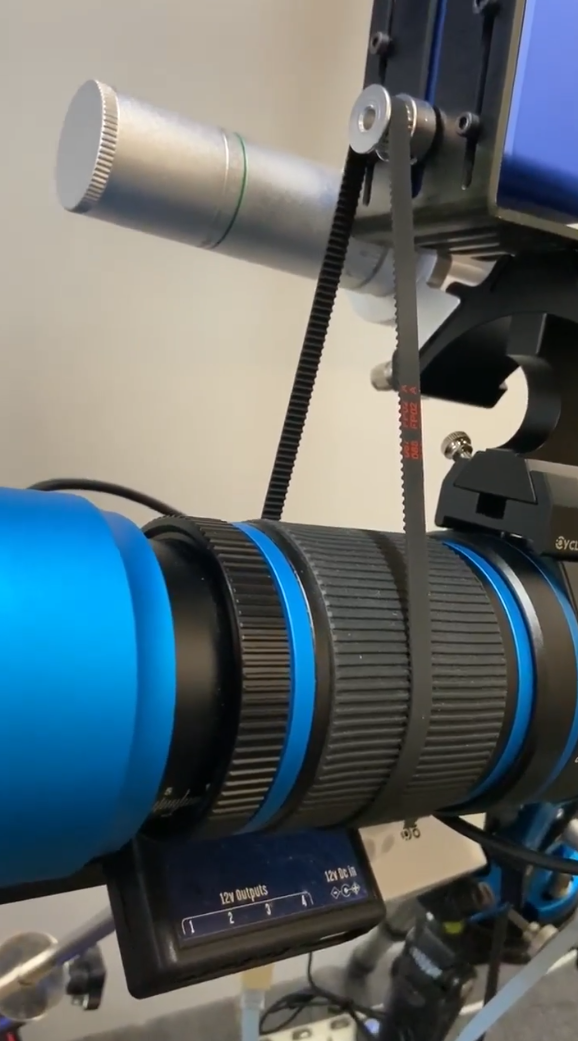
Motor Focus Kit v2 (Universal)

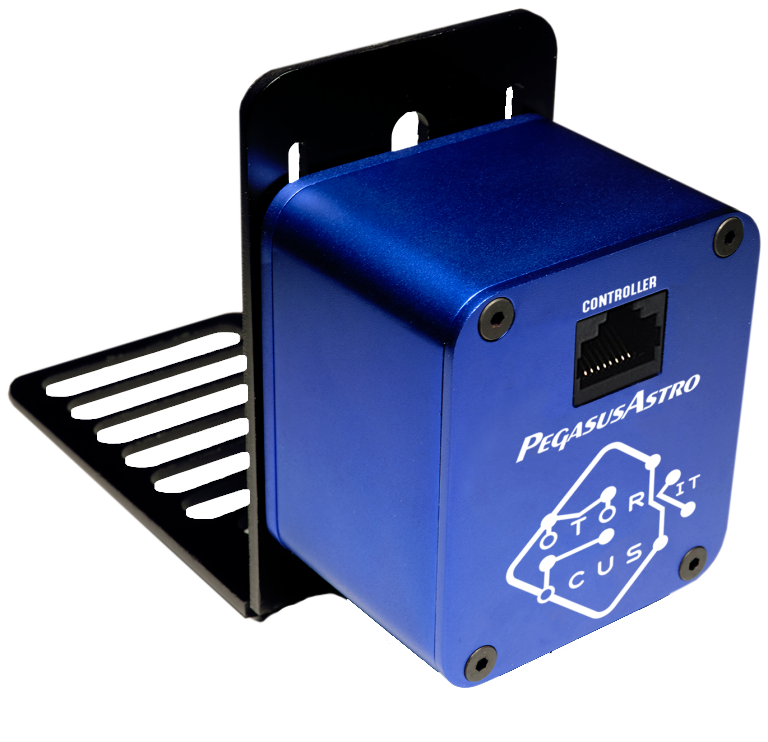
Focus fast and accurately on your telescope by using our powerful Motor Focus Kit v2. This high-resolution geared box has a 0,06-degree step size and can easily lift more than 6 Kg (per cm).

Its high torque is suitable for lifting heavy imaging equipment. Moreover, the motor’s gearbox has a low backlash which can easily be compensated through imaging software. The RJ45 socket can be converted to a compatible Robofocus Pinout.

Motor Focus Kit v2 (Universal)

Note: You will also need a motor controller to drive the motor.
Products that can drive the Motor Focus Kit are

Dual Motor Focus Controller
Ultimate Powerbox v1, V2, V3
eXternal Motor Controller

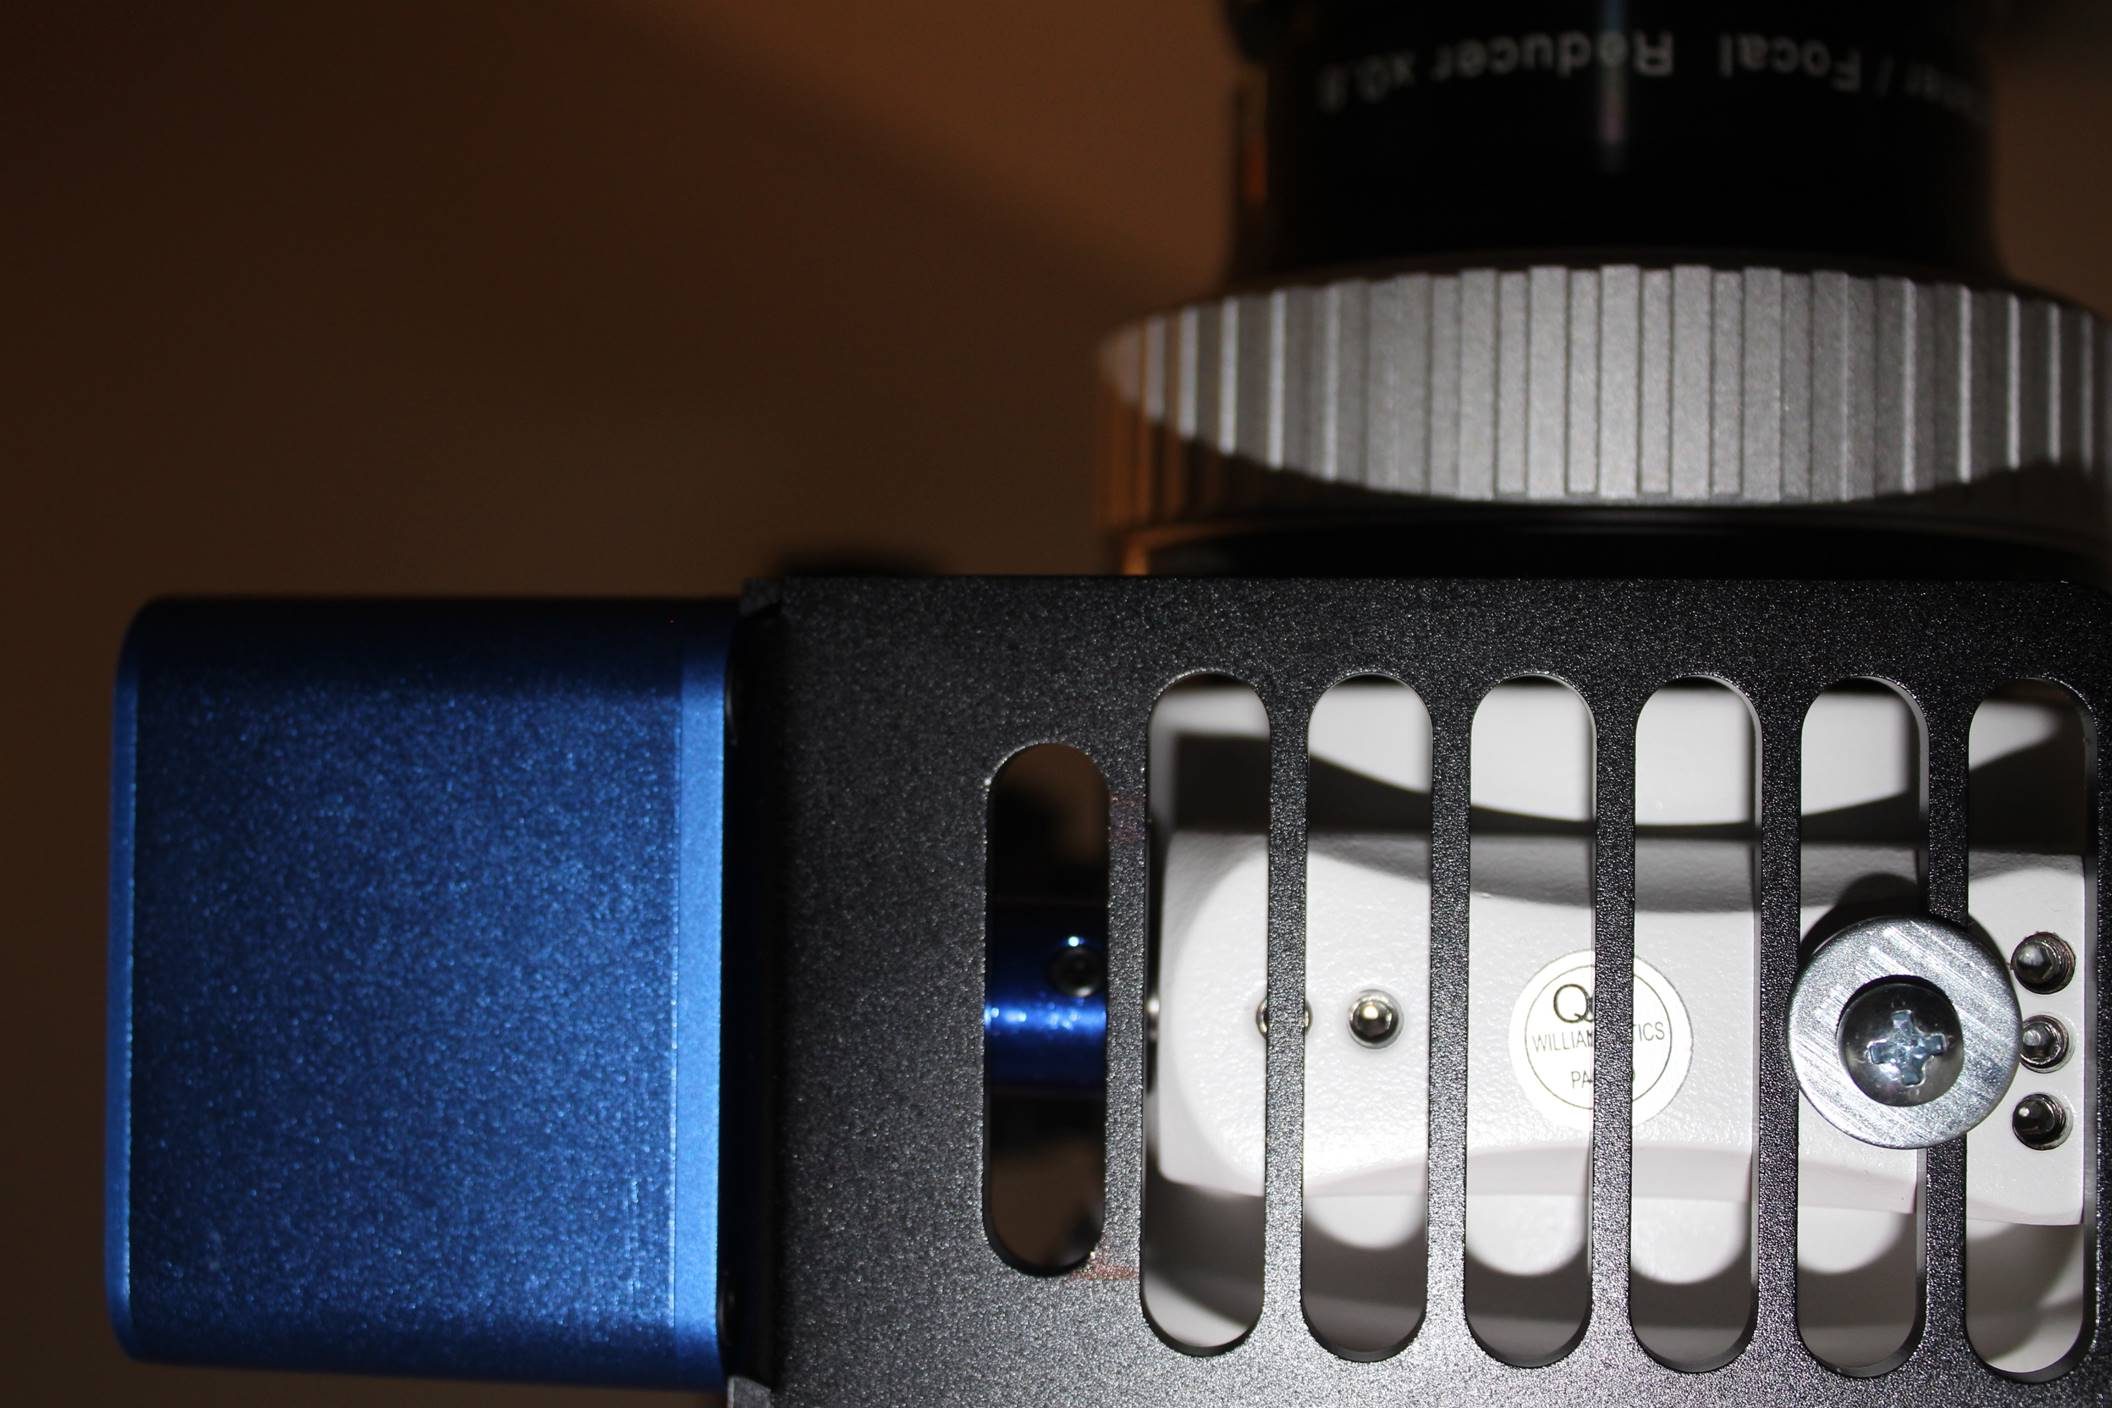
Universal L Shaped Bracket (Black Anodisation)
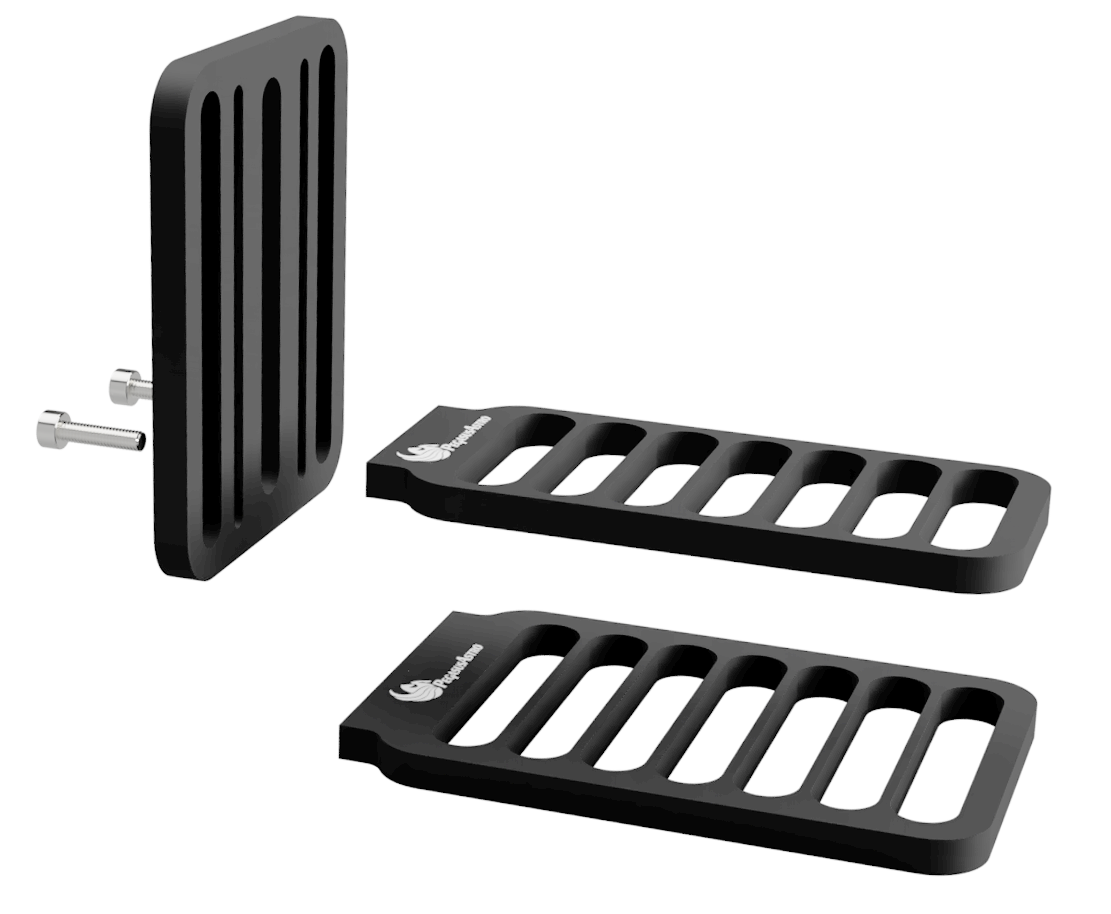
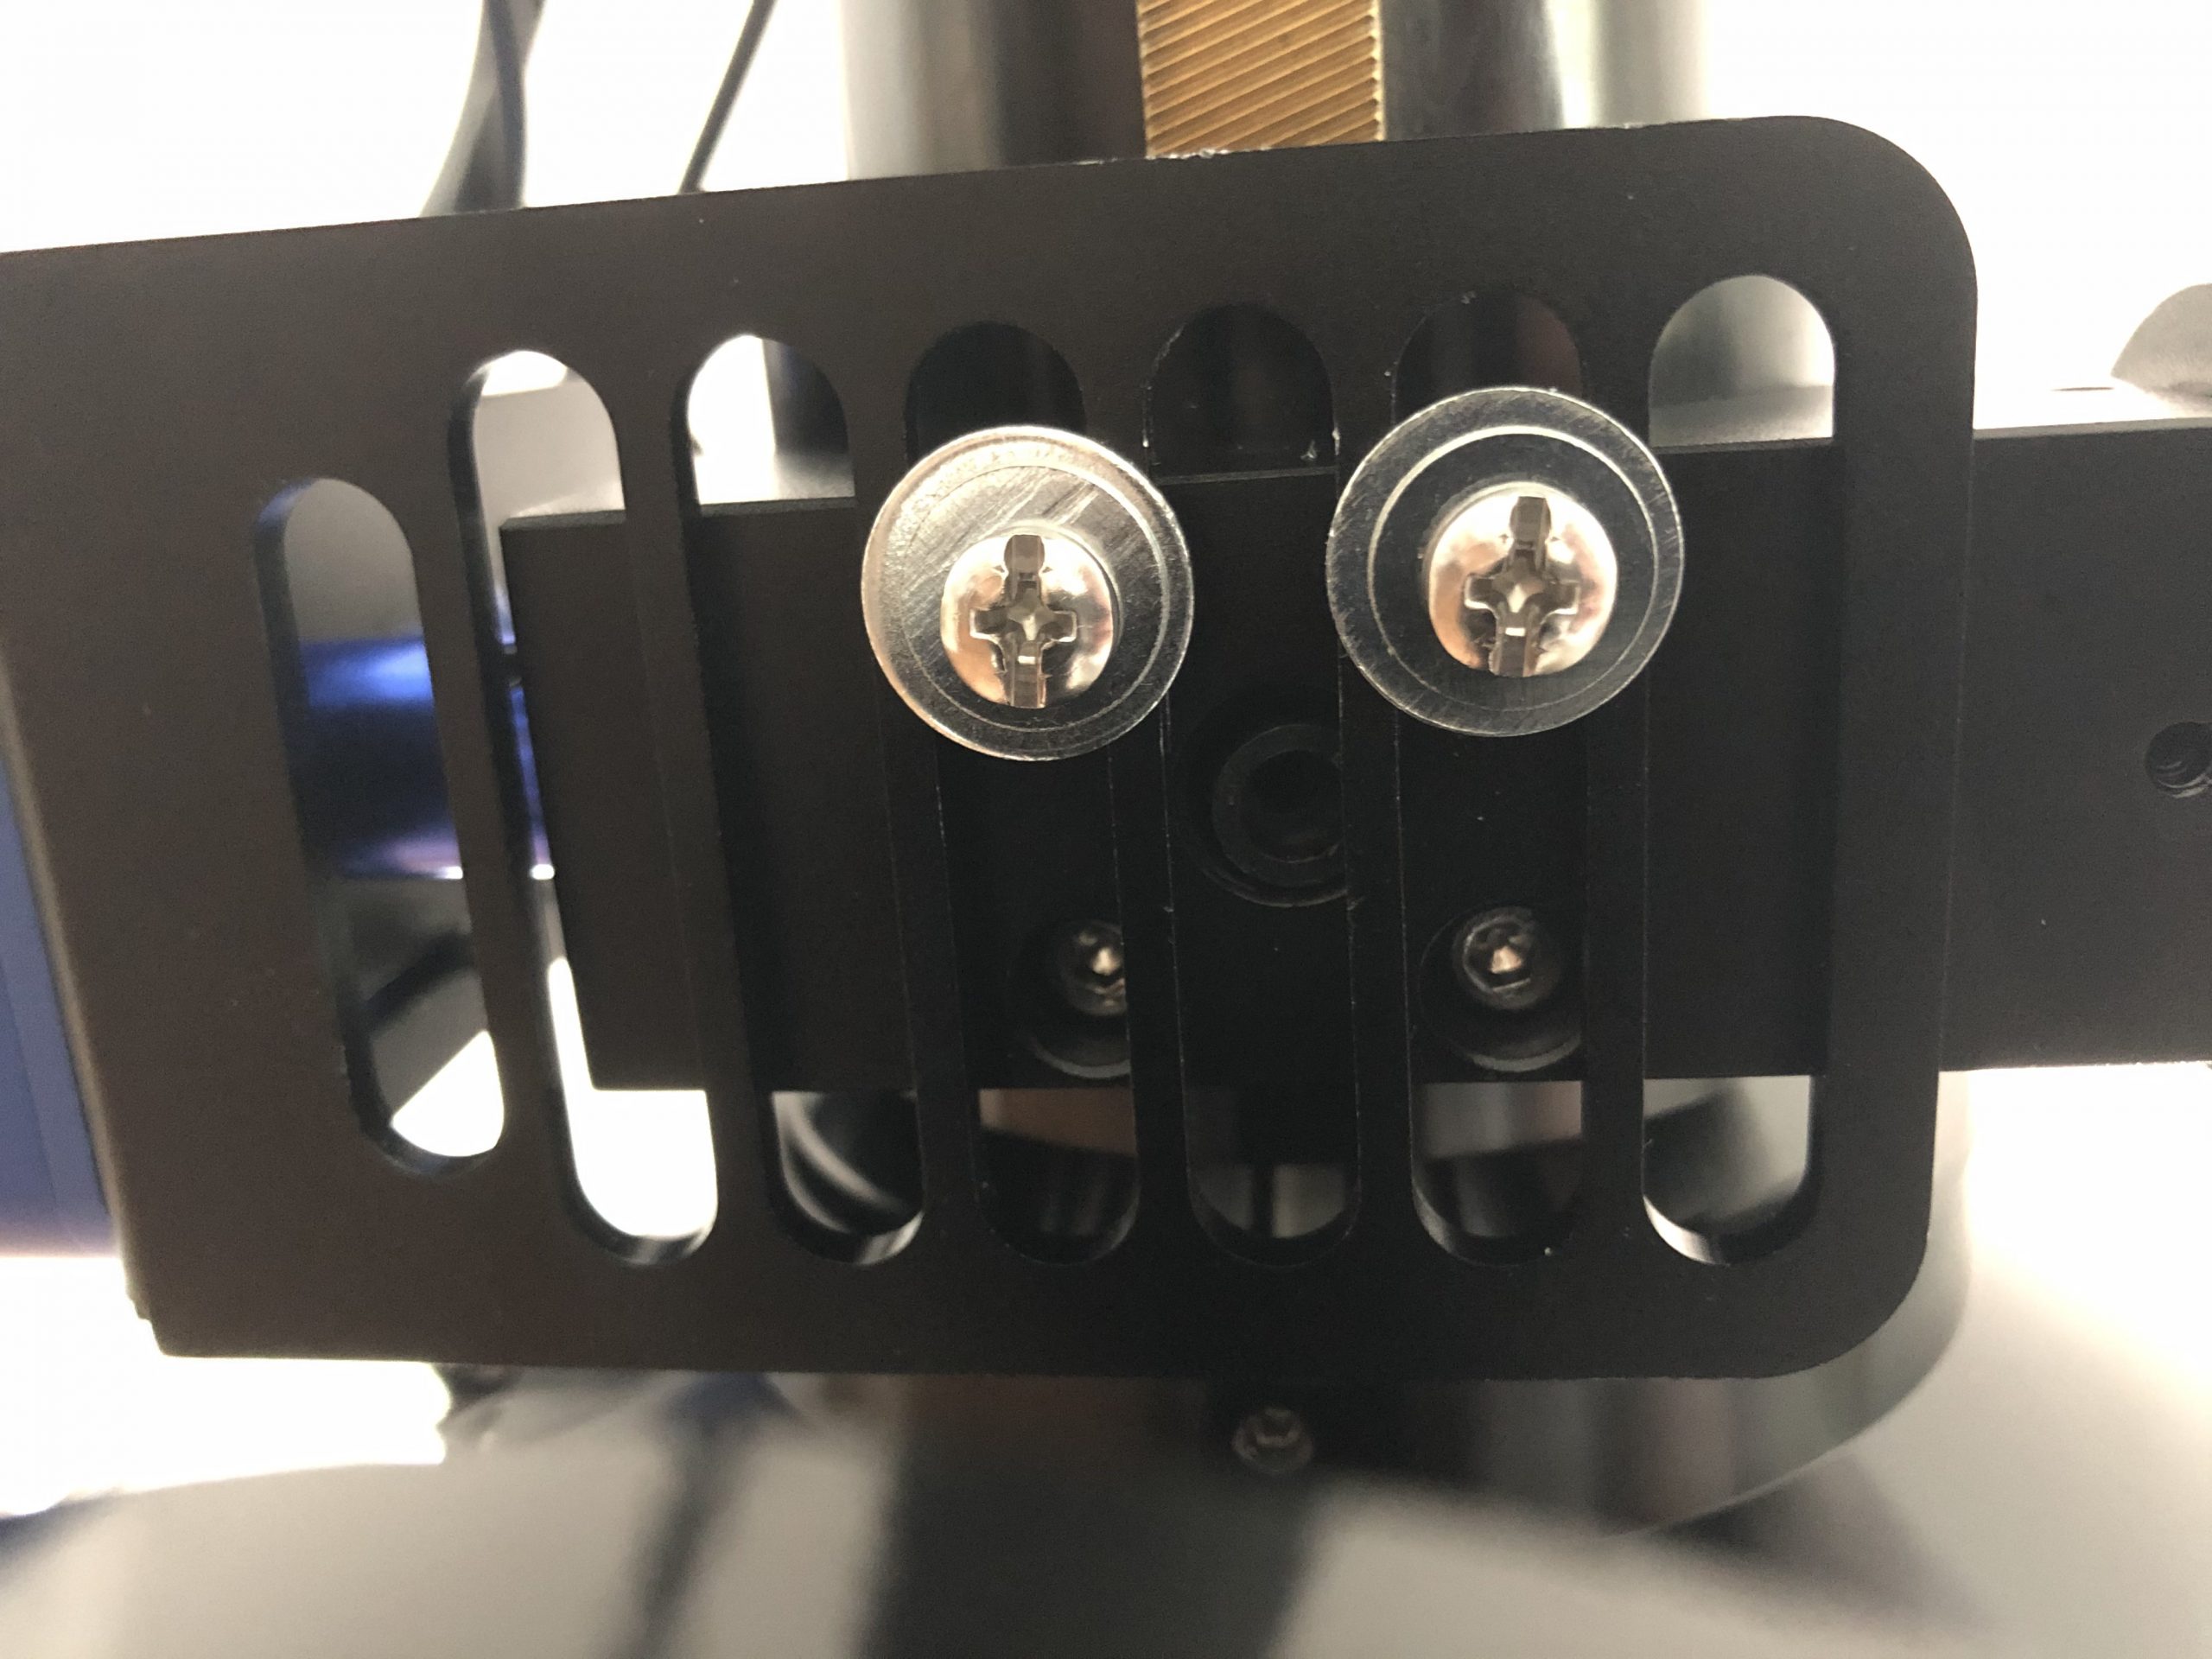
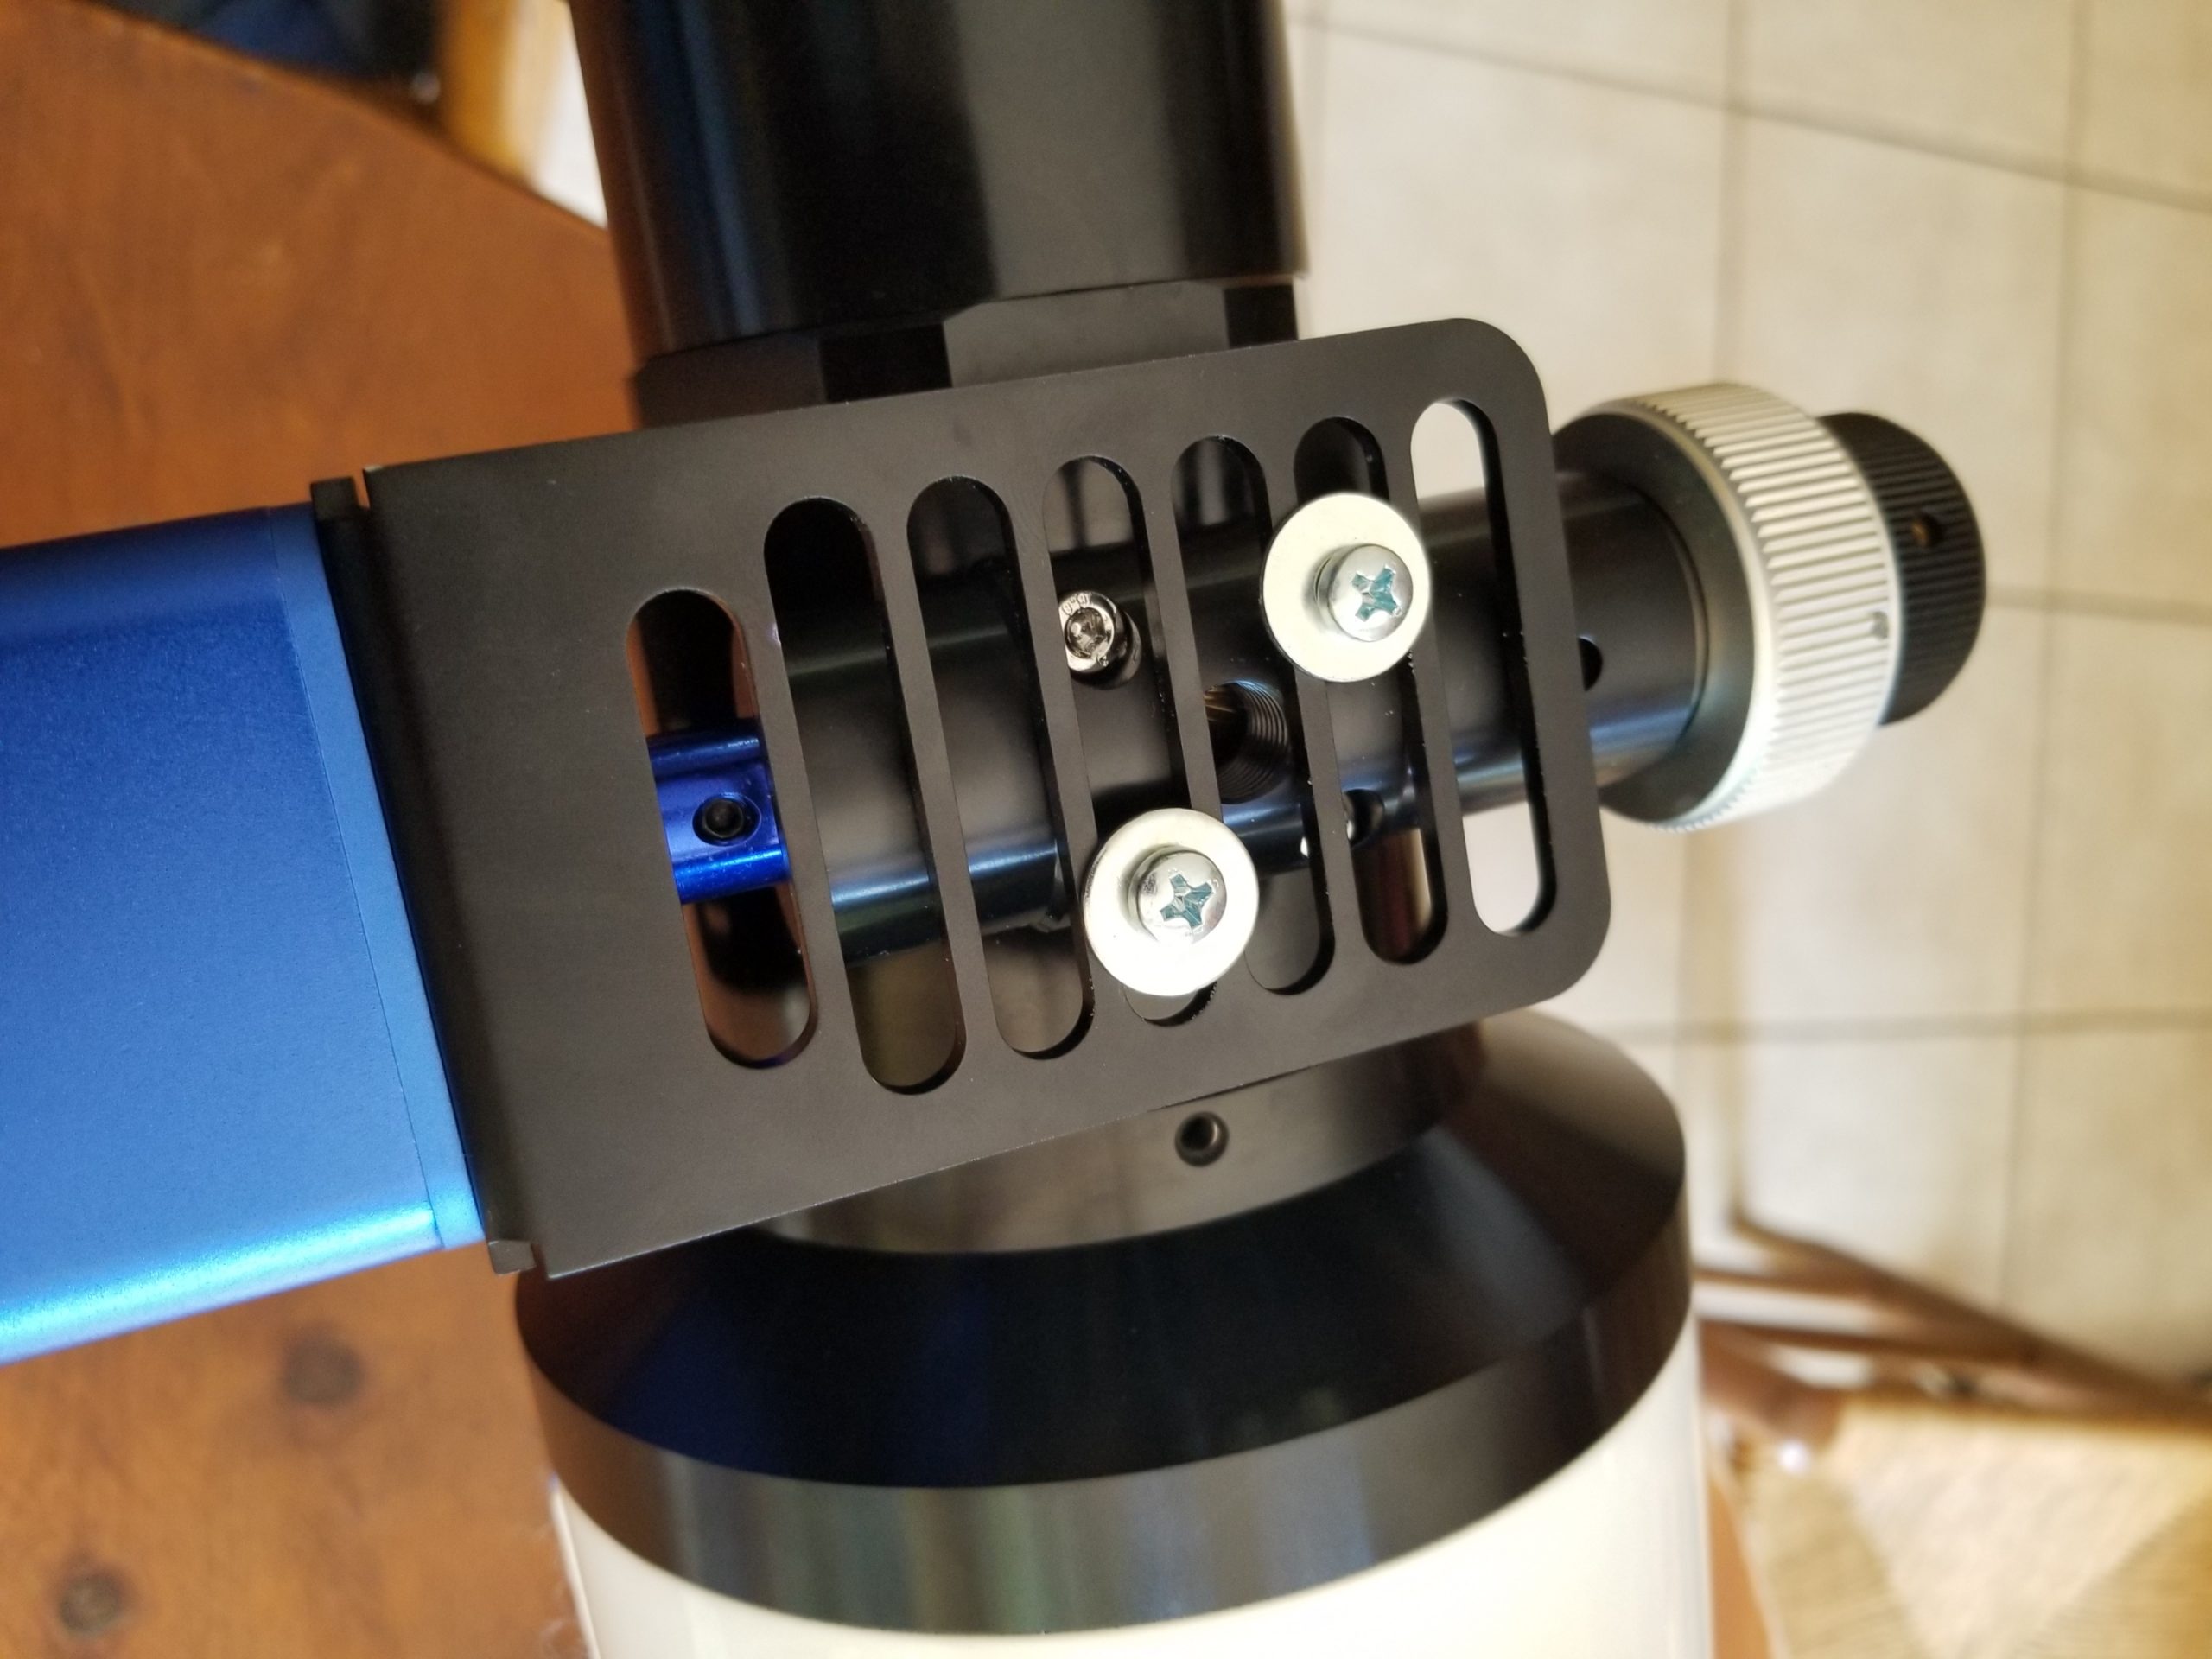
We have redesigned the L-shaped bracket to easily fit onto most focusers in the market.
The lower part of the redesigned bracket can be replaced with a slimmer rail (included) for better compatibility with Newtonian and other low-profile focusers.

This L-shaped black anodized aluminum bracket is hard to bend, has cut rails, and can be attached to a wide range of focusers.

Different sizes of motor couplers
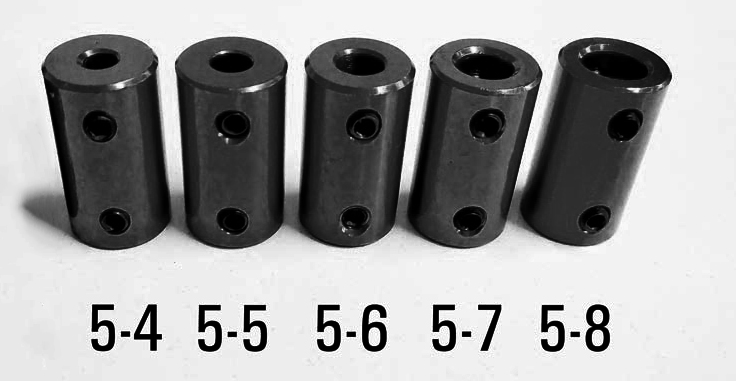
Five solid, different bore size, motor couplers are provided so you can select the coupler that fits to your focuser’s shaft. Choose between 4mm to 8mm couplers

In fact we have successfully installed it on:

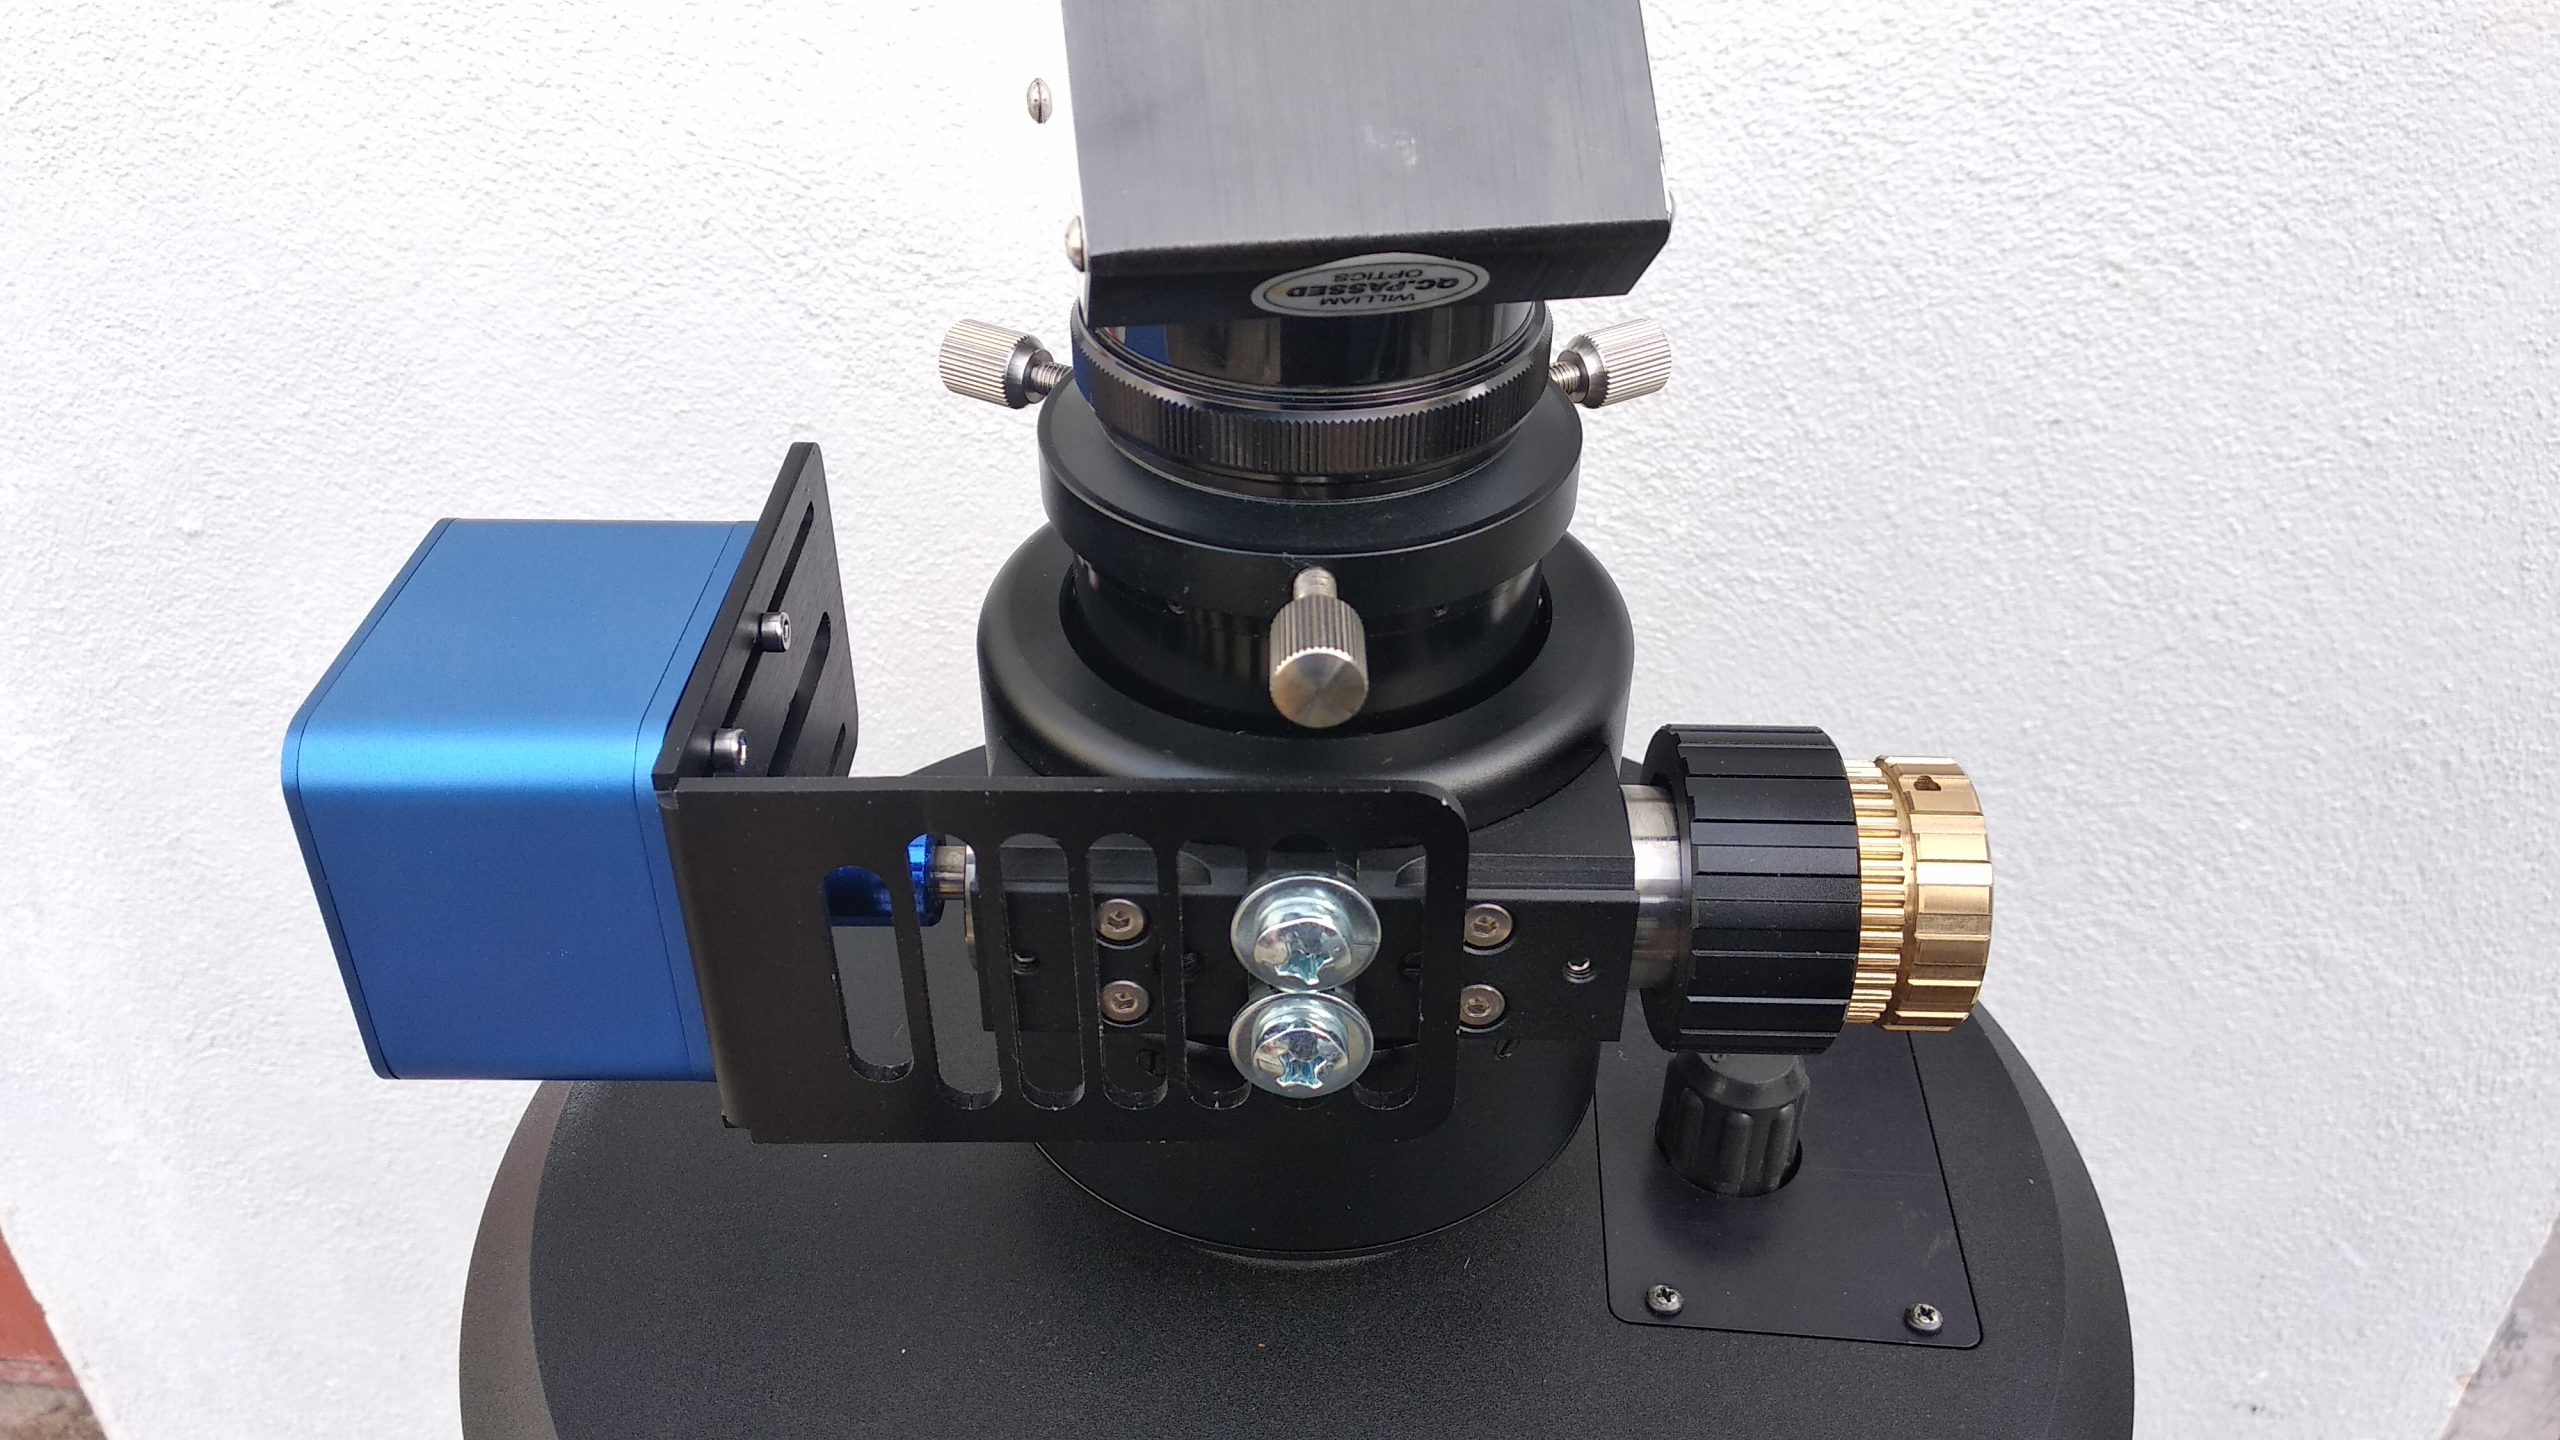
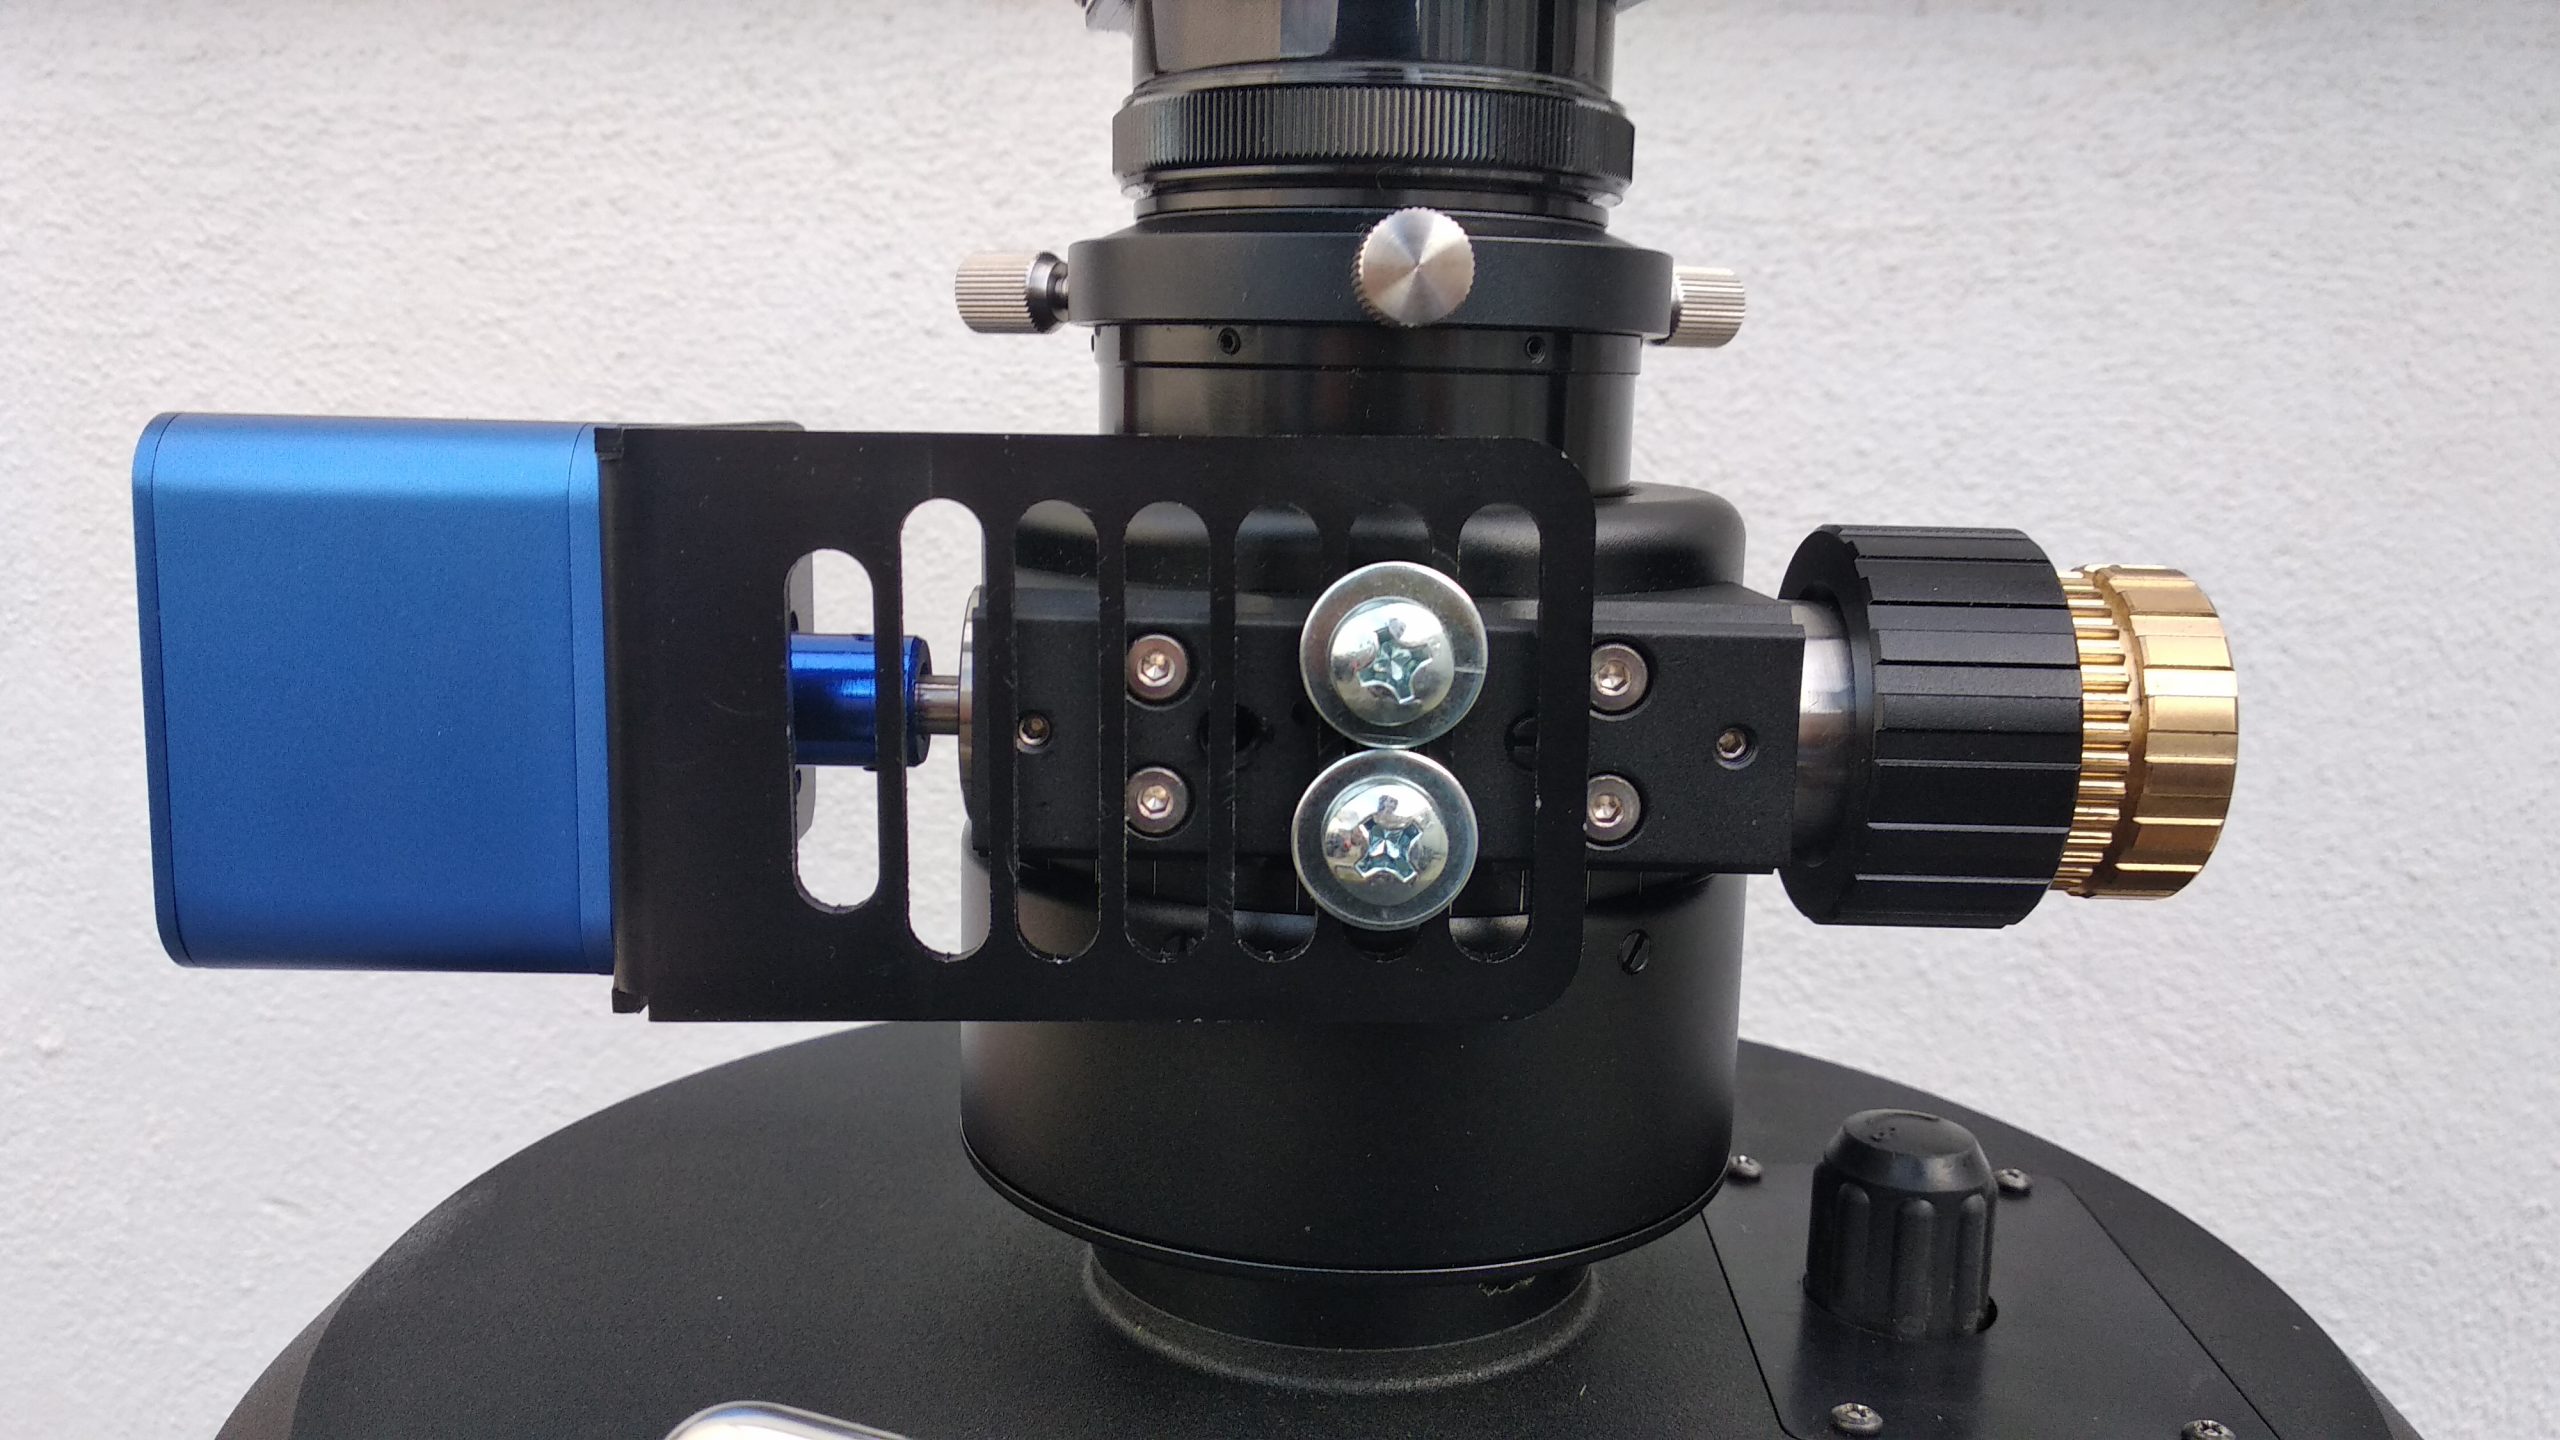
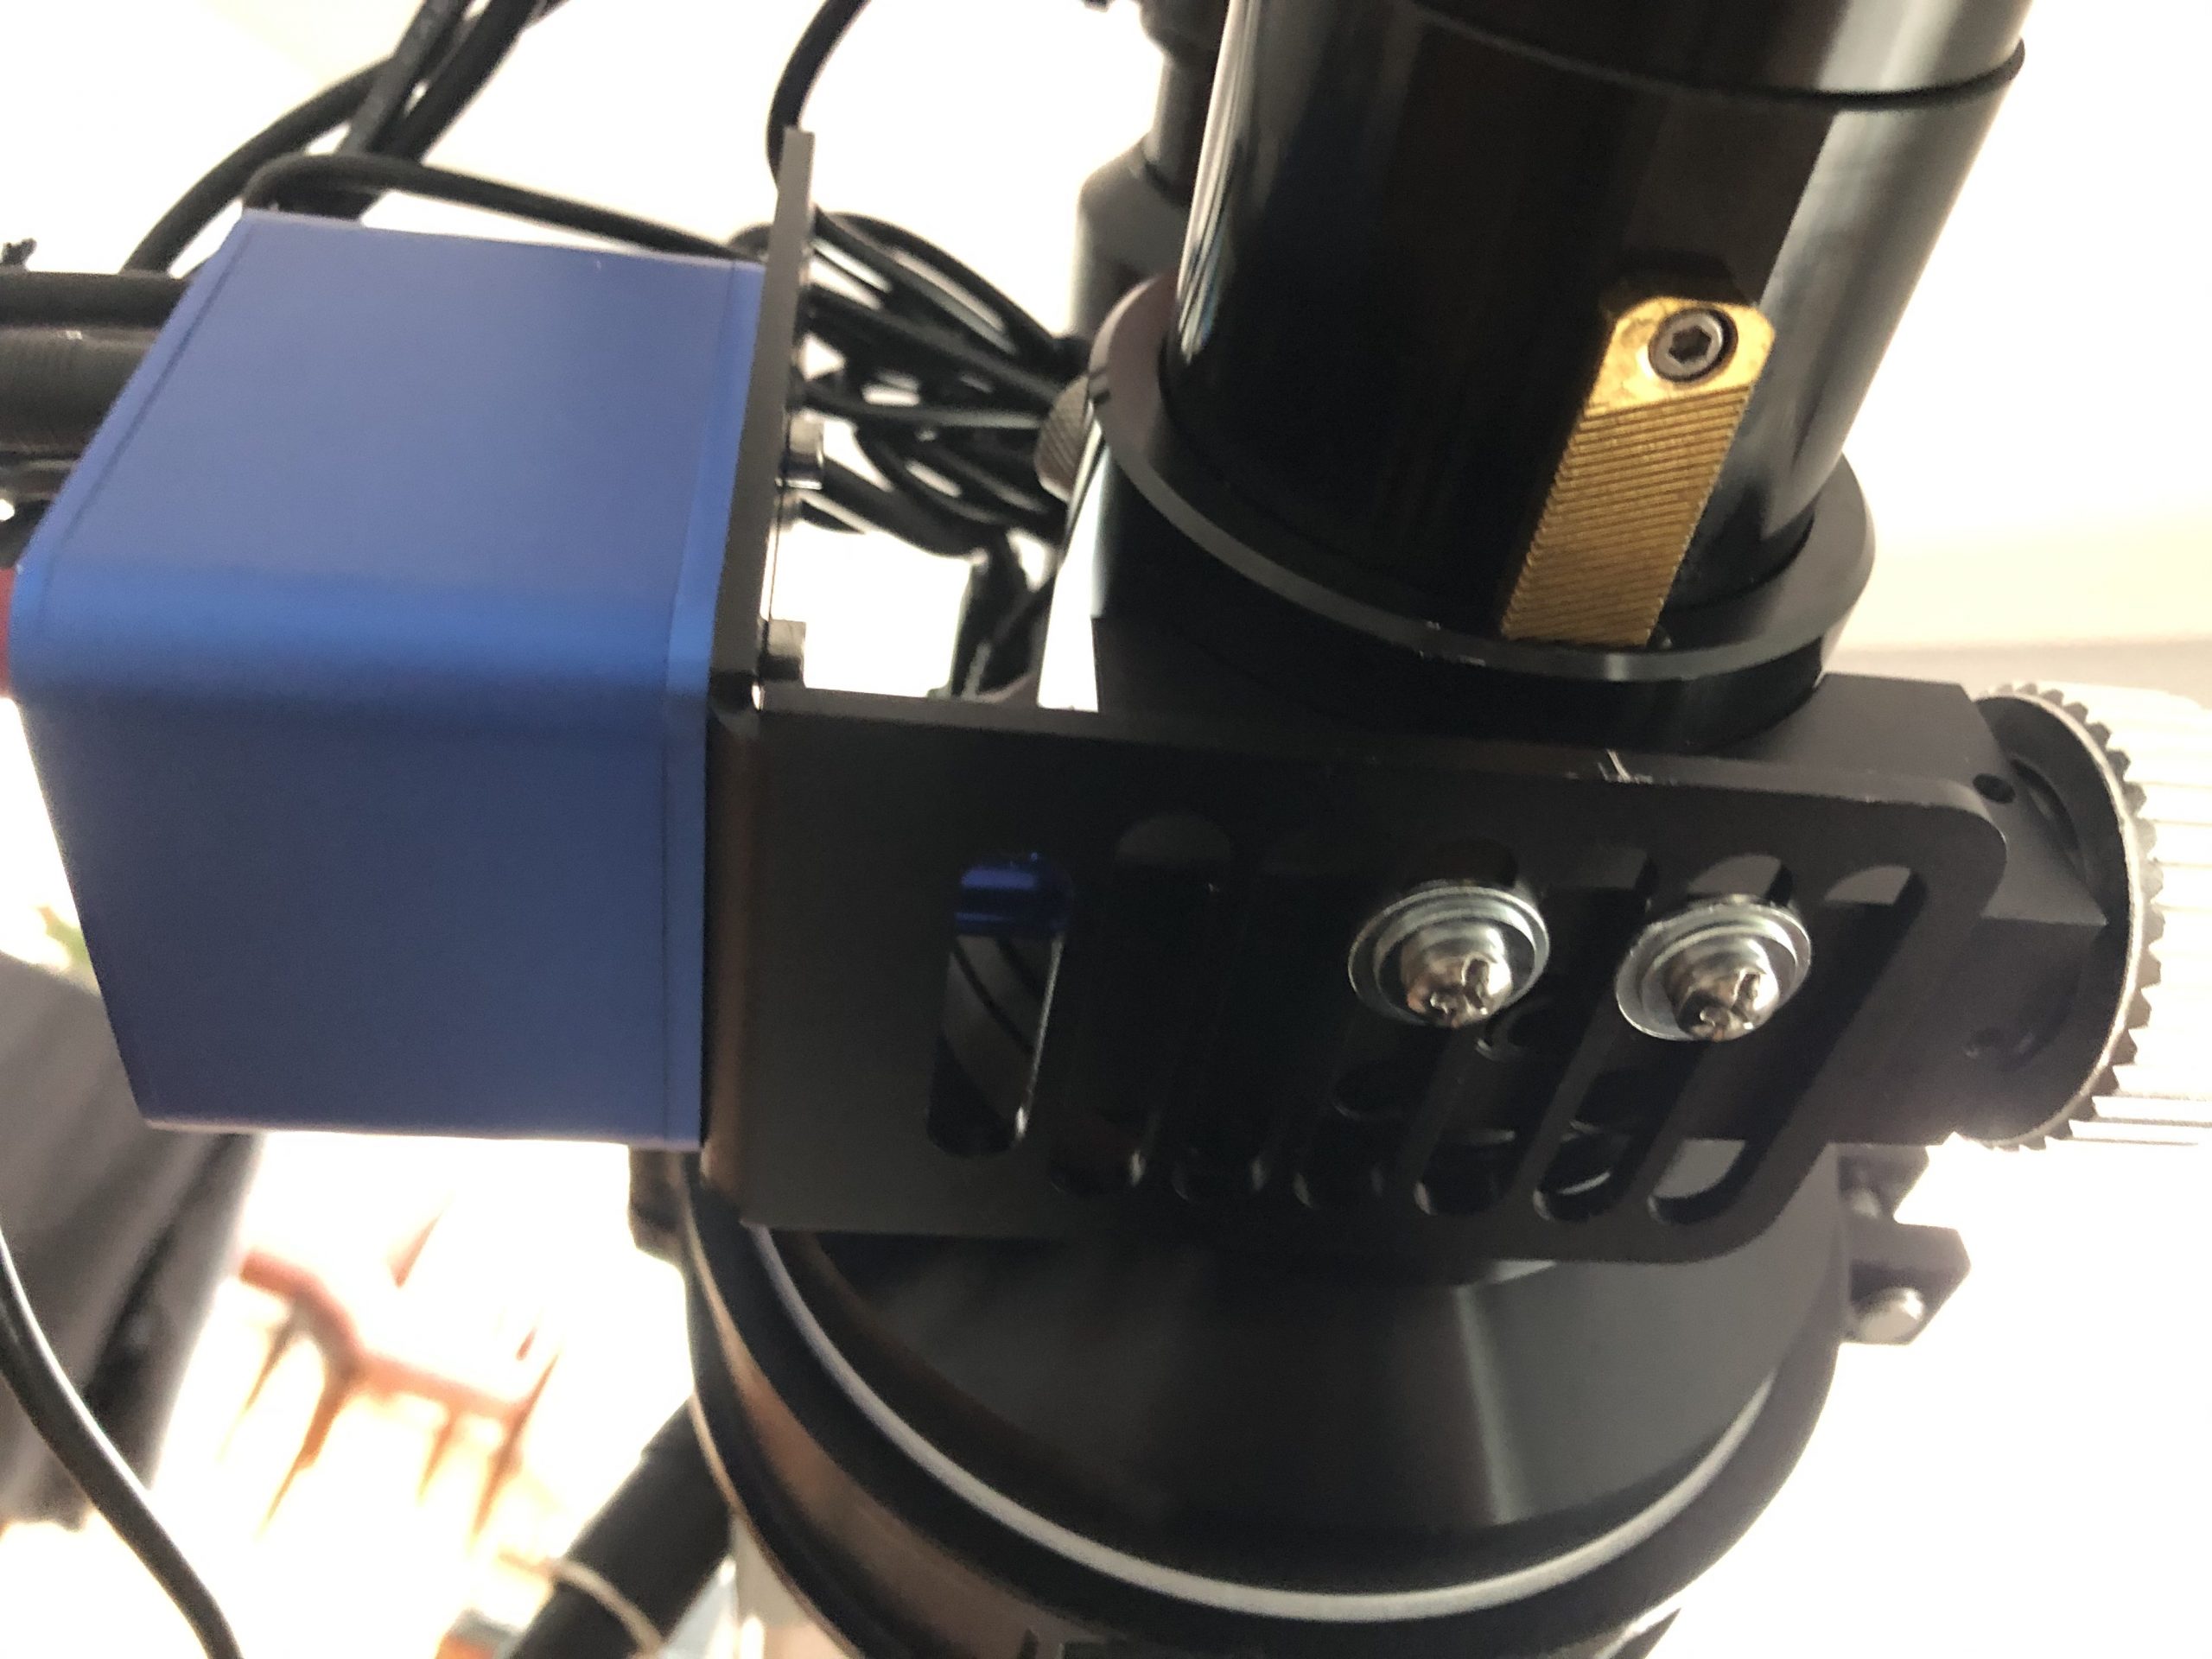
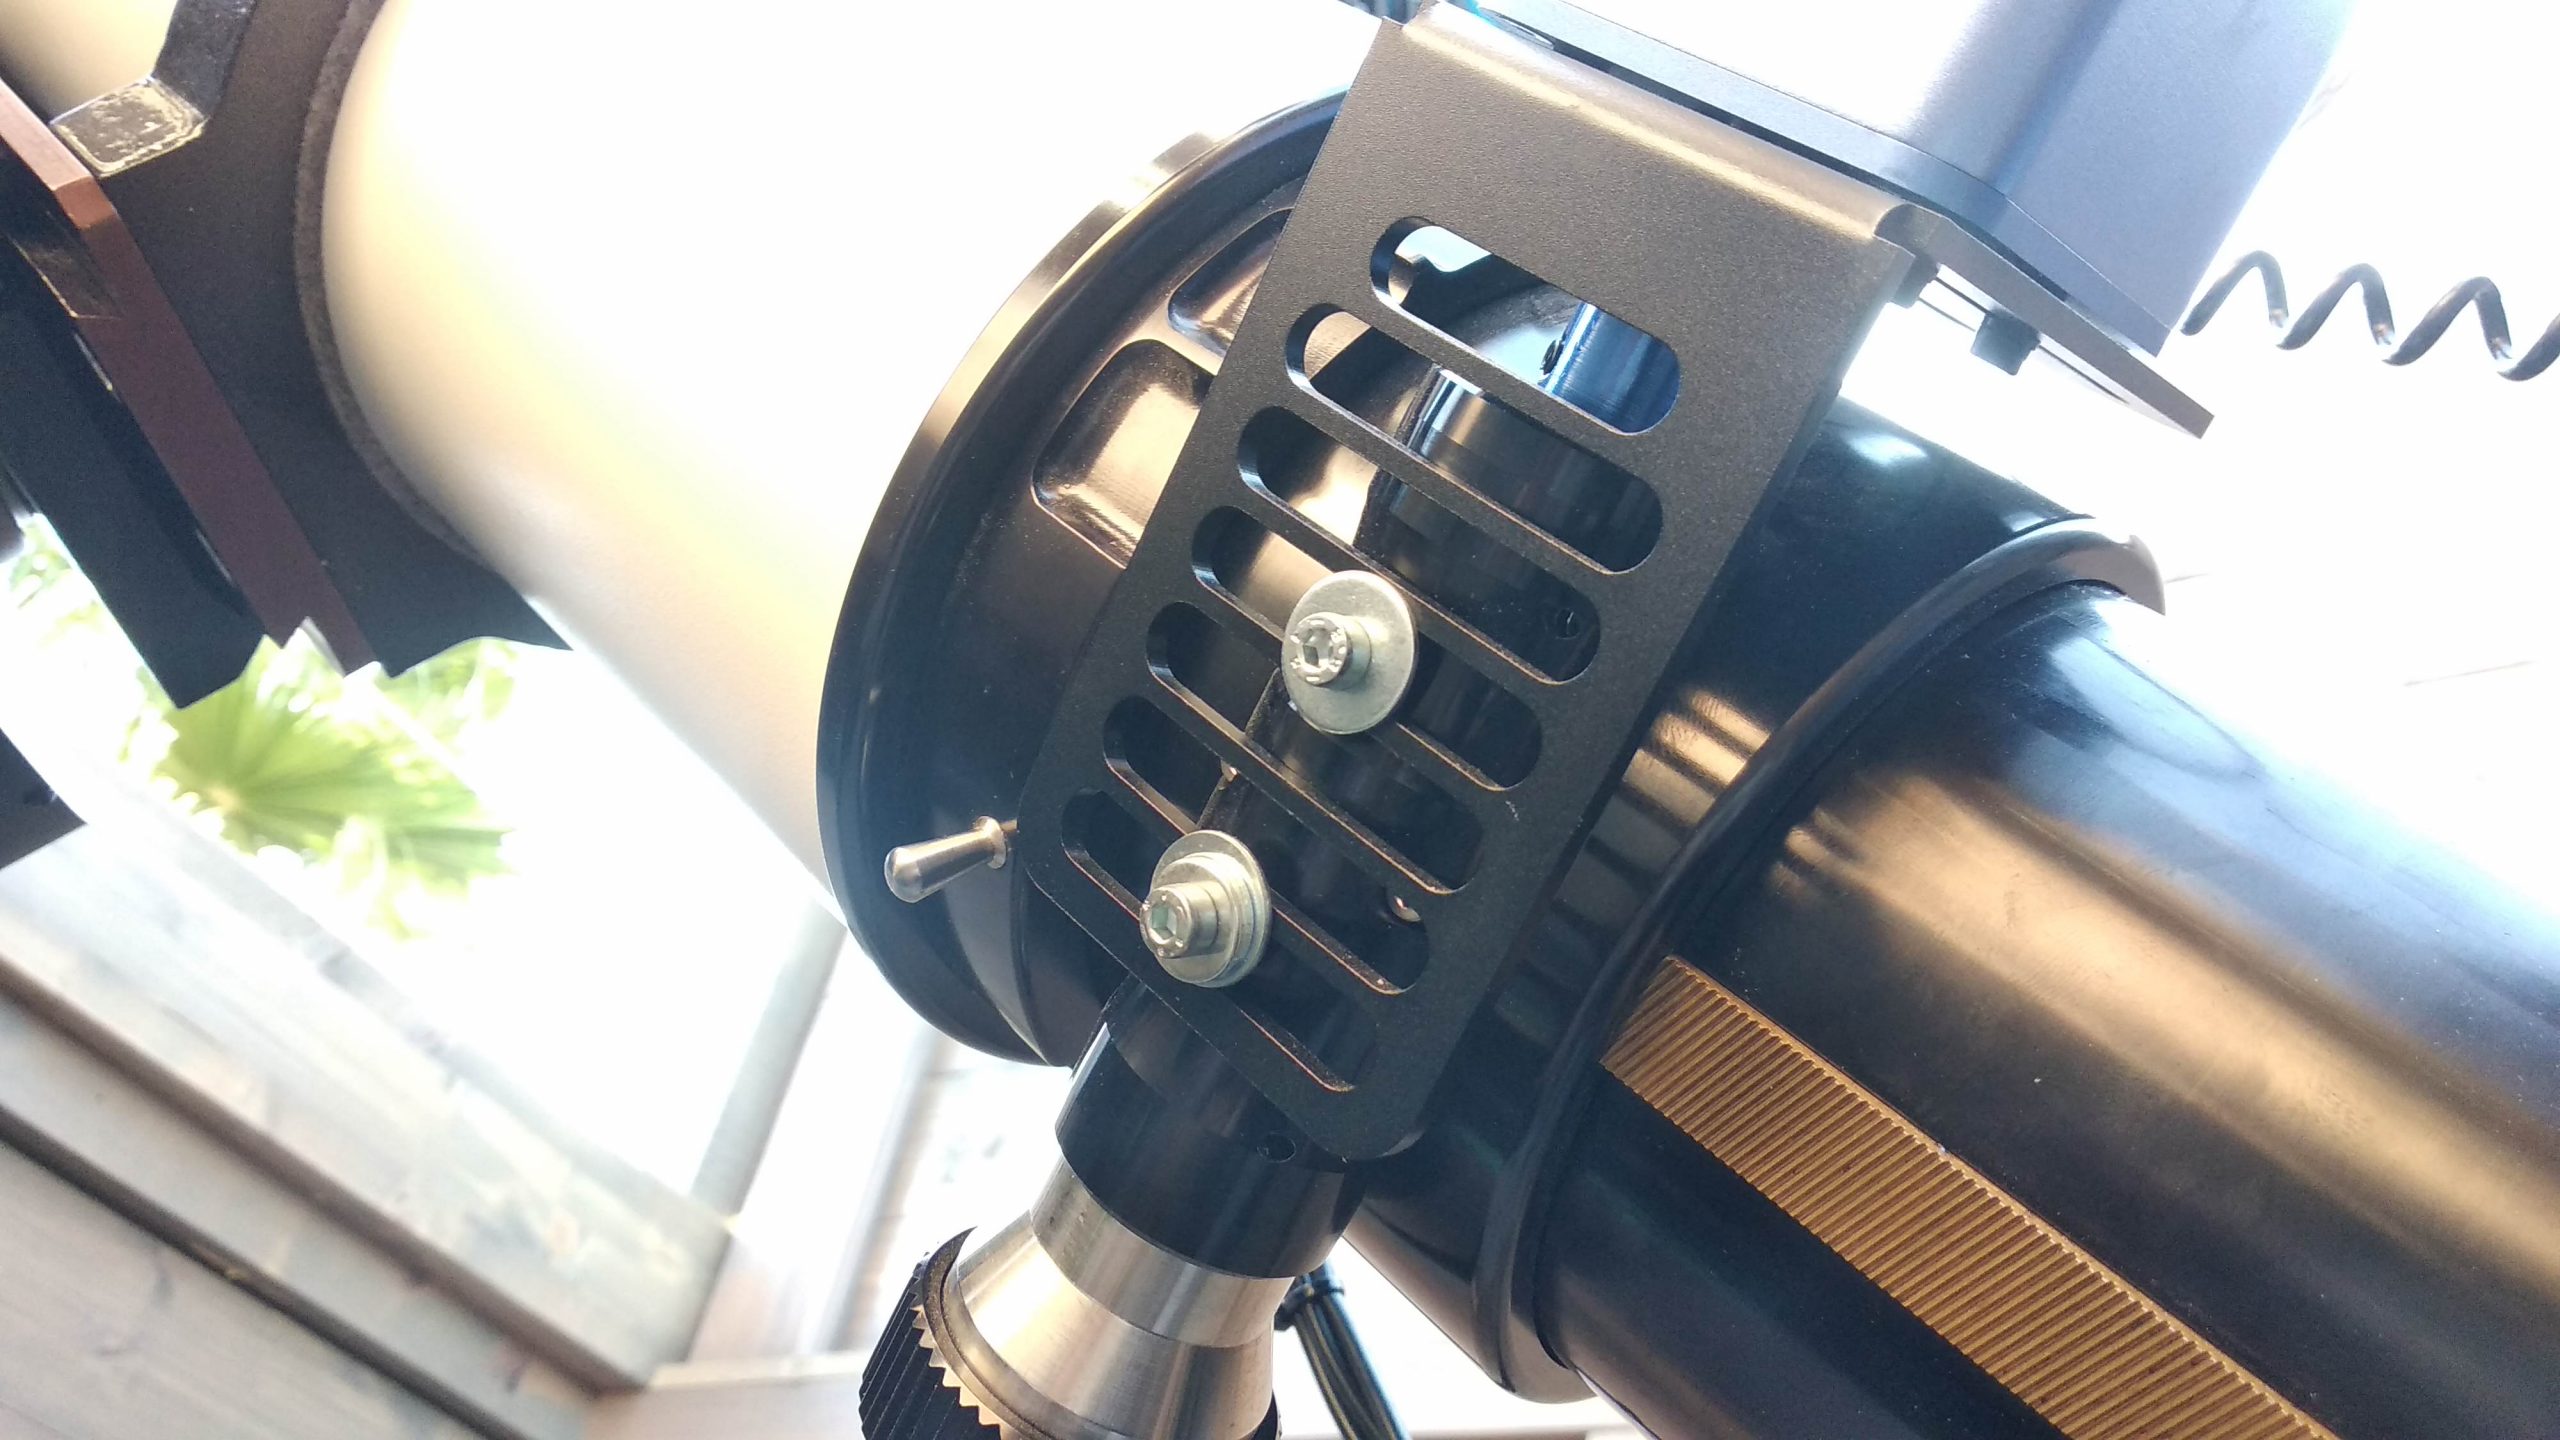
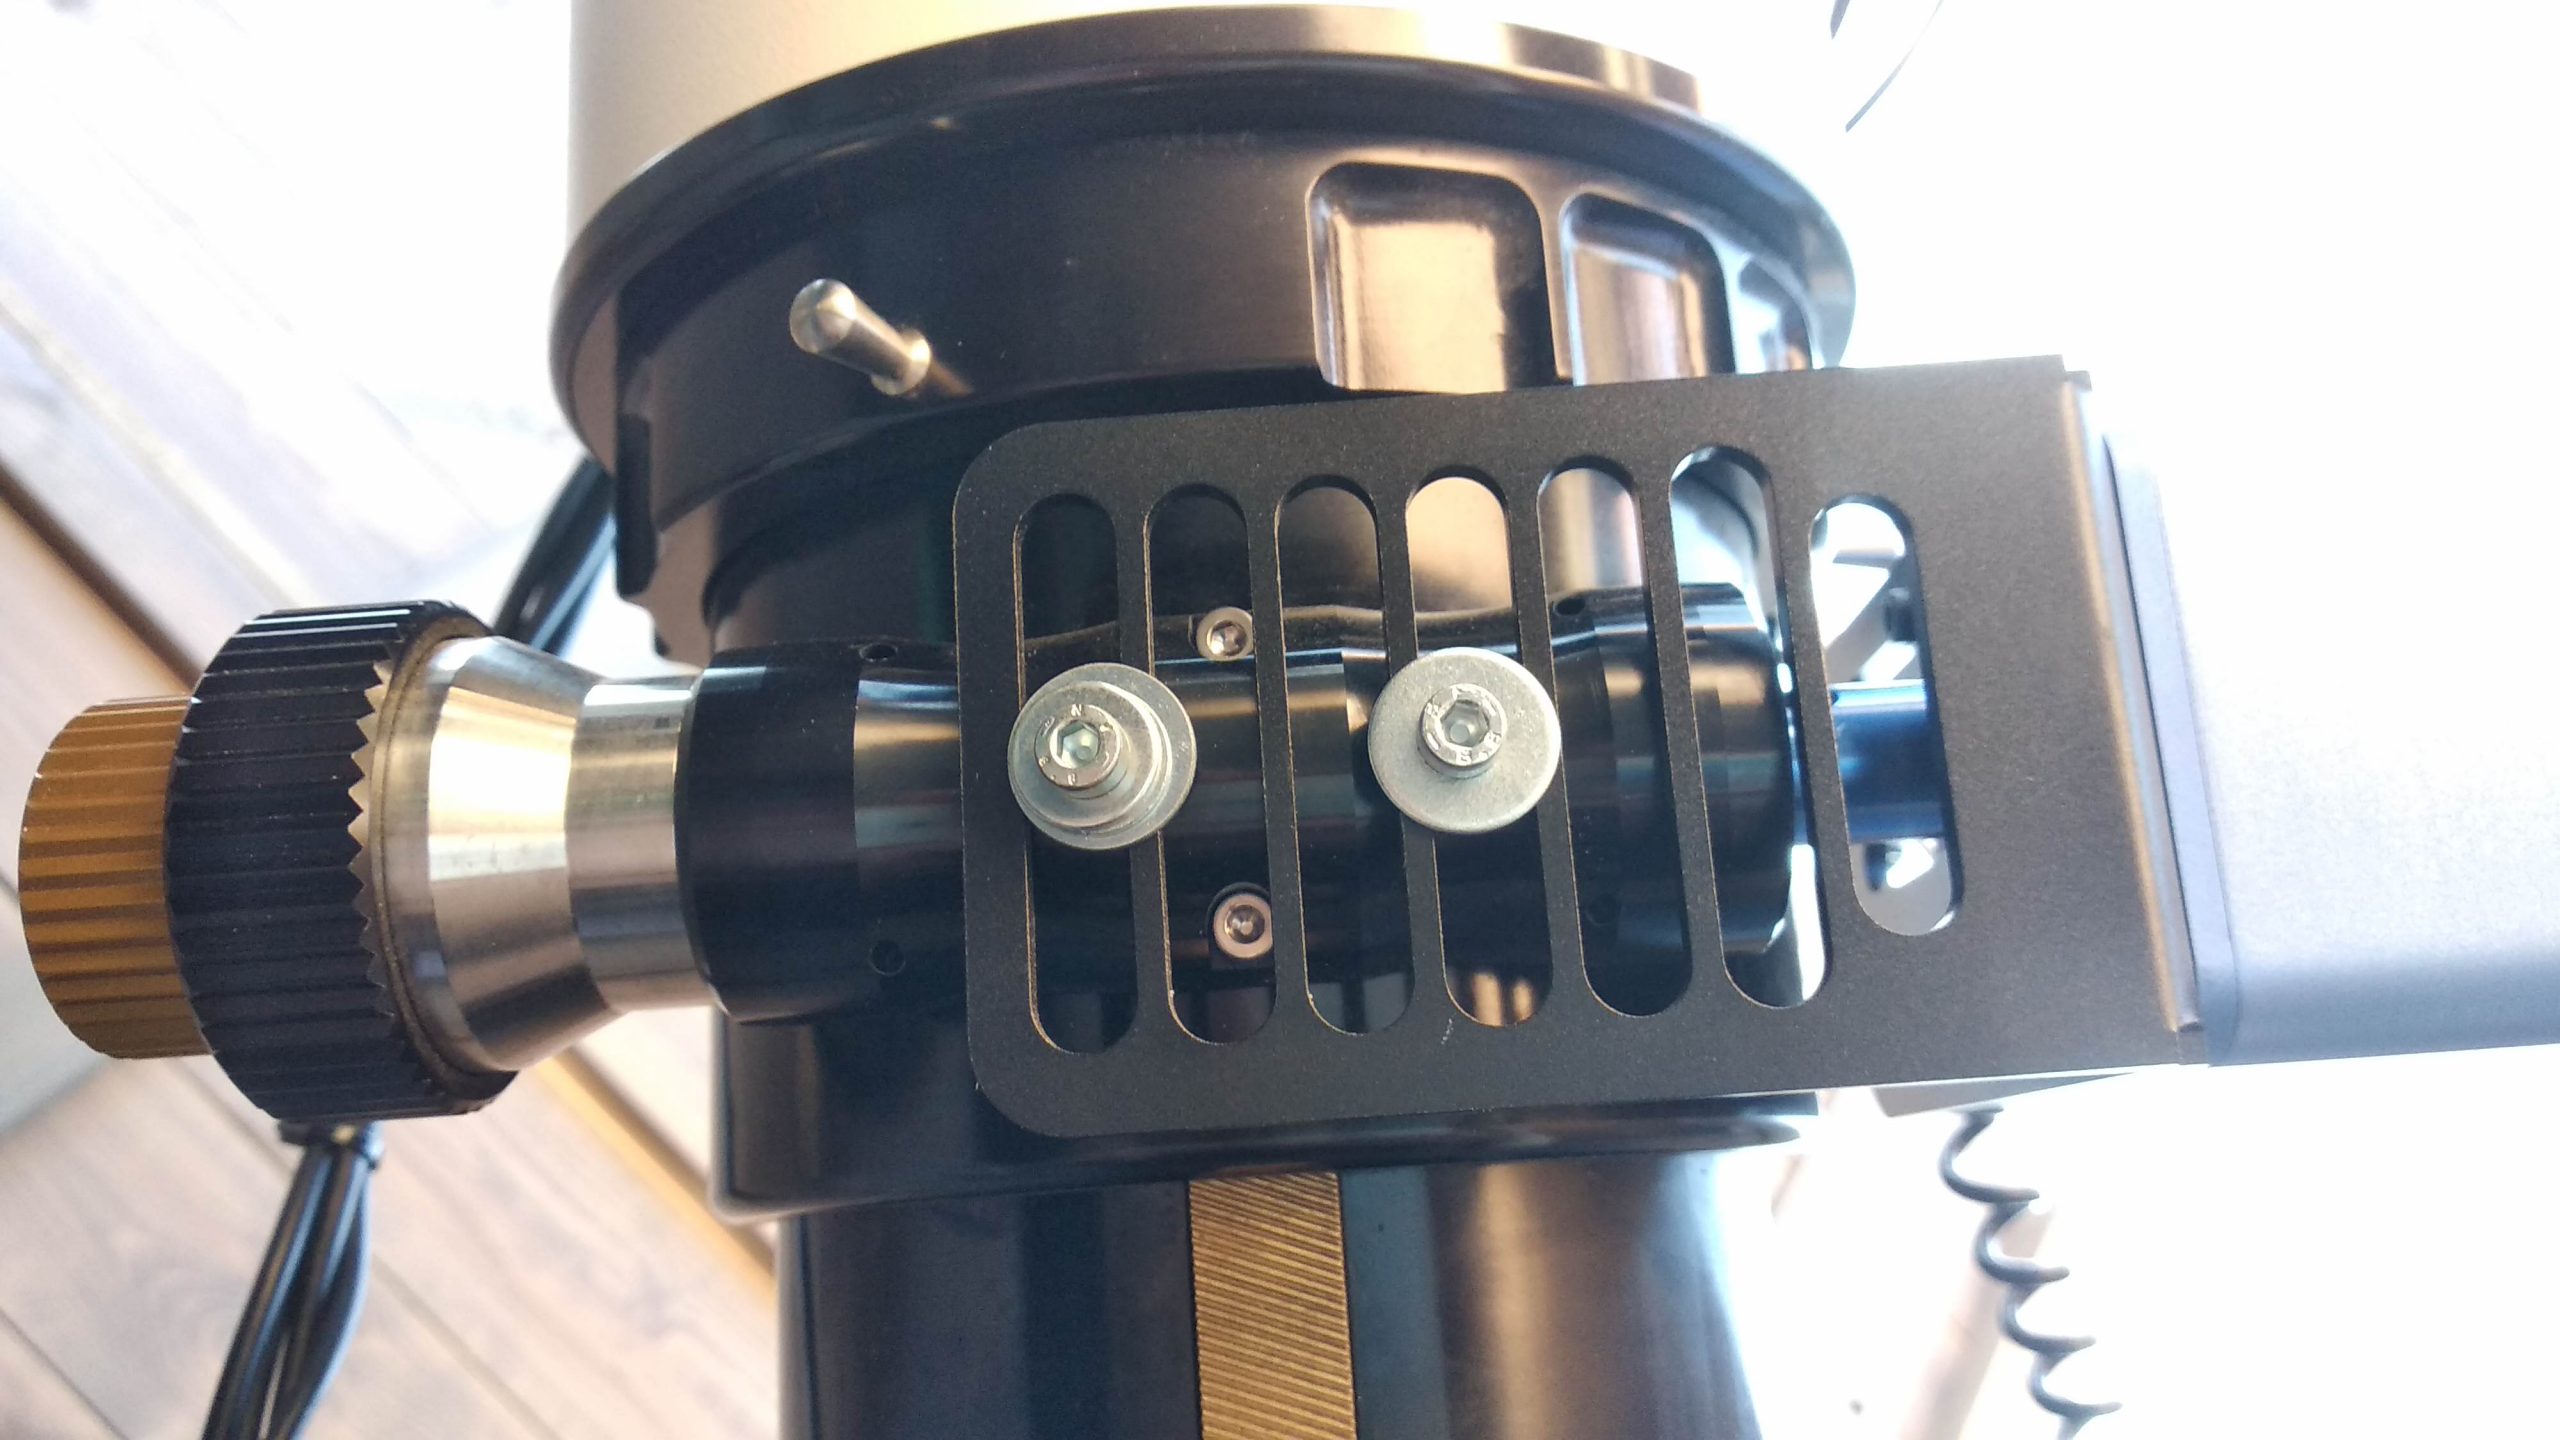
Bellow photos show how to attach the motor on a Baader Steeltrack Focuser

Remove the plastic grub-screws (the do not have an actual usage) from the bottom of the Steeltrack Focuser.

Align the L shape bracket with the focuser and use the supplied screws, spacers to attach the L shape bracket as shown below.

We have successfully installed our motor on:

  • Explore Scientific ED Series (ED80, ED102, ED127, ED152)
  • Explore Scientific ED-FCD100 Series (ED80-FCD100,  ED102-FCD100,  ED127-FCD100)
  • Explore Scientific FPL53 (ED140, ED115)

We have successfully installed our motor to:
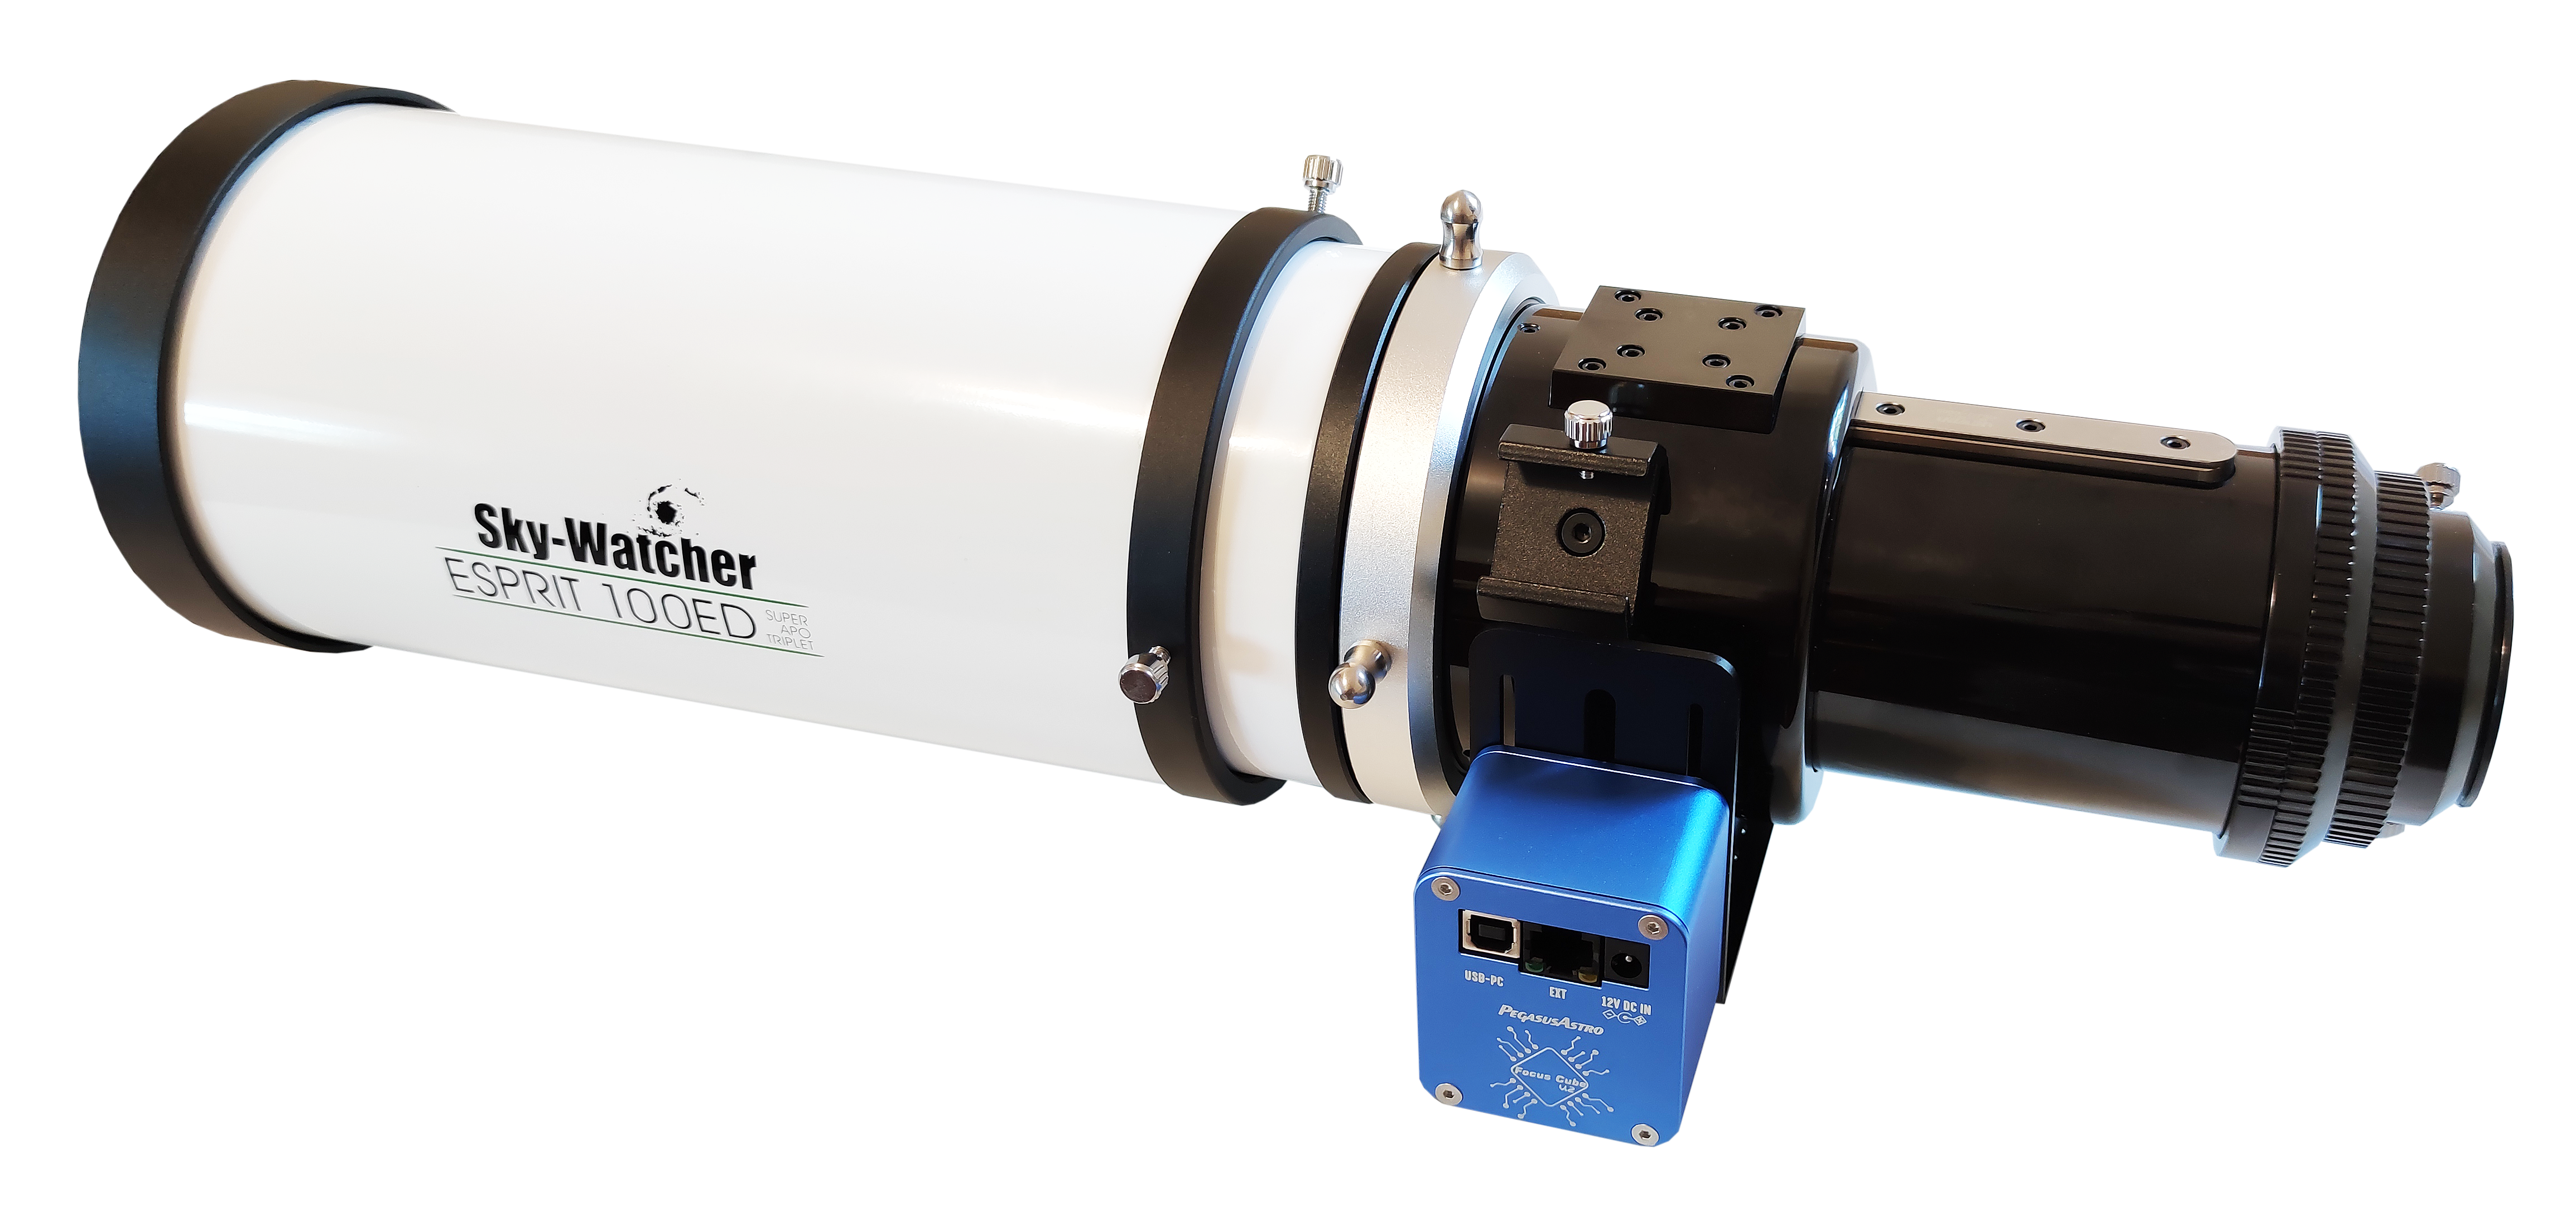
Skywatcher Esprit Series (80 ED, 100ED, 120ED, 150ED).

You can also watch the following video for the Esprit 100 installation

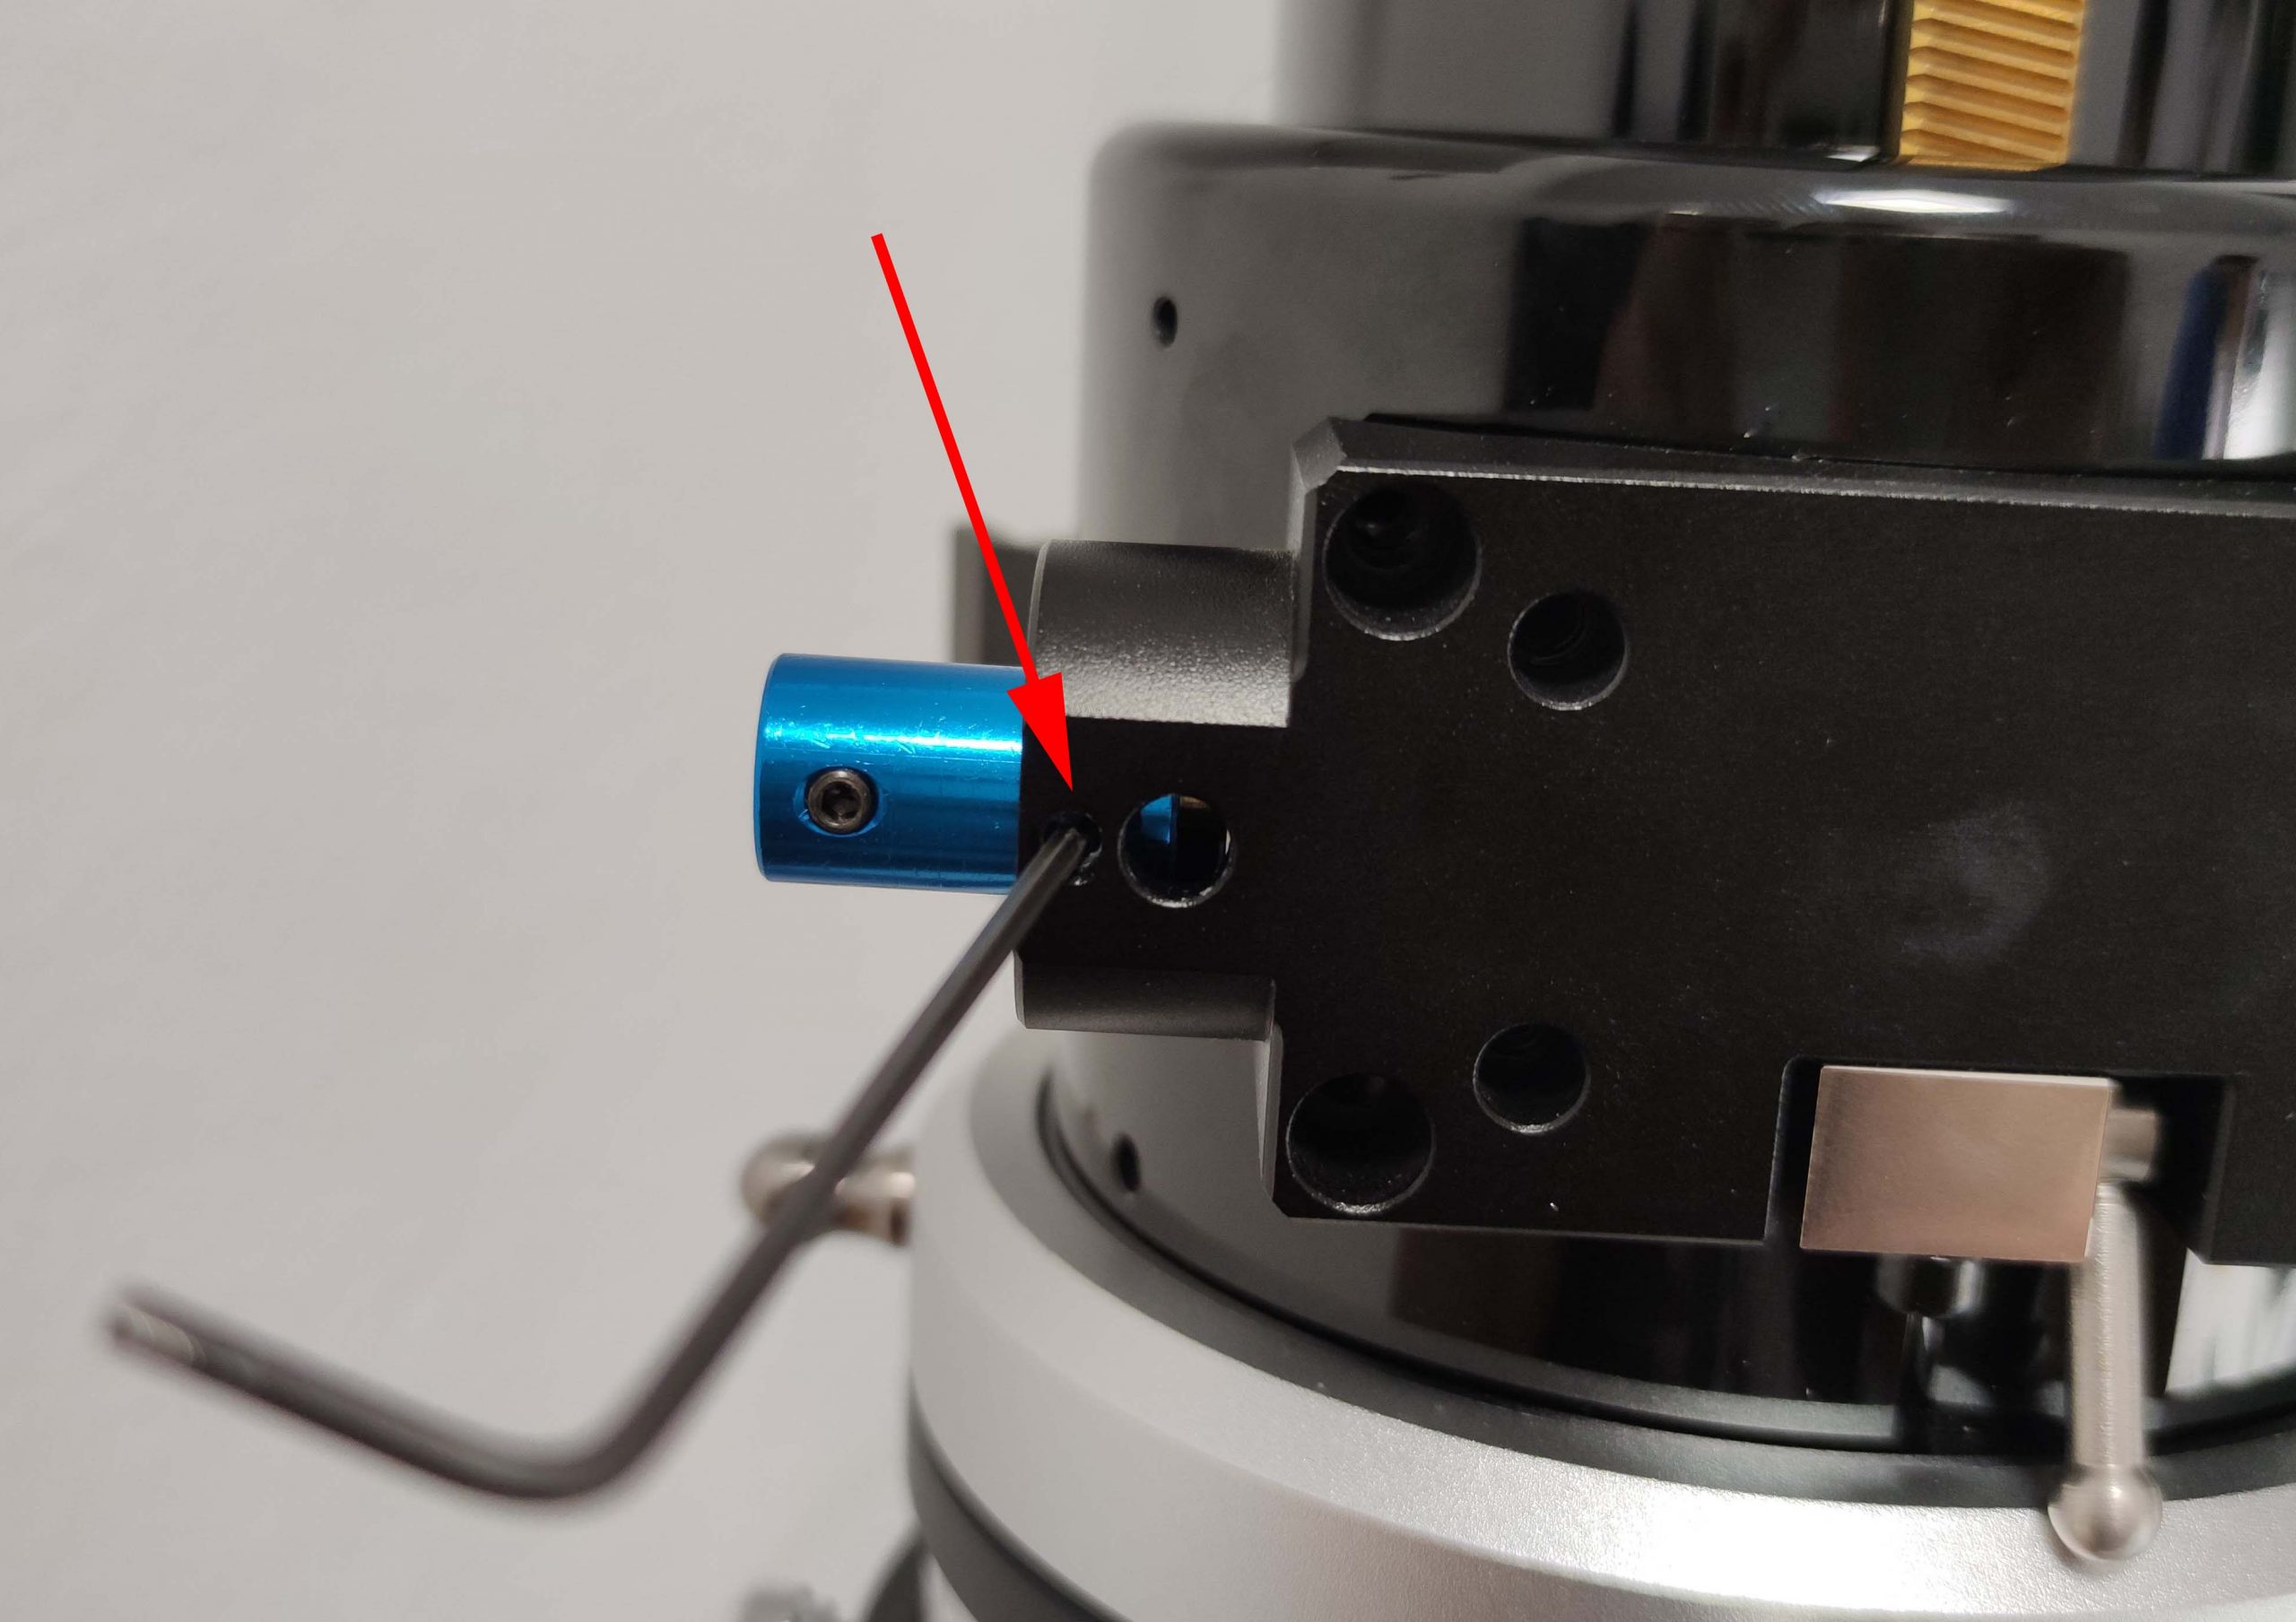
Locate the set screw pointed with red arrow at below photo. Use a hex key tool to remove this set screw.

Remove the coarse knob

Use the supplied 5 to 6mm motor coupler and attach it to the focuser’s shaft.
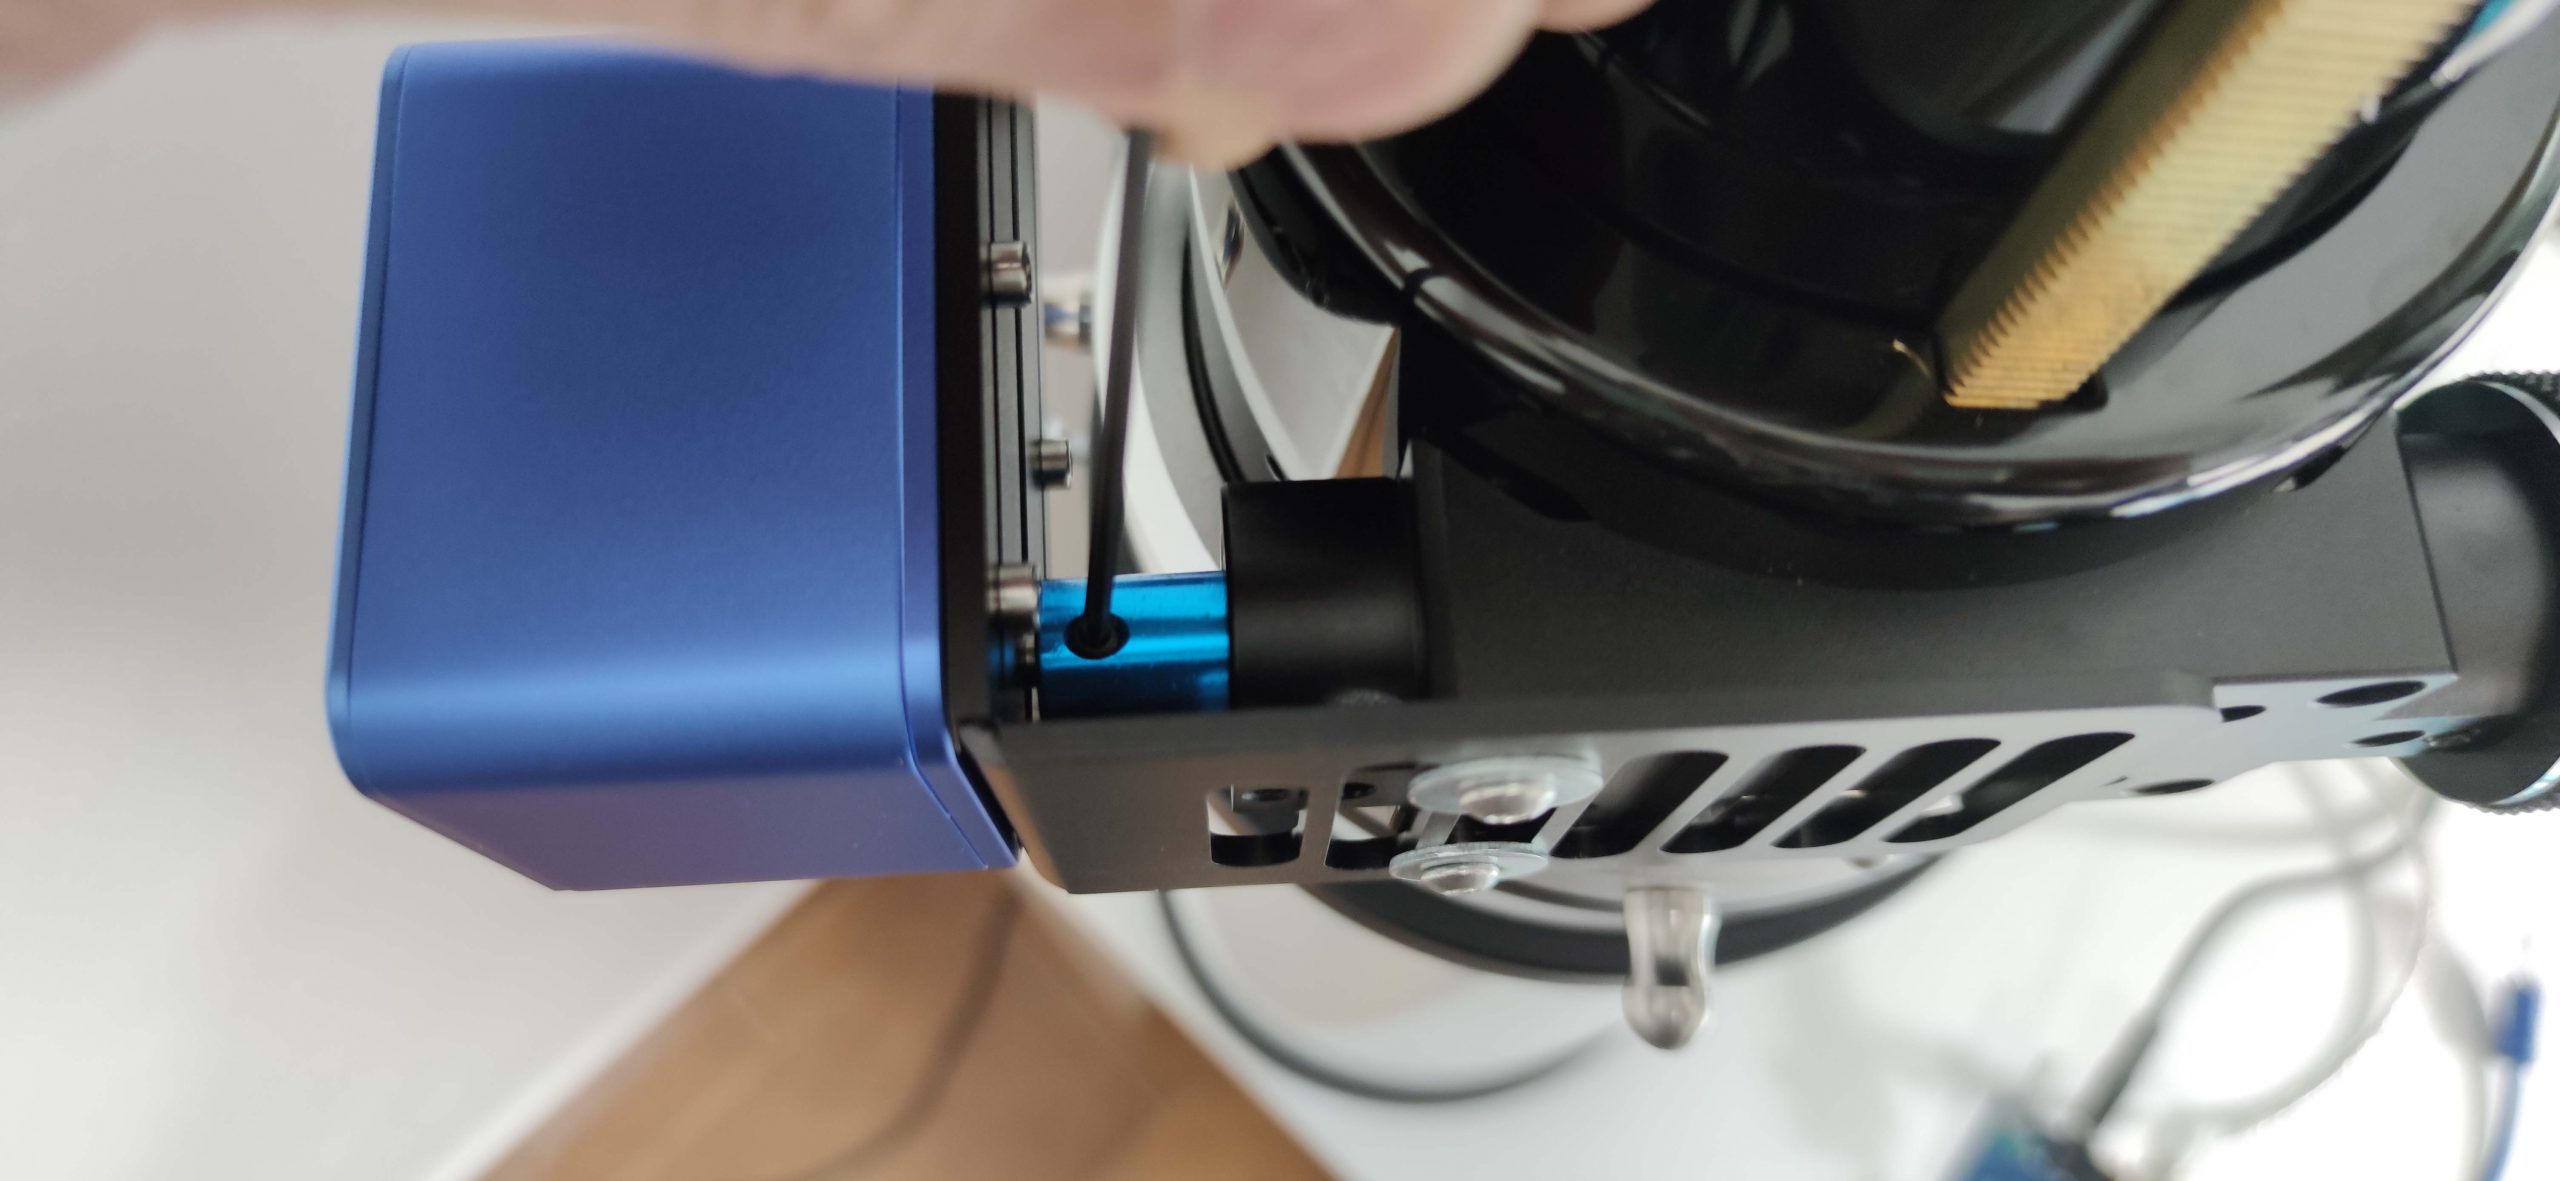
Pass through your hex key tool into the small hole (pointed with red arrow) and securely tighten the set screw of the motor coupler.

Turn using your hand the focuser knob to reveal the 2nd set screw of the coupler. Make sure to tighten both set screws very well.

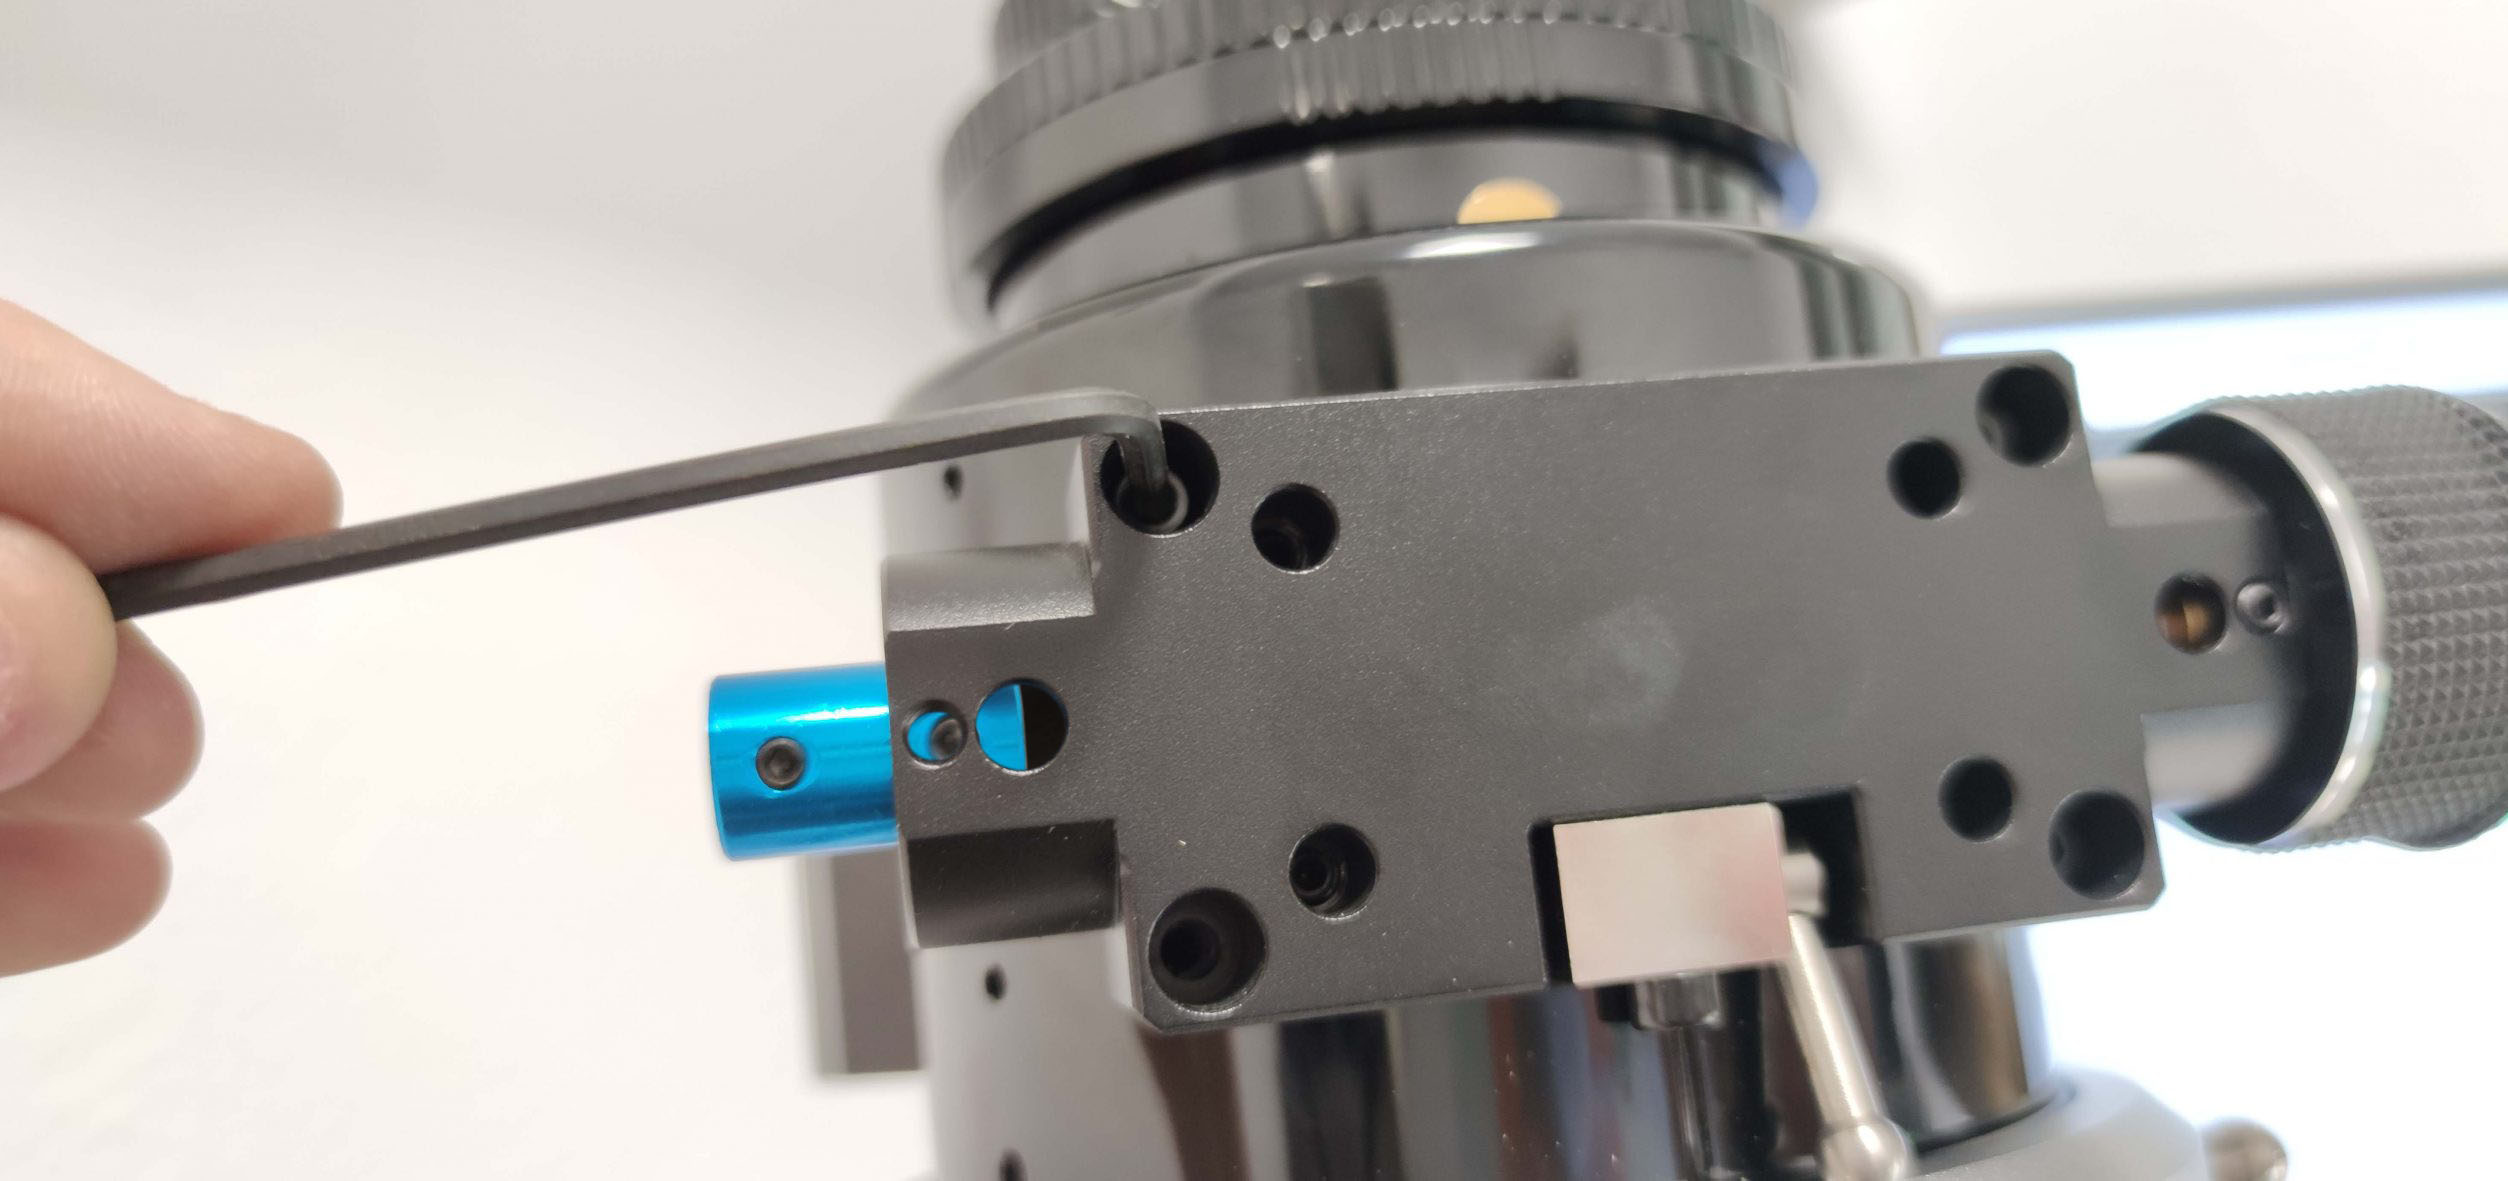
Remove the two outer bolts using the hex key tool (check below photo).
You do not need these screws anymore. Keep them in a safe place.

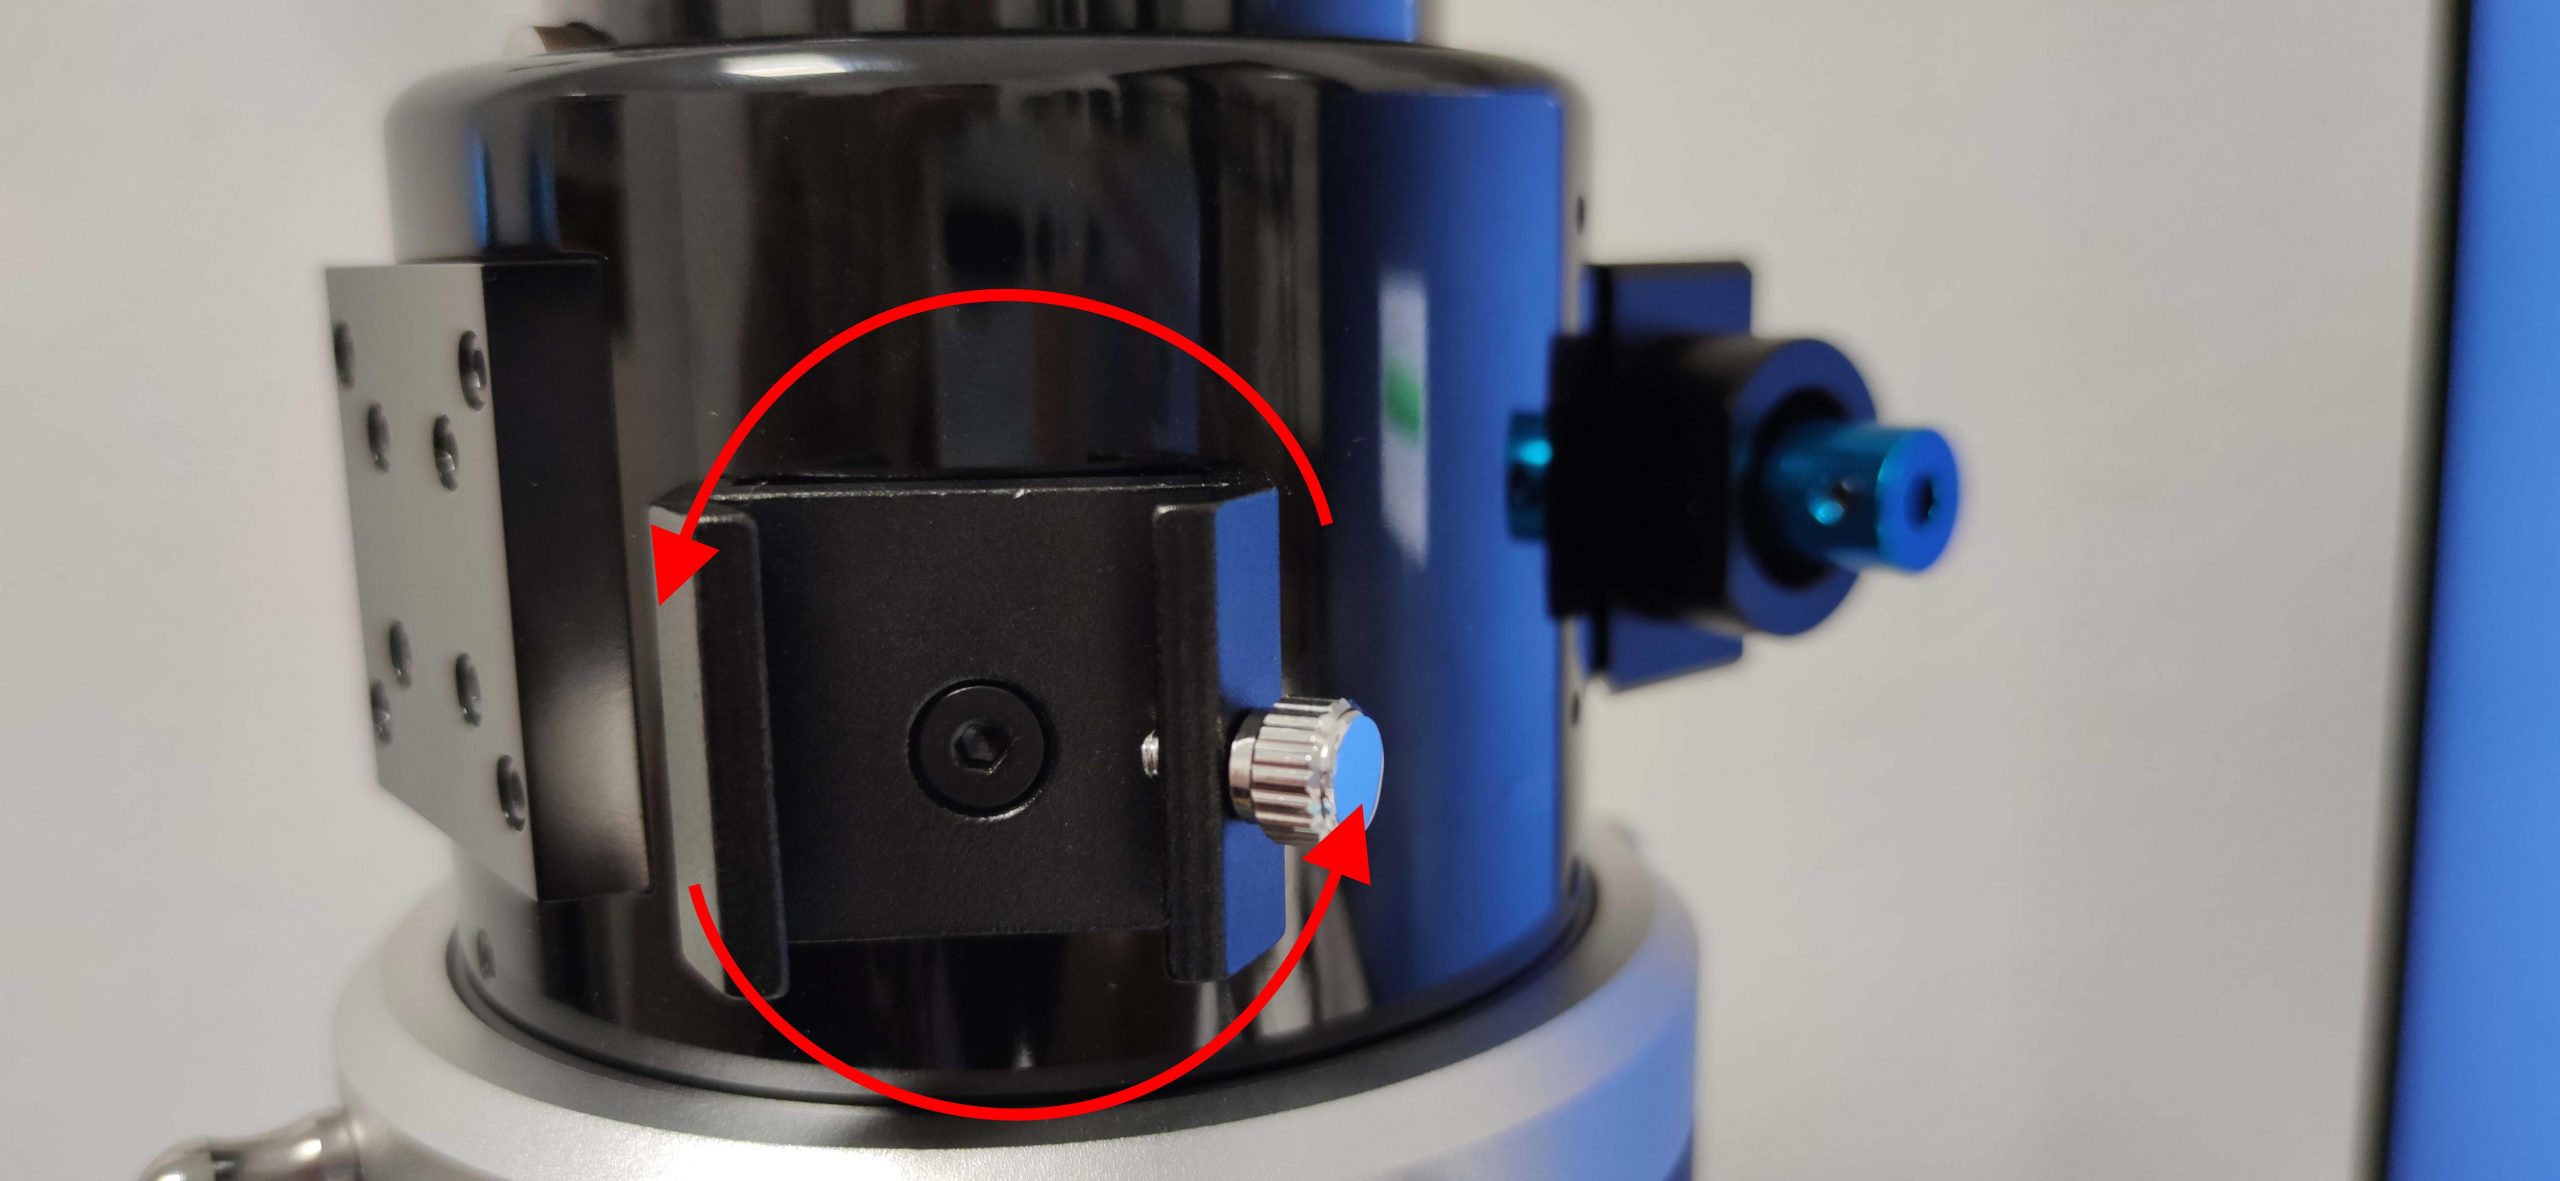
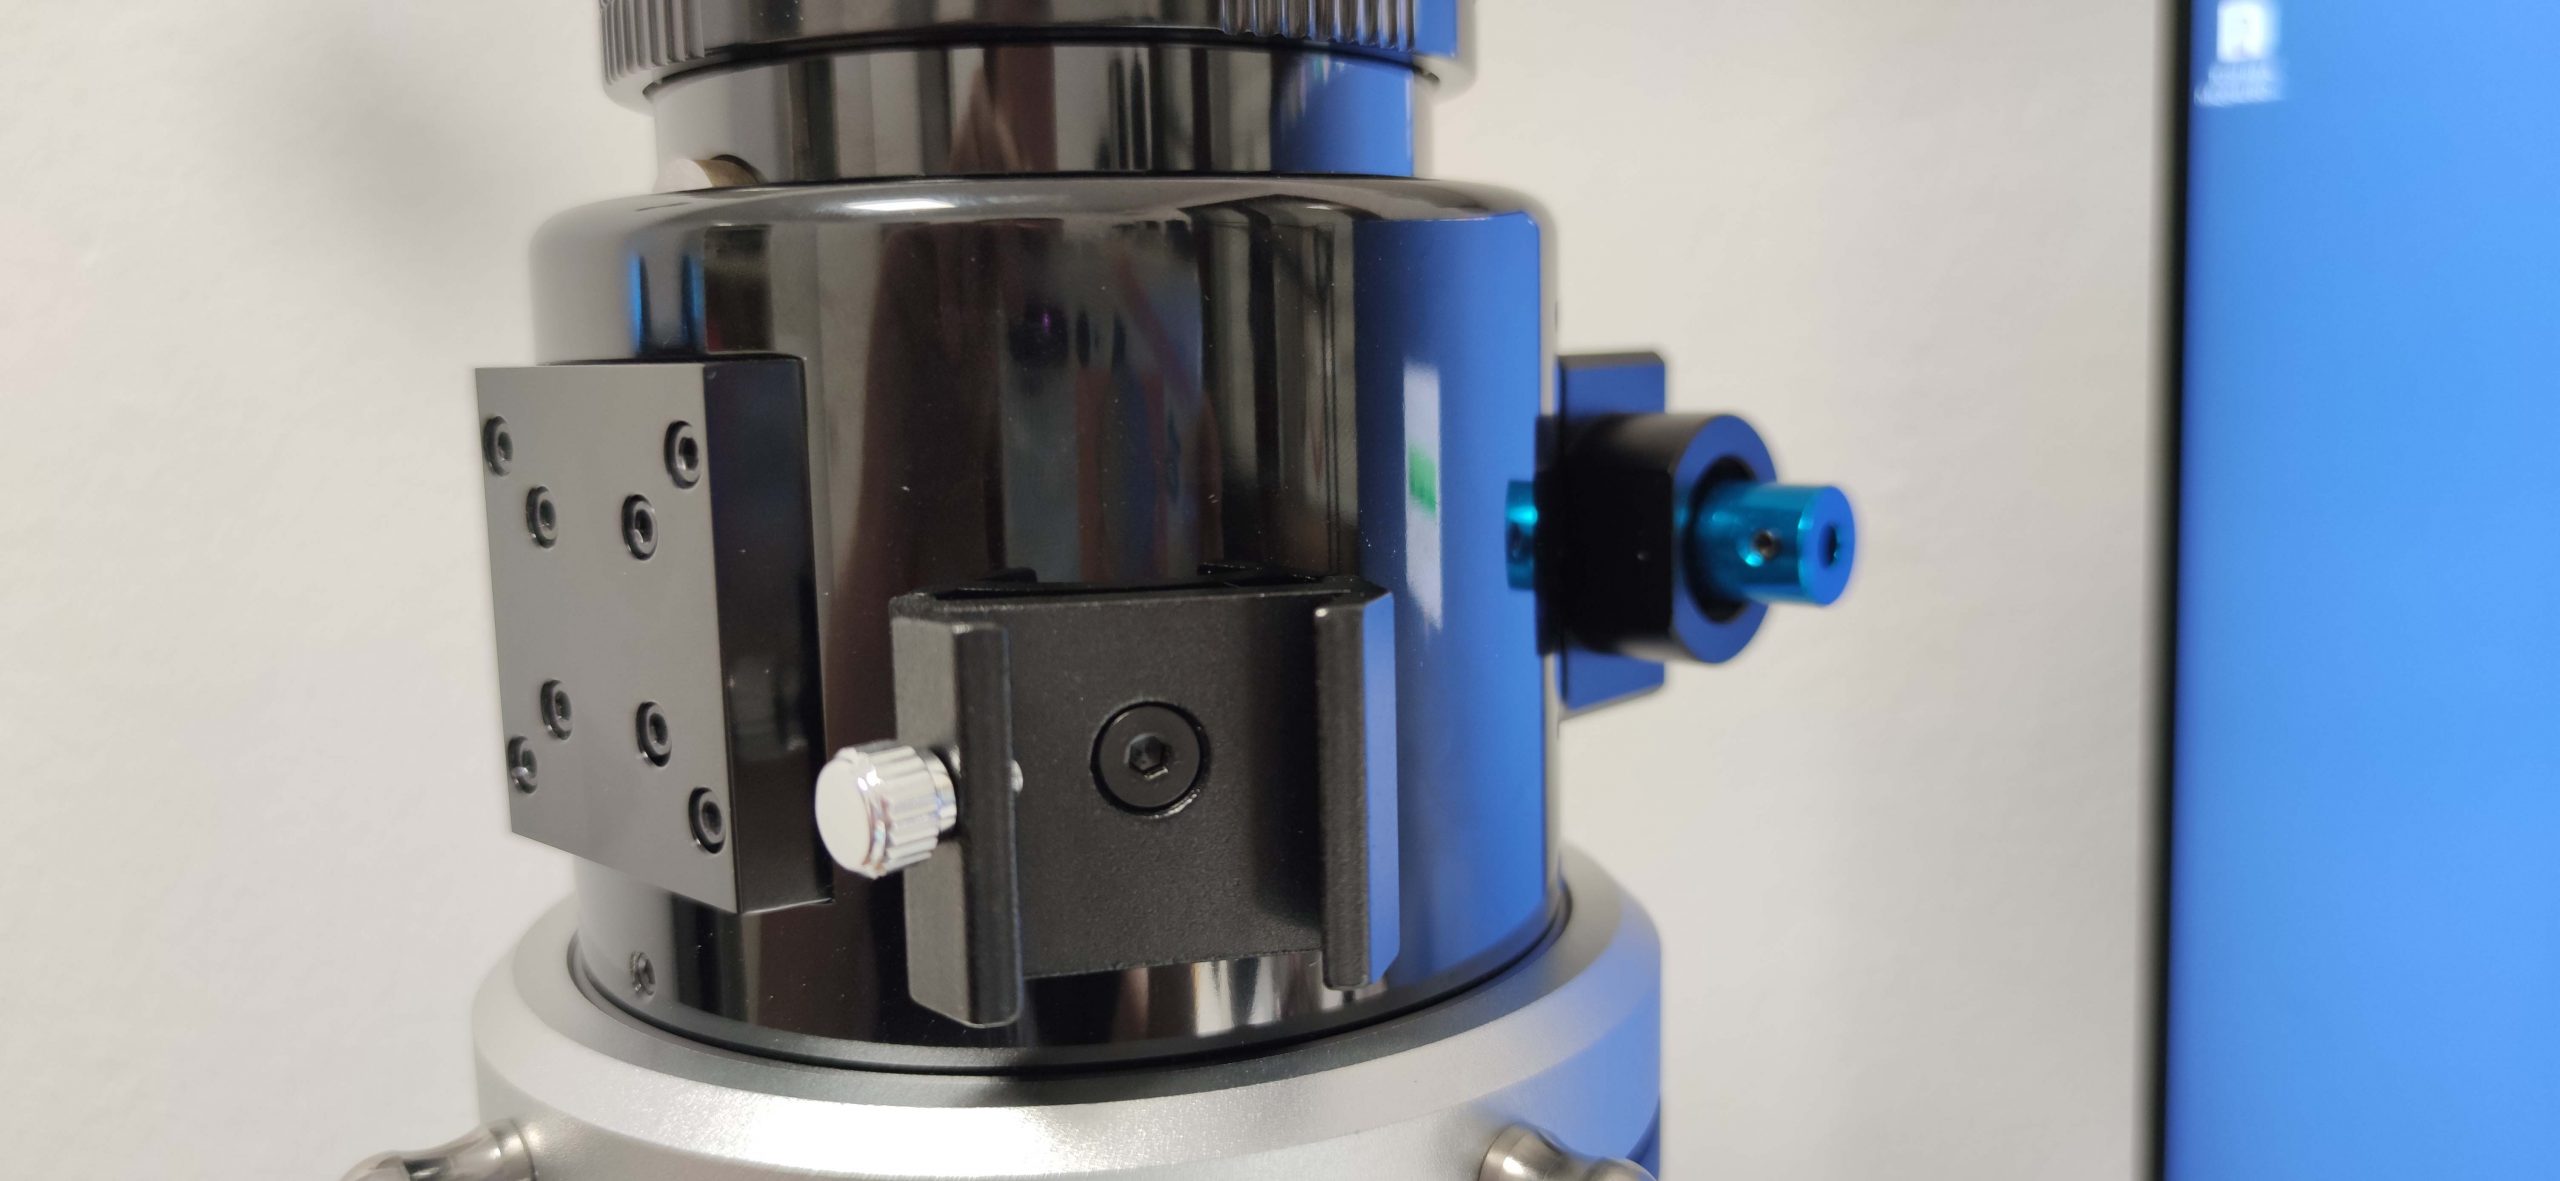
Please note that the thumb screw of the finder holder collides with the motor L shape bracket so there are two options to avoid this.
a) Rotate the finder holder 180 degrees, as displayed below.

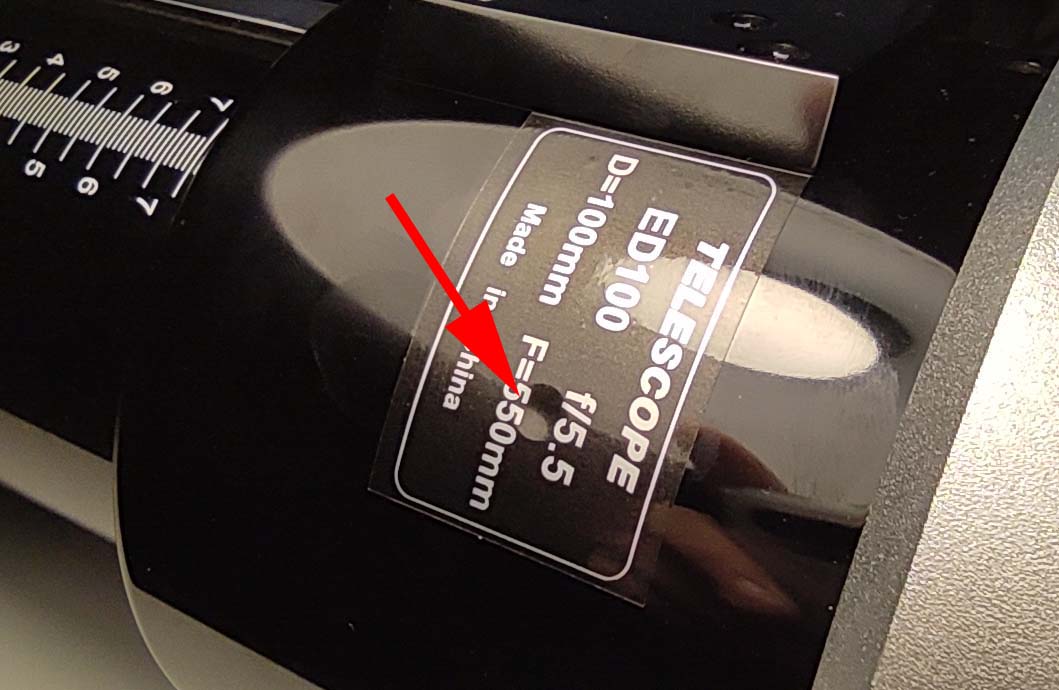
b) Detach and place the finder holder on the opposite side where there is a hidden screw thread under the label (as shown in the image below)

Place the motor on the bracket and align the motor shaft to the “already placed” motor coupler. Secure the motor with the bracket by tightening all 4 bolts.

Be sure to have the set screws of the motor coupler on top. This is required to allow you to have access to them by using the hex key tool. Do not tighten the coupler set screws of the motor side yet!

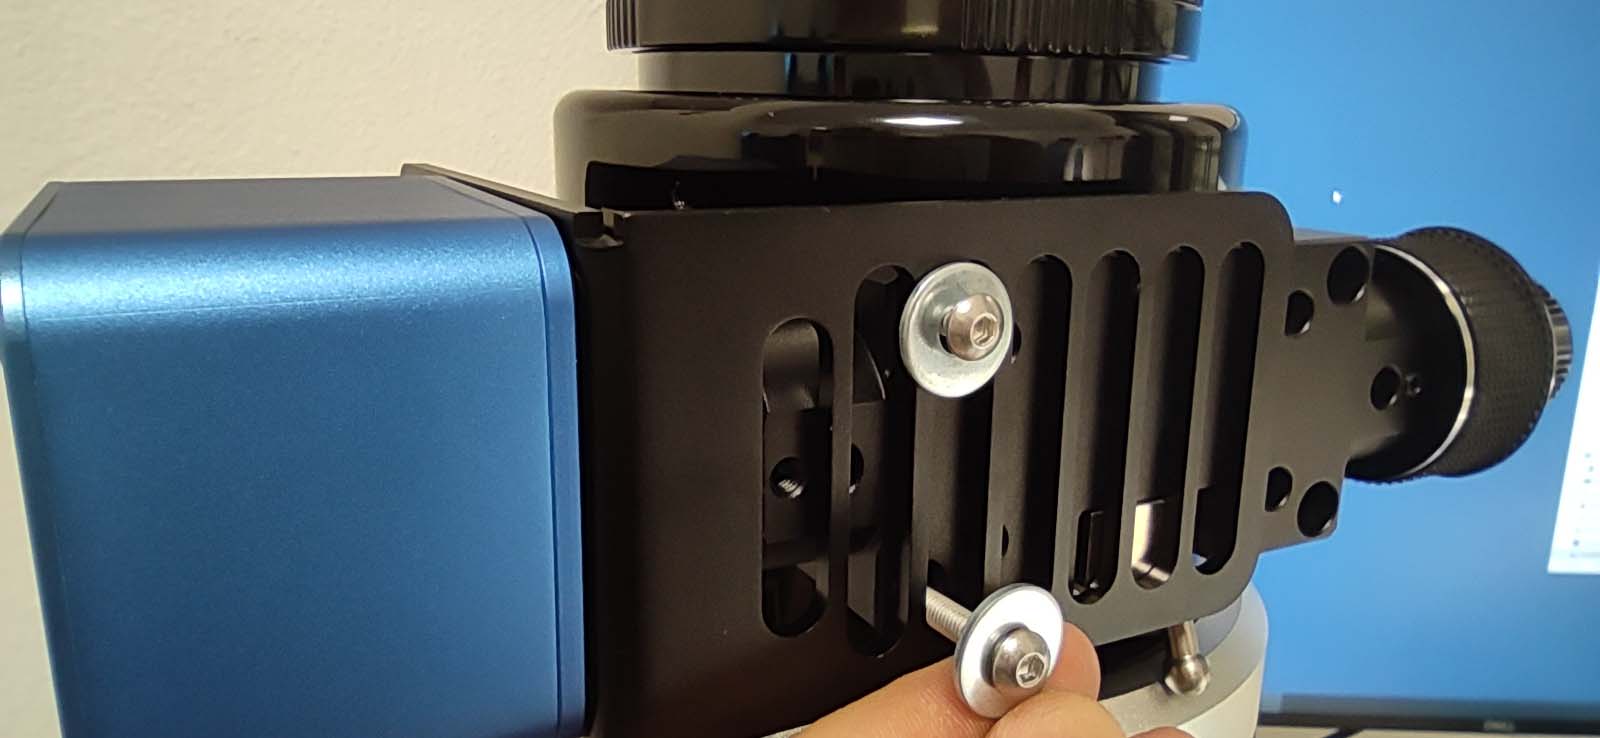
Use the longer supplied screws (M4x30mm) and spacers and use them to attach the L bracket on the focuser. Place these screws into the 3rd slot from the left of the bracket (check the photo below)

Do not fully tighten them yet!

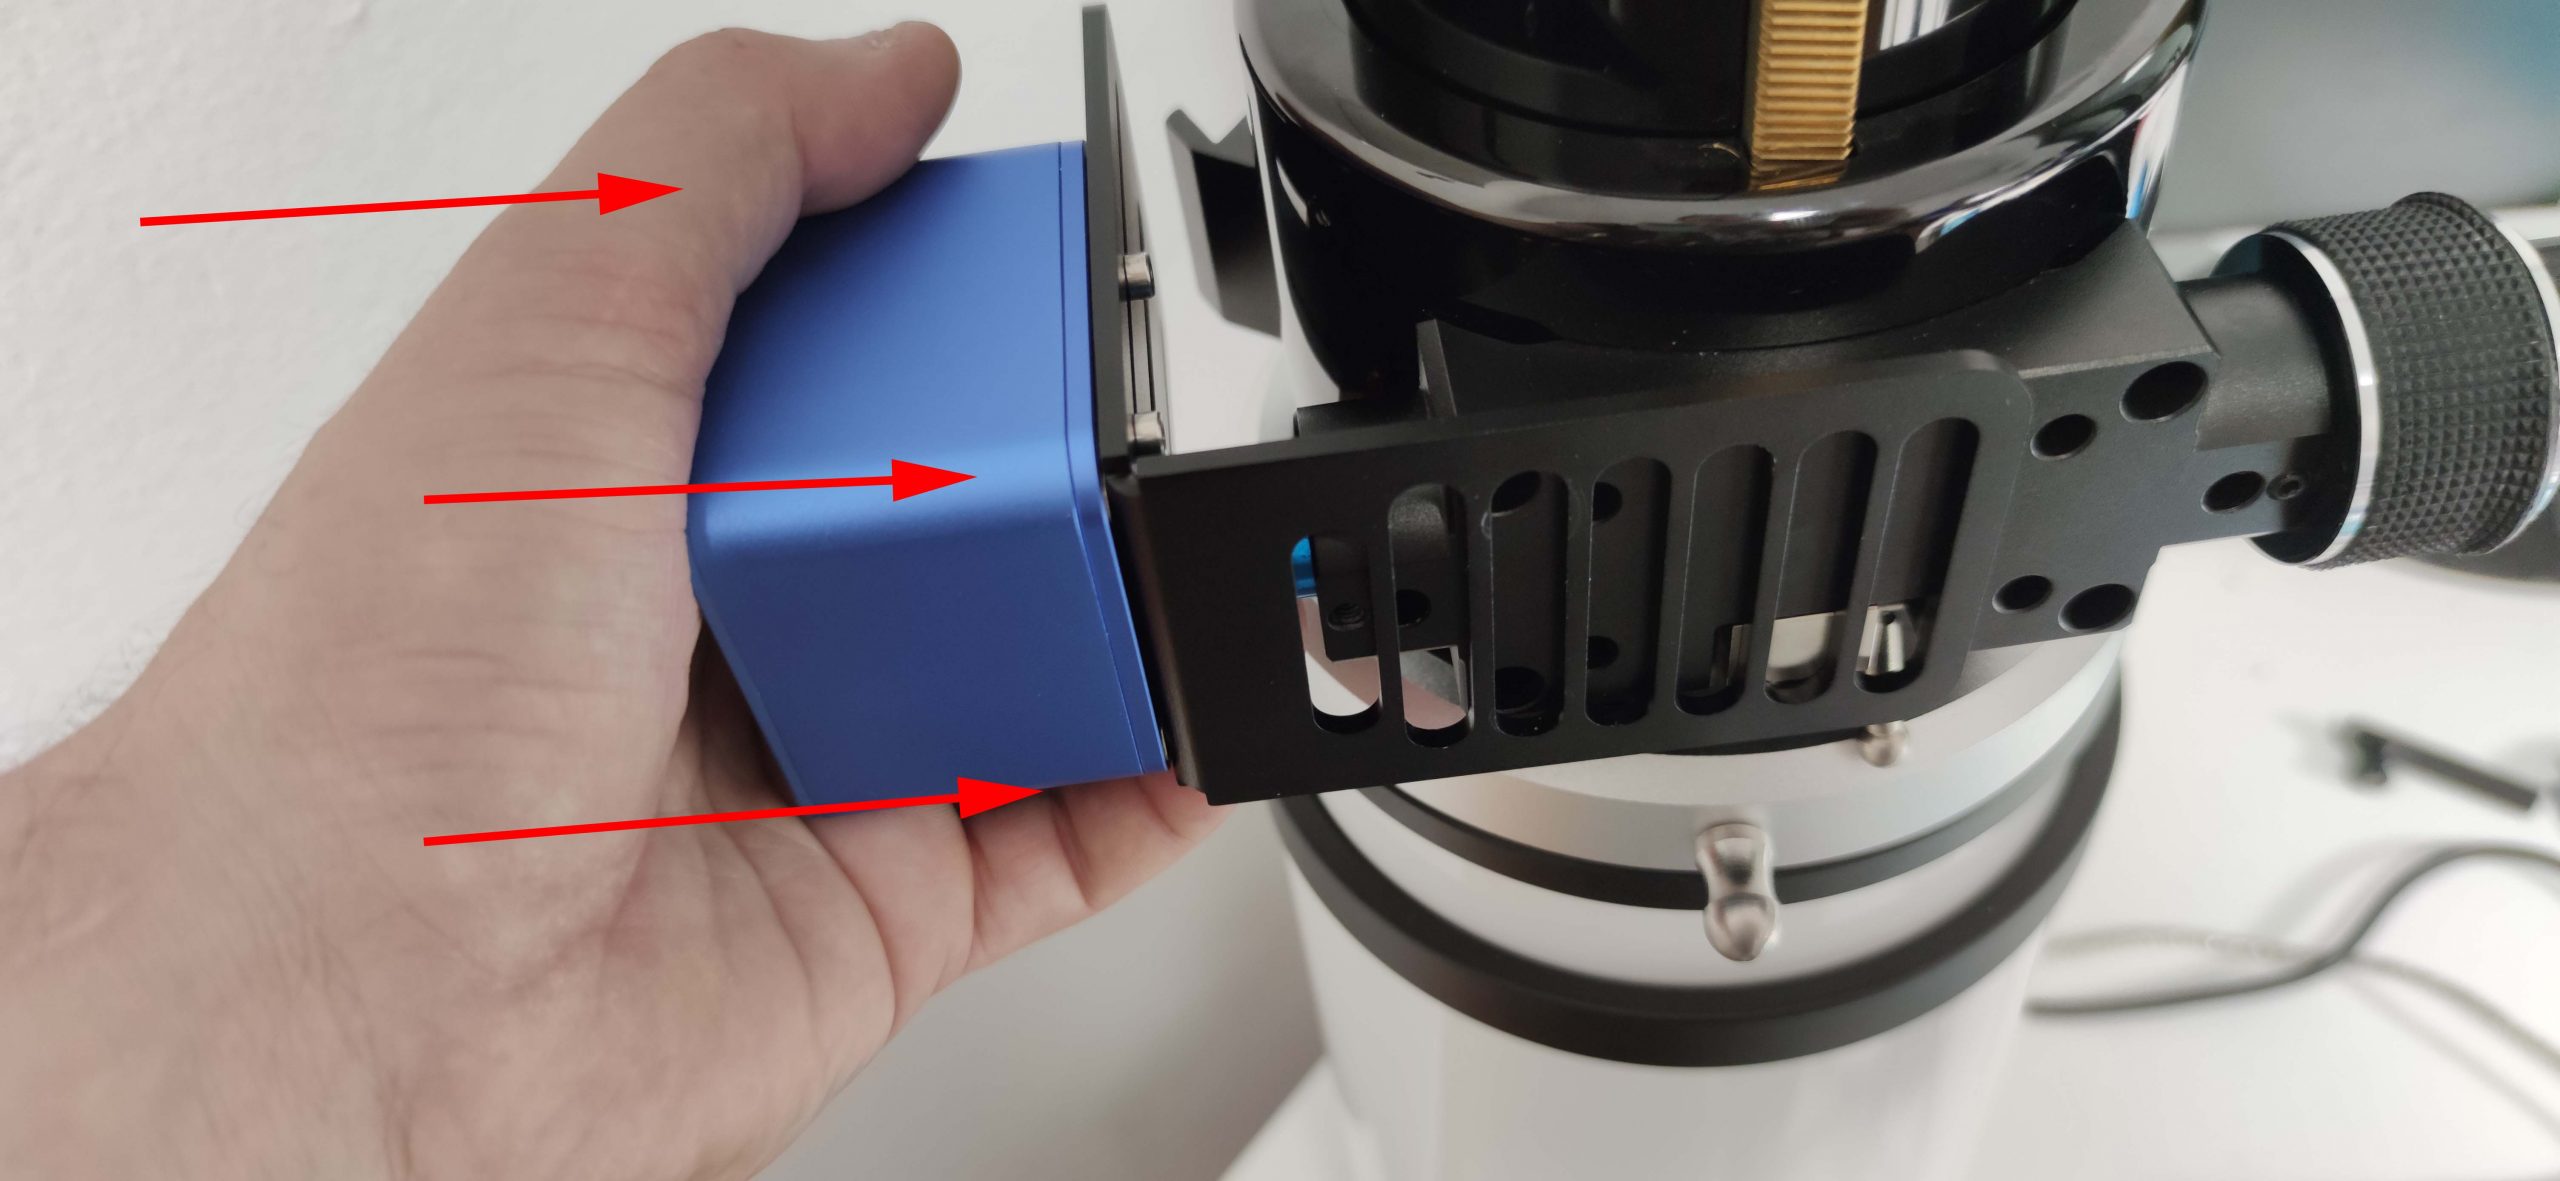
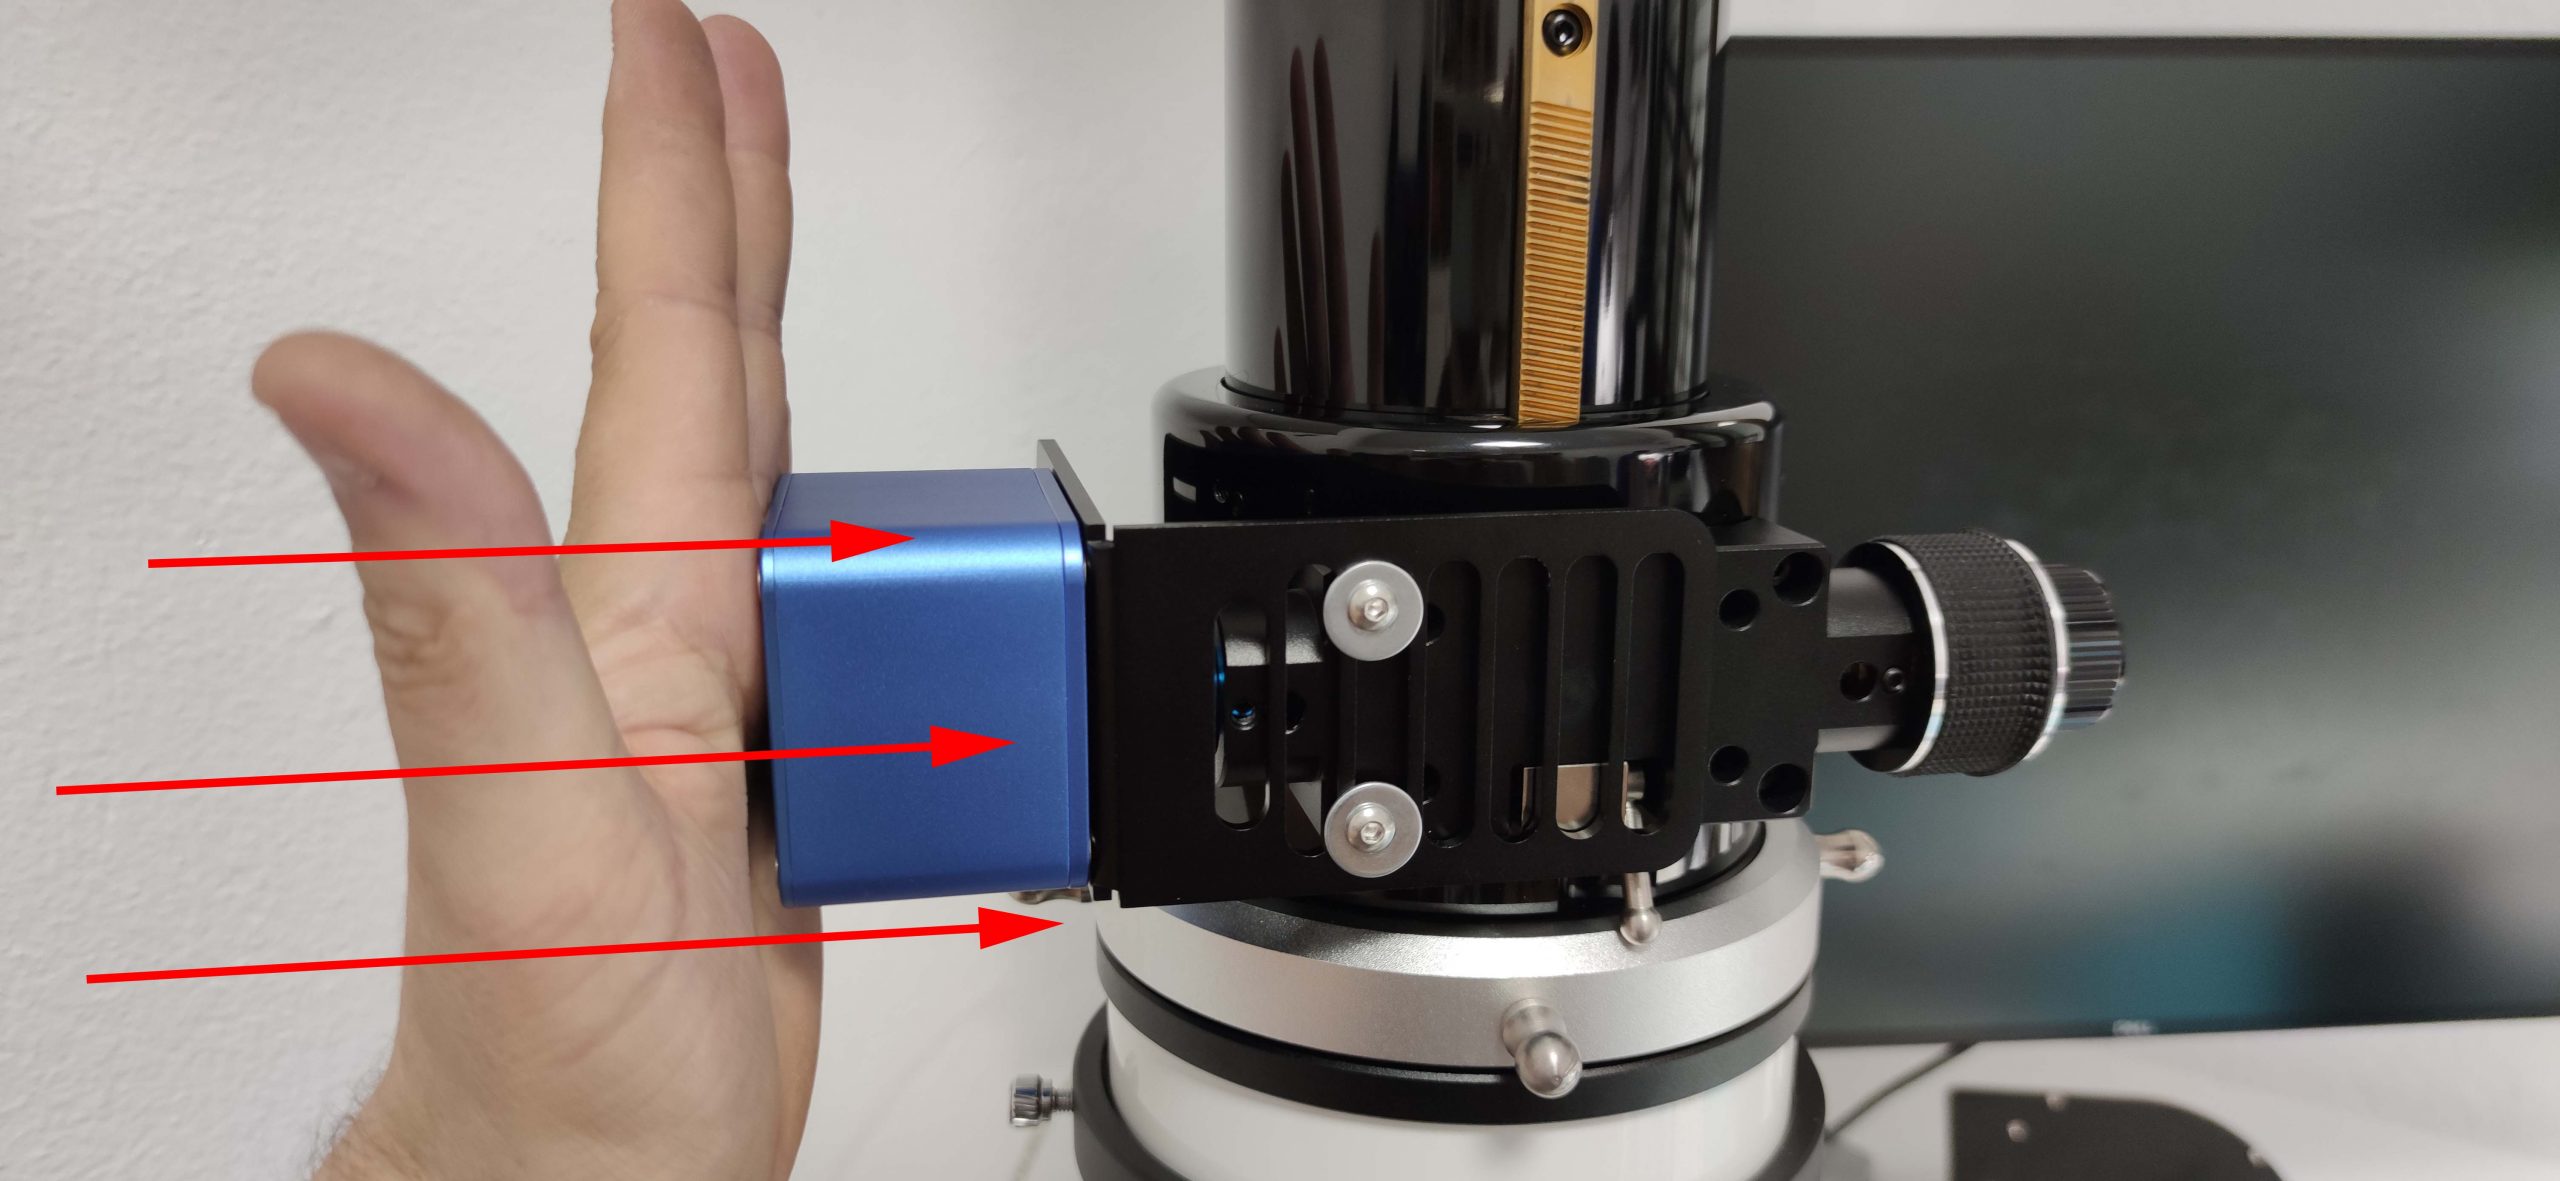
Push the motor close to the telescope (as displayed below).

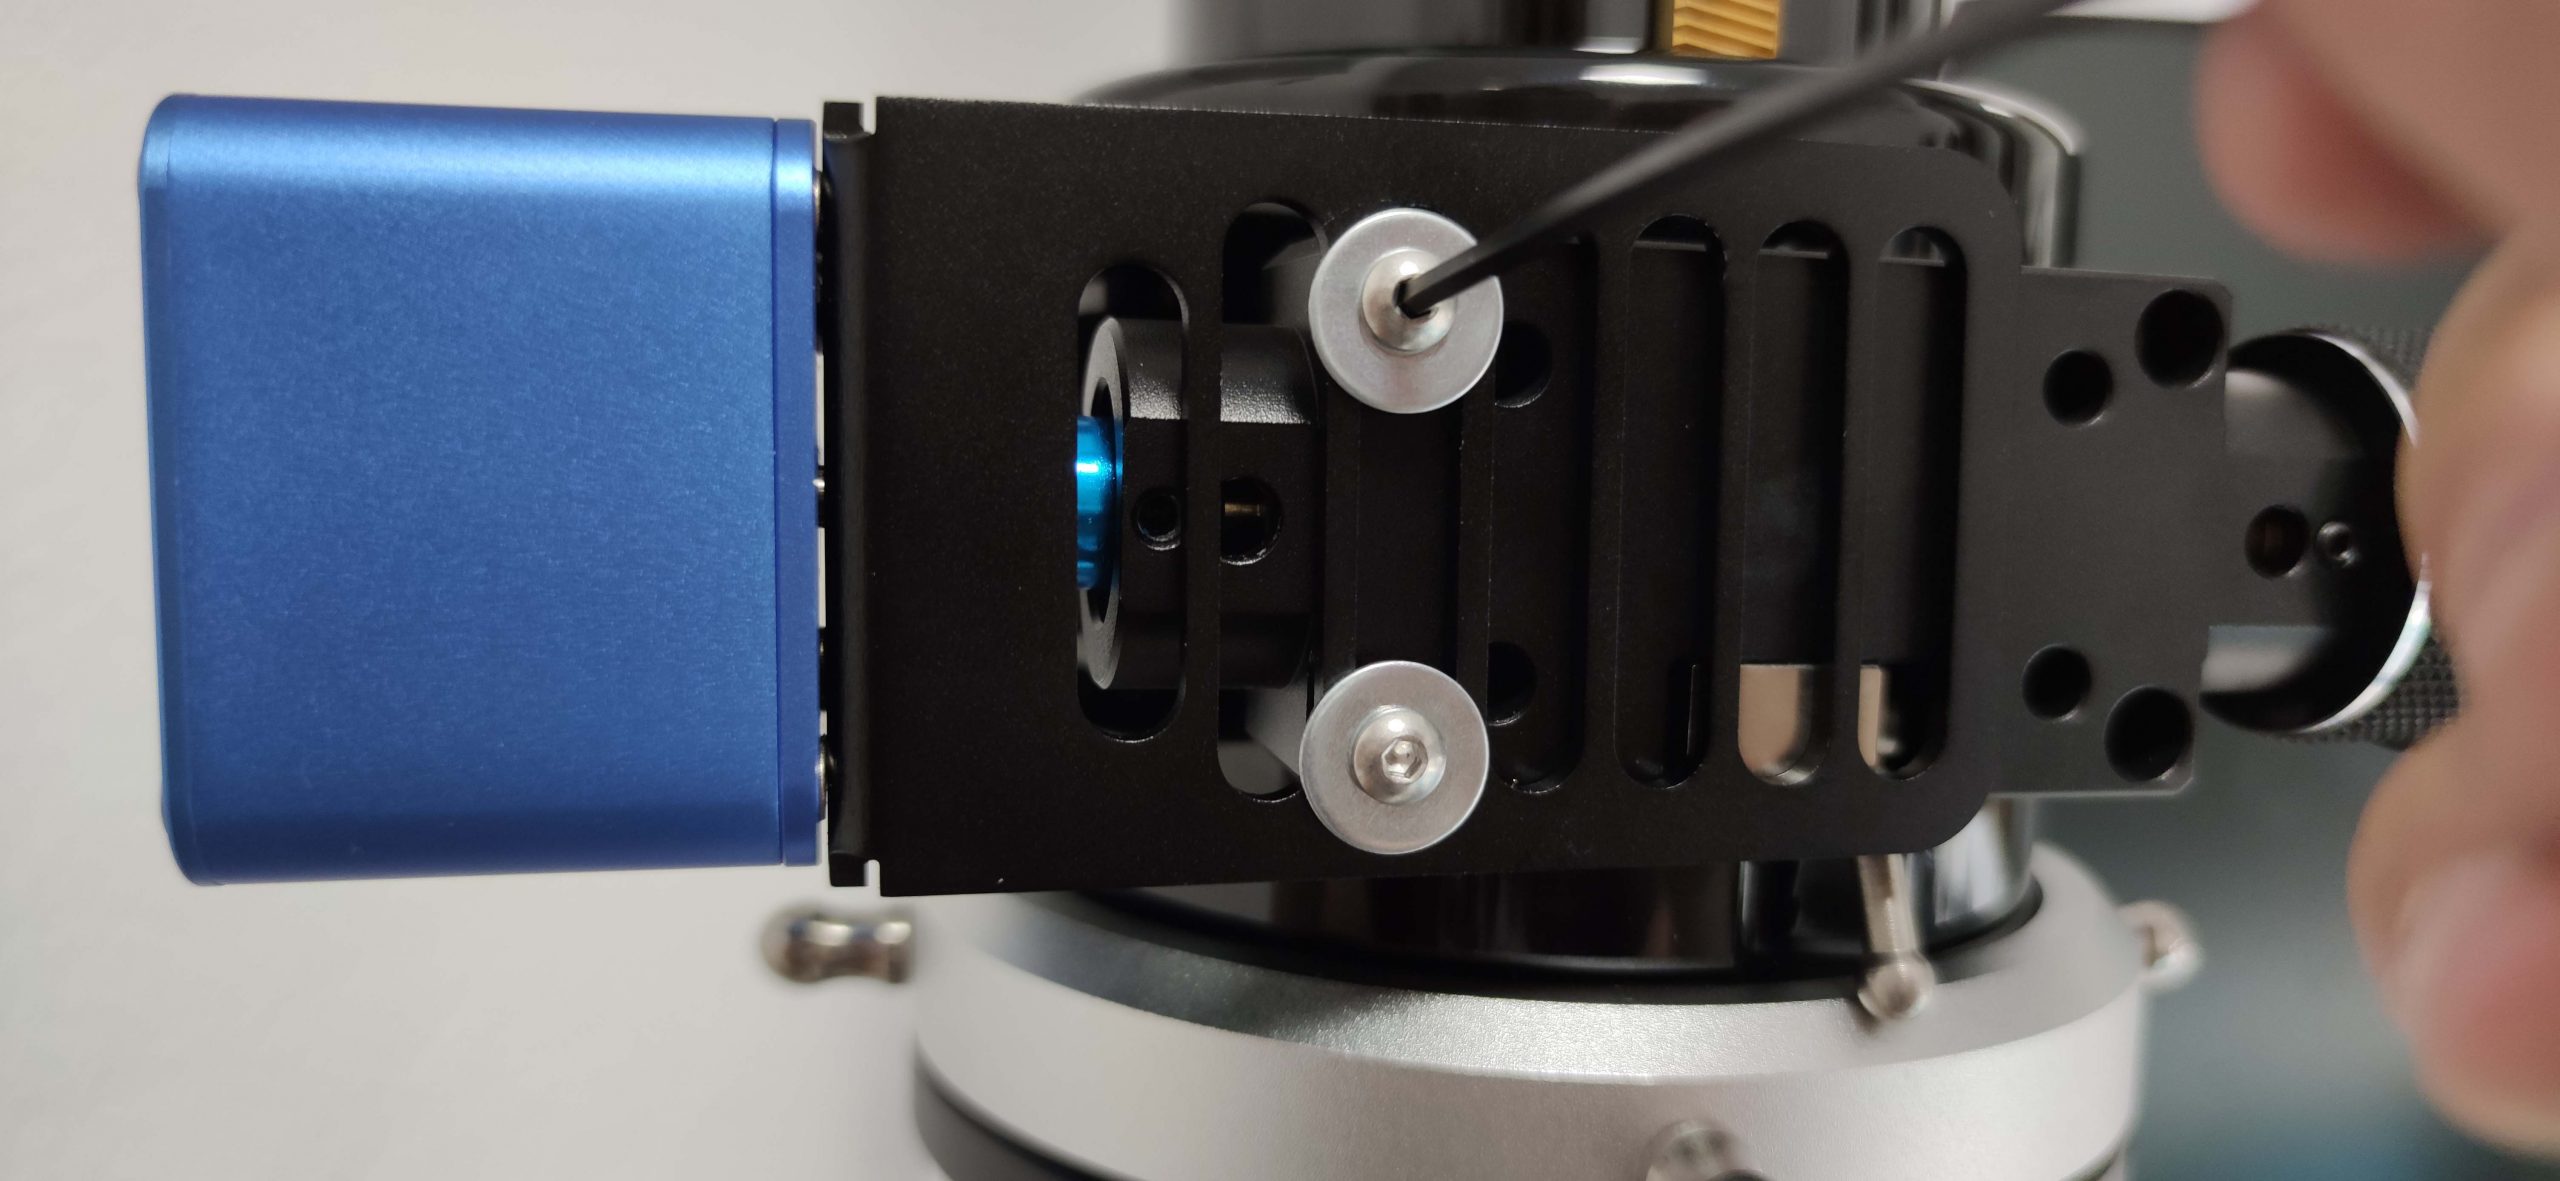
Tighten all set scews of the motor coupler

Please note that the brake clutch should not be used. Motor has a powerful gearbox which acts as a brake when motor is not rotating.

Tighten both large screws under your focuser

We have installed the motor to all Starlight Feathertouch Focuser Series (from 2” to 3.5”).
Installation is very easy and the supplied bolts and spacers ensures that motor is securely attached on the focuser

Below photos are from a TEC140 with a 3.5” Starlight Focuser

Stellarvue 2″ focusers has a nice flat surface underneath. It is very easy to place the L shape bracket by removing the brake thumbscrew and use that thread to grab the bracket. One screw /washer is enough to hold the bracket in place. Motor has a powerful gearbox which acts as a brake so you will never need to engage this brake thumbscrew.

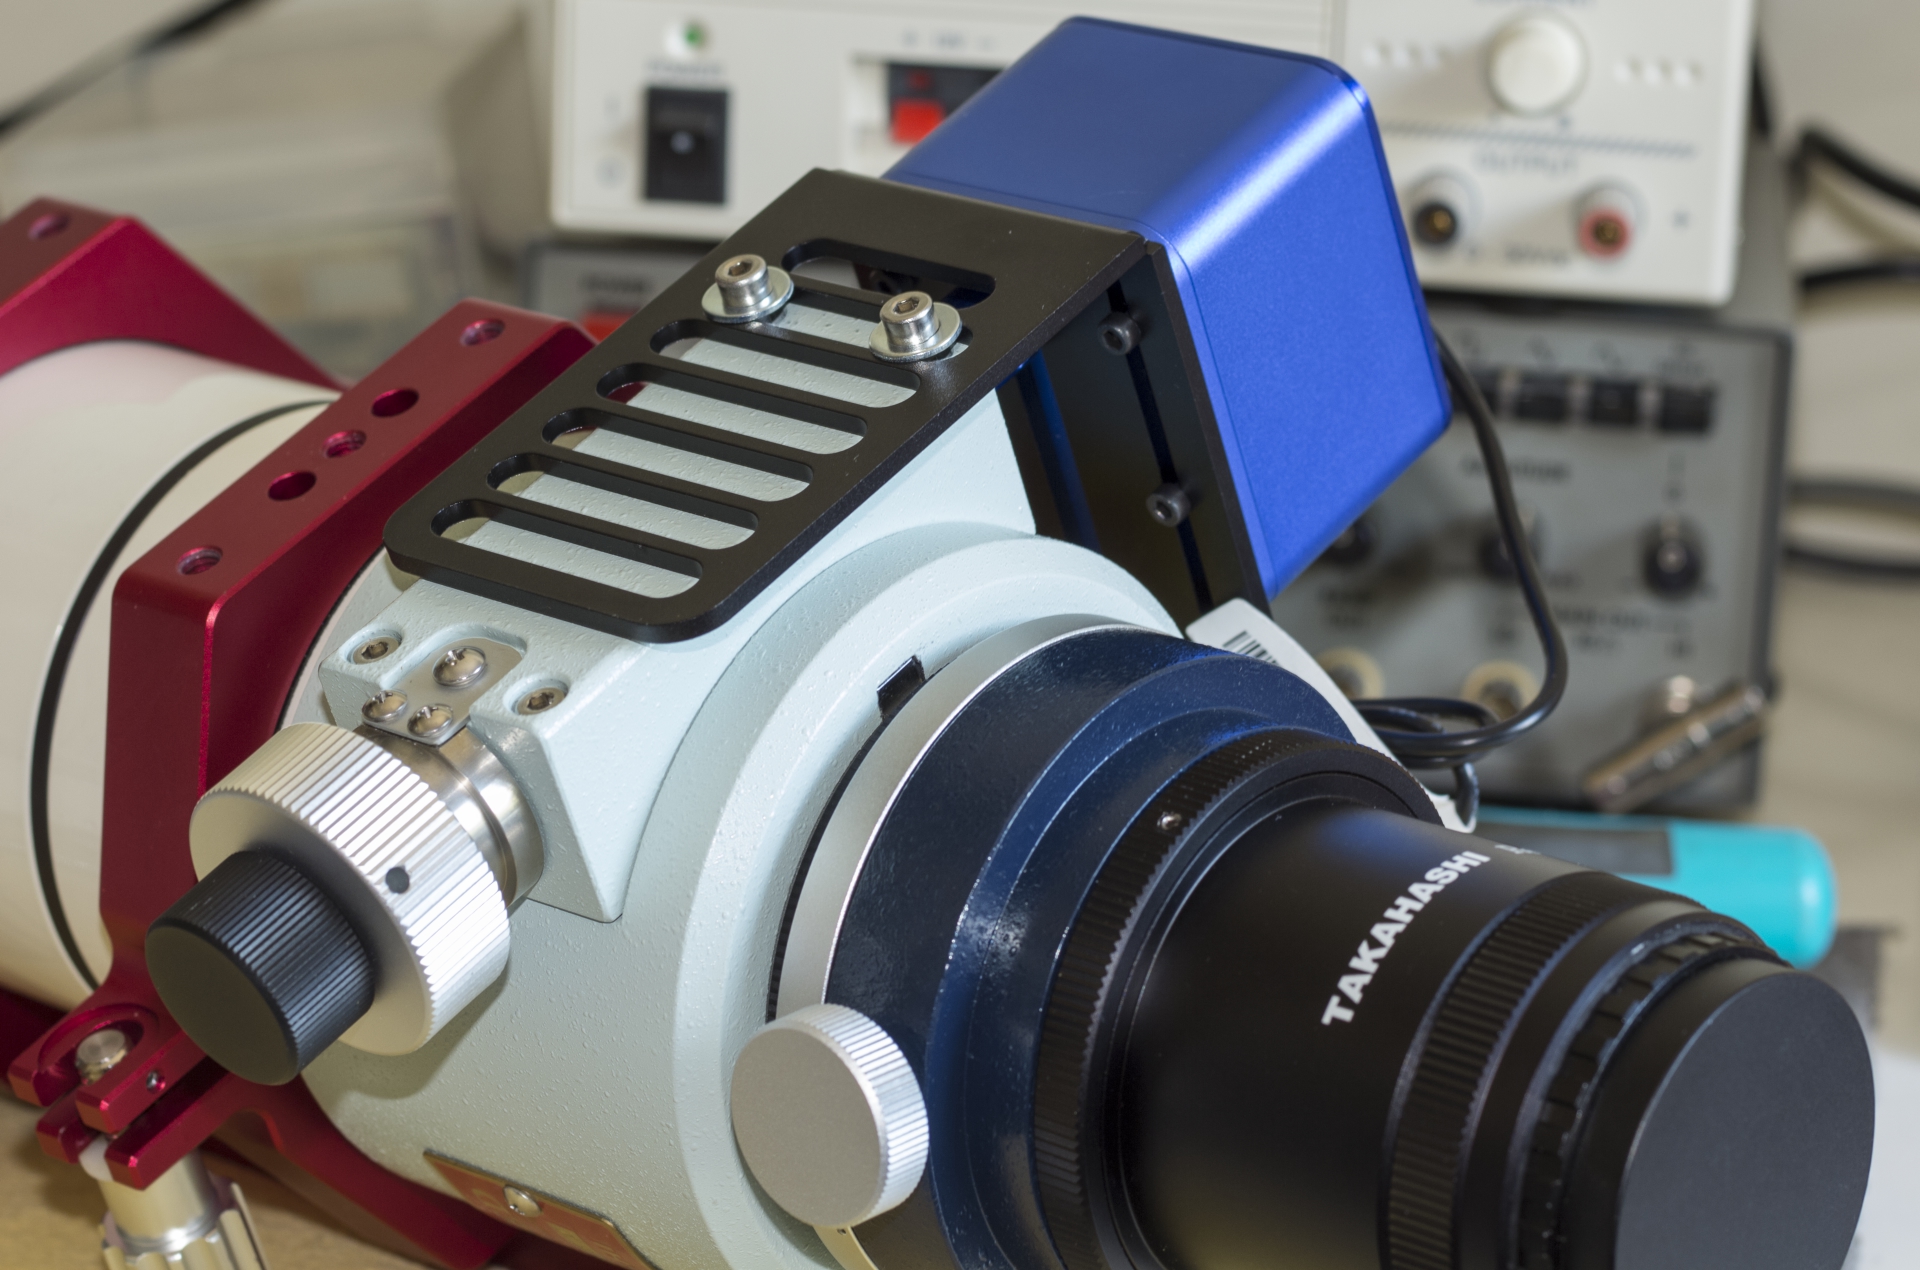
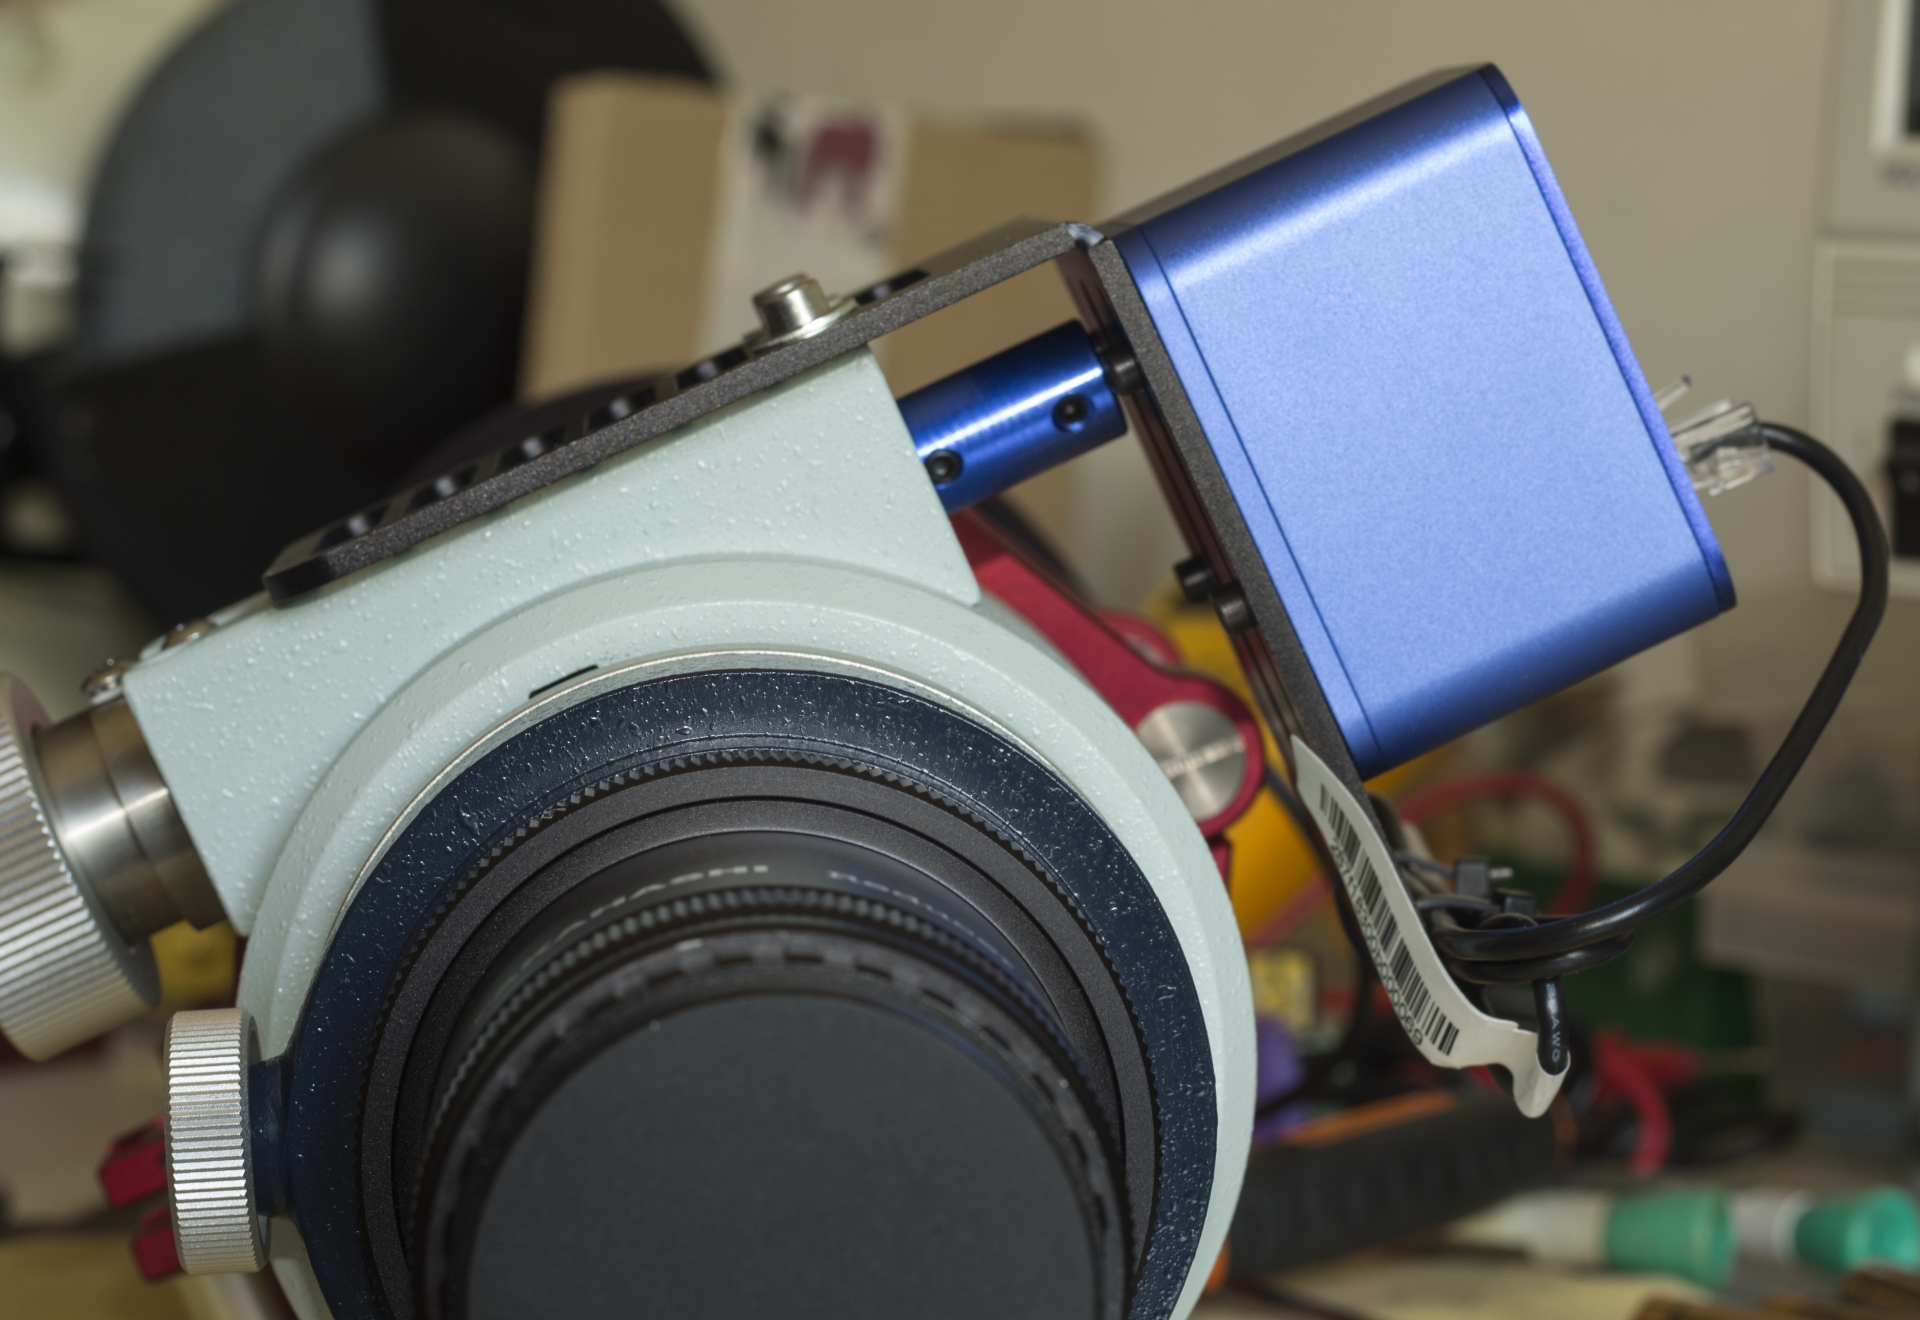
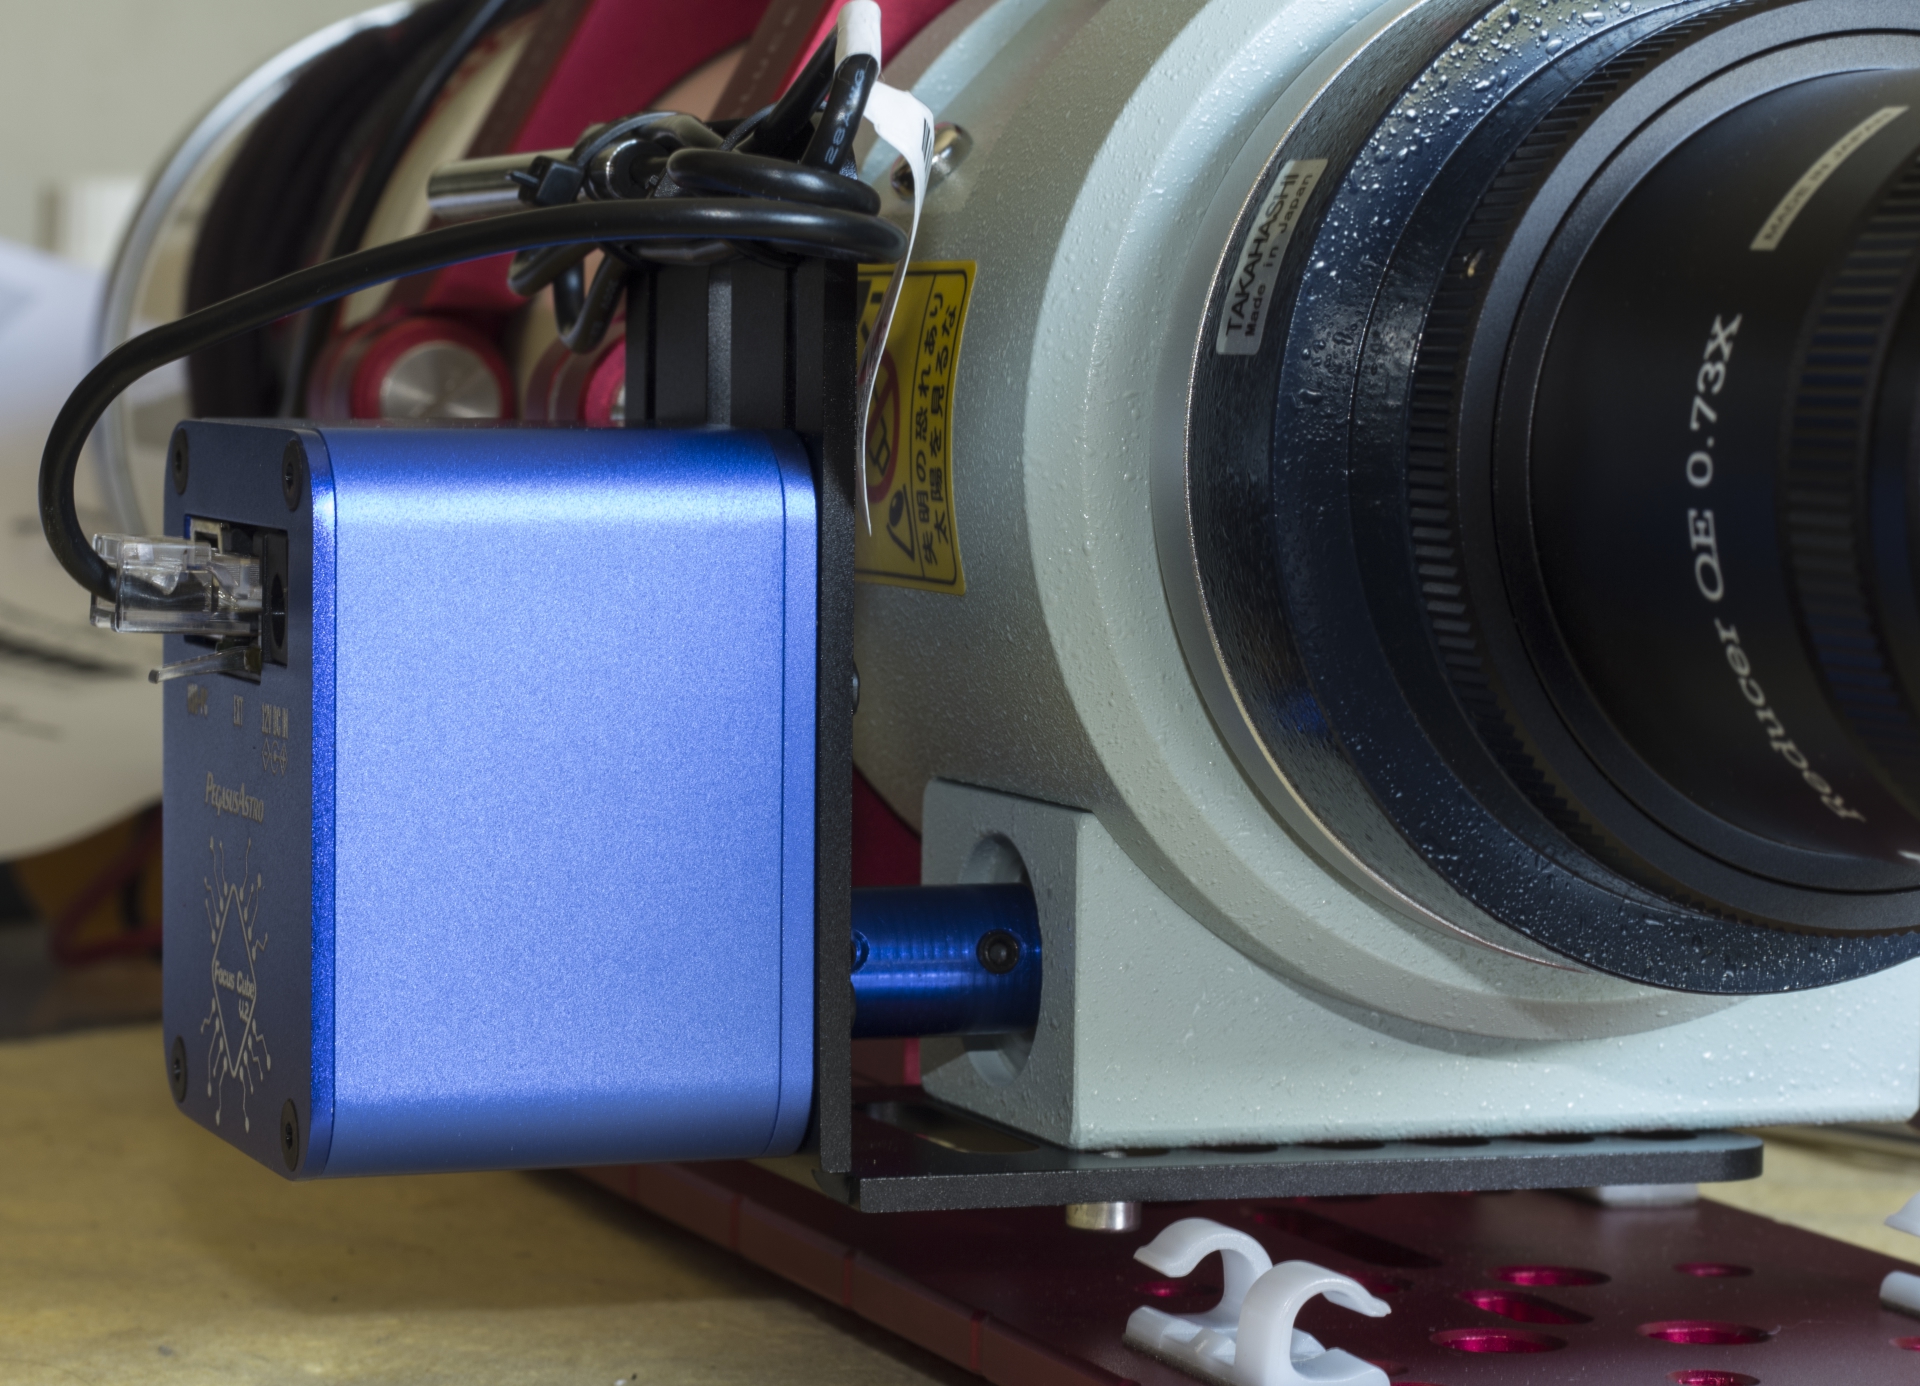
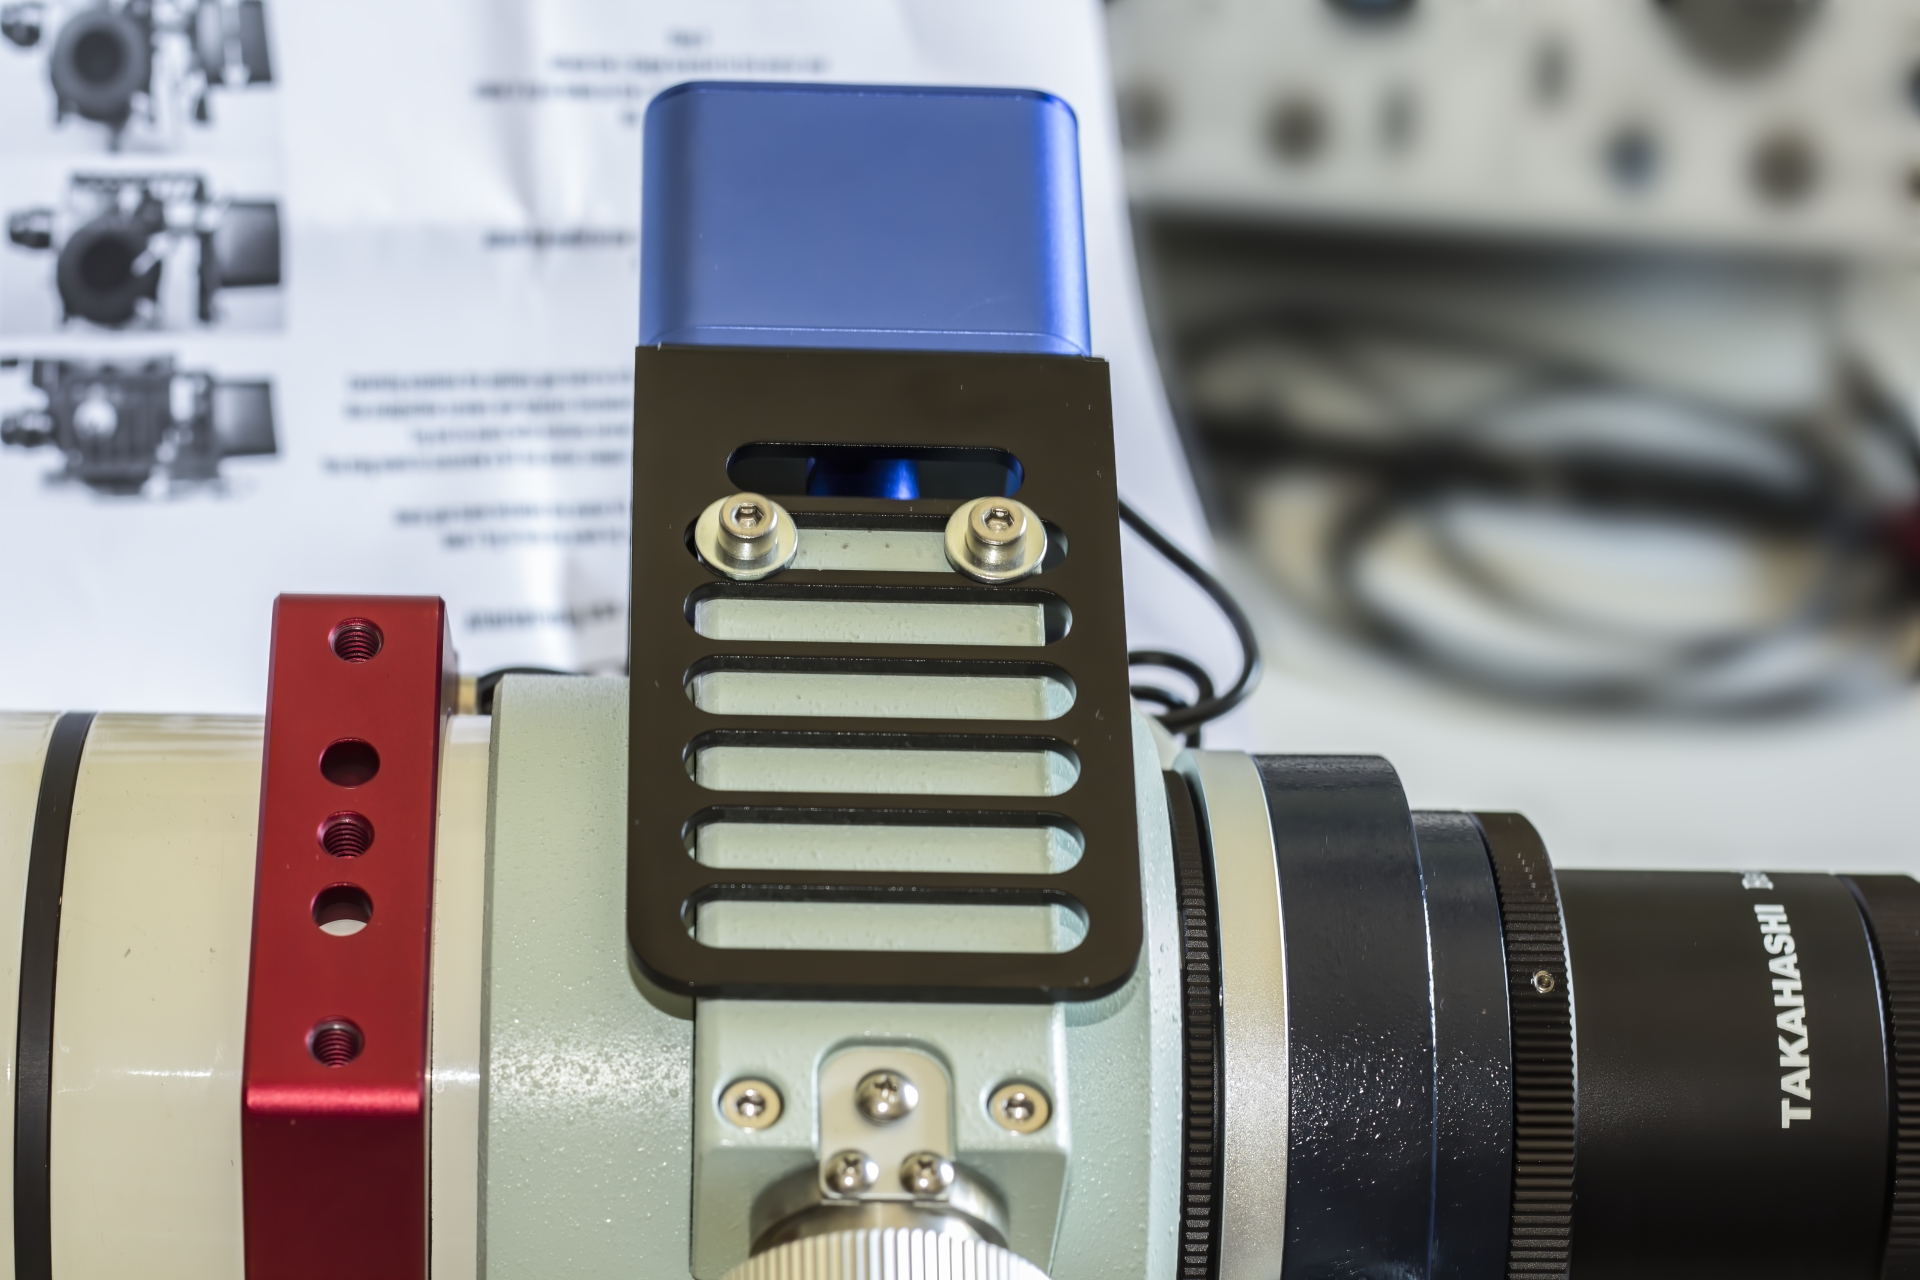
We have successfully installed our L shaped bracken on these Takahashi Focusers.

  • Remove both knobs
  • Remove the central bolt (the bolt on top of the focuser as shown at the image below)
  • Use the 8mm motor coupler and attach it to the shaft of the focuser.
  • Securely tight the two set screws of the motor coupler (on focuser’s side)
  • Assemble the motor with the bracket but do not fully tight the 4 screws yet.
  • Make sure that the motor can slide on the rails of the bracket
  • Place the bracket on the telescope focuser and adjust (up or down) the motor to alight the shaft with the motor coupler bore.
  • Use 1xM4 screw along with a washer to secure in place the L bracket.
  • It should look like the image below
  • Now securely tight the 4 x allen silver screws of the motor
  • Make sure to tighten the 2 set screws of the motor coupler (motor side)

Below photos display how you can attach the motor to a Takahashi FSQ Focuser.

As the Takahashi Focuser has a flat surface it is very easy to use the long screws (supplied in the package) and replace two of the the stock Takahashi screws with these two in order to grab the motor onto the focuser.

* Please check below photos on how to attach the motor to a William Optics GT71 or a W.O. with a similar focuser

  • Remove the brake thumbscrew pointed with red arrow
  • Remove the coarse knob
  • Align the bracket (place the 6th slot of the bracket on top of the brake hole) and use a bolt and a spacer to secure it in place (you will find different sizes of bolts/spacers in the box)
  • Use the appropriate motor coupler from the 6 x motor coupler bag and connect motor shaft with focuser’s shaft. Make sure to tighten all coupler grub-screws.

In the Box

1 x Motor Focus Kit Universal
1 x L (narrow and wide part) brack anodized bracket
5 x Solid Motor Couplers (4mm to 8mm)
Different sizes (Pairs of M3x10, M4x10, M4x30 M5x10, M6x10, ) of metric screws and washers
6 x M3x8mm length screws (to attach the enclosure on the bracket)
 

Technical Specification

Type Value
Step Angle (Deg) 7.5 / 120  = 0.0625.
5755 steps per circle of rotation.(Gearbox reduction rate = 0.06255 Deg).
5755 steps per circle of rotation. (in full step drive)
about 1 micron per step (in half step drive)
Very low backlash (about 30 steps in half step drive)
Gear Ratio 1:120
Phases 4 (Unipolar Motor)
Voltage 12V DC
Current (A) 0.27
Weight Stepper Motor, Universal L Shaped Adapter & Motor Coupler weight in total 350g

FAQ