We have successfully installed our motor to:
Skywatcher Esprit Series (80 ED, 100ED, 120ED, 150ED).
You can also watch the following video for the Esprit 100 installation
Locate the set screw pointed with red arrow at below photo. Use a hex key tool to remove this set screw.

Remove the coarse knob
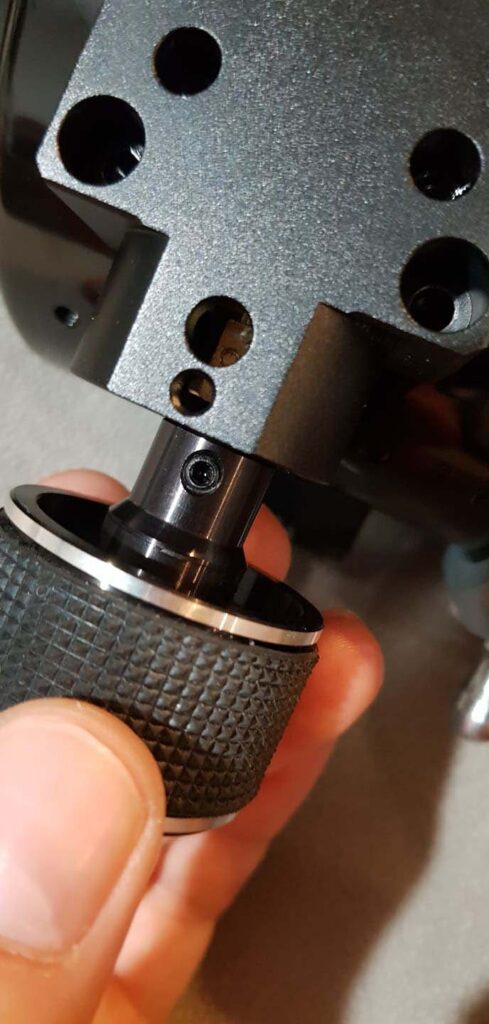
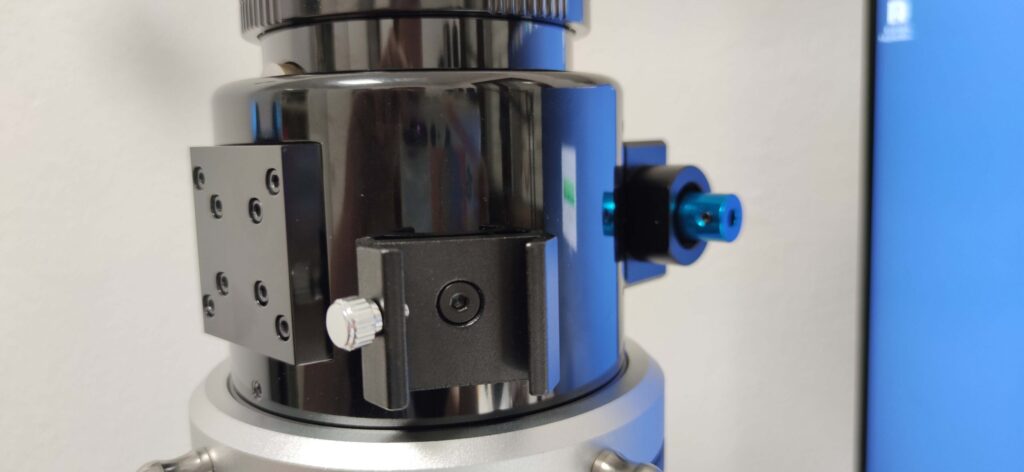
Use the supplied 5 to 6mm motor coupler and attach it to the focuser’s shaft.
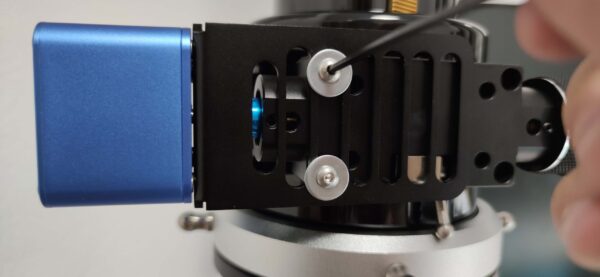
Pass through your hex key tool into the small hole (pointed with red arrow) and securely tighten the set screw of the motor coupler.
Turn using your hand the focuser knob to reveal the 2nd set screw of the coupler. Make sure to tighten both set screws very well.

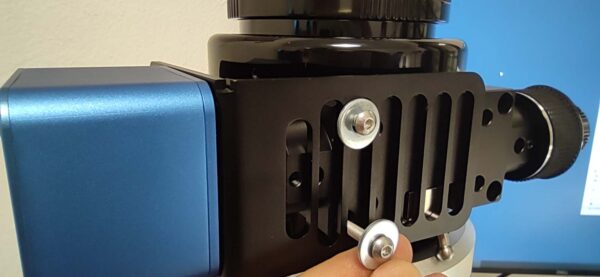
Remove the two outer bolts using the hex key tool (check below photo).
You do not need these screws anymore. Keep them in a safe place.
Please note that the thumb screw of the finder holder collides with the motor L shape bracket so there are two options to avoid this.
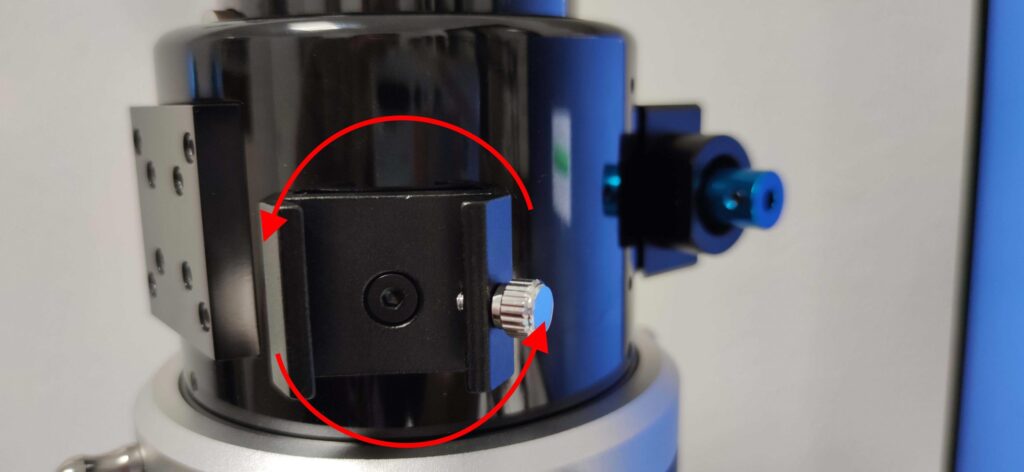
a) Rotate the finder holder 180 degrees, as displayed below.
b) Detach and place the finder holder on the opposite side where there is a hidden screw thread under the label (as shown in the image below)

Place the motor on the bracket and align the motor shaft to the “already placed” motor coupler. Secure the motor with the bracket by tightening all 4 bolts.
Be sure to have the set screws of the motor coupler on top. This is required to allow you to have access to them by using the hex key tool. Do not tighten the coupler set screws of the motor side yet!

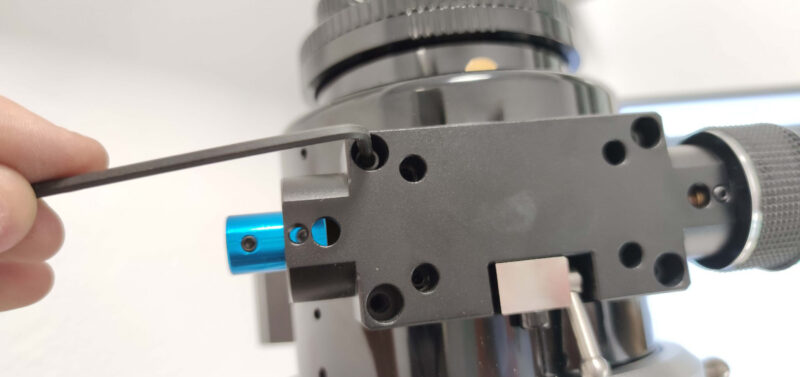
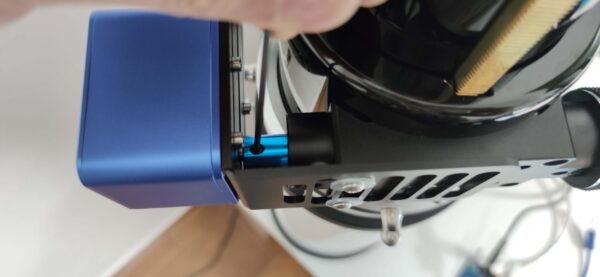
Use the longer supplied screws (M4x30mm) and spacers and use them to attach the L bracket on the focuser. Place these screws into the 3rd slot from the left of the bracket (check the photo below)
Do not fully tighten them yet!
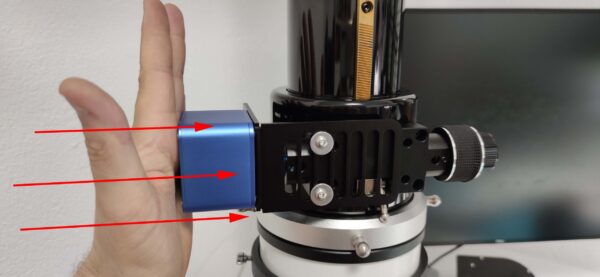
Push the motor close to the telescope (as displayed below).
Tighten all set scews of the motor coupler
Please note that the brake clutch should not be used. Motor has a powerful gearbox which acts as a brake when motor is not rotating.
Tighten both large screws under your focuser